Getting Started FAQs: Email Marketing
Here is a list of the some of the most commonly-asked questions about the Email Marketing feature of Aurea Campaign Manager. To view the answer, click the question. To hide the answer, click the question again.
If you have an existing database of customers in Microsoft Word, Excel, or Access, you can easily add them to a mailing list. This is a much faster way of adding members than typing them individually into a new list. You can also use the database to update the records of existing members.
For more information, see Uploading an Existing Mailing List.
The process of creating a message can be simple or fairly complex, depending on how many options and features you choose to take advantage of. For more information, see Messages.
We recommend that you start by reading the topic Which Workflow Should You Use? At the bottom of that topic, there are links to step-by-step tutorials on how to create a message using each workflow.
When you create a message (see the previous question), you are provided with an option to test a message before you send it out. For more information, see Testing a message.
See the following topics:
Use the Email Test feature to help you correct or prevent a number of deliverability issues.
Segments
Segments help you target your message to a specific customer group. When you create a segment and then attach it to a message, the message only goes to the customers who meet the restrictions of the segment. These can include demographic restrictions (for example, the message goes only to customers who match a certain age range, gender, or location) or activity restrictions (for example, the message goes only to customers who opened a previous message). You can combine both types of restrictions in the same segment. For information, see Segments Overview.
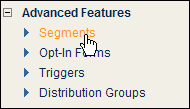
To view your segments in the classic EmailLabs interface, in the left navigation bar under Advanced Features, click Segments.
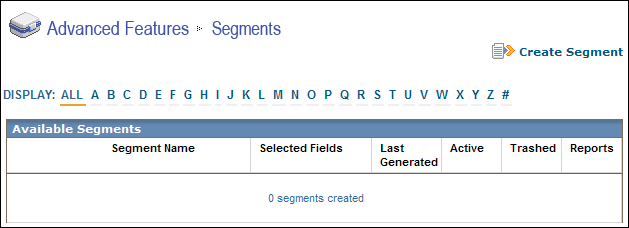
You can edit or delete an existing segment, view a report on segment results, or copy a segment to another mailing list.
For more information, see:
Email Enhancers
With Email Enhancers, you can insert commonly used features without having to generate the HTMLHypertext Markup Language. A set of tags used to mark the structural elements of text files. HTML files include tags that create hyperlinks to other documents on the Internet. or text each time. They are a great way to create personalized and interactive newsletters.
Email Enhancers are available through the Email Marketing > Launch EmailLabs > Content Library. For more information, see:
There are nine types of email enhancers.
In the Reports section, you can access your data and information on your customers and your campaigns. You can gather information on an individual basis through segments that you create based on your demographic information.
There are two areas that contain links to the EmailLabs reports:
- In the Aurea Campaign Manager Interface
- On the navigation bar, click Email Marketing > Reports > Overview. The Reports Overview page opens displaying a list of the Most Recent Mailings report.
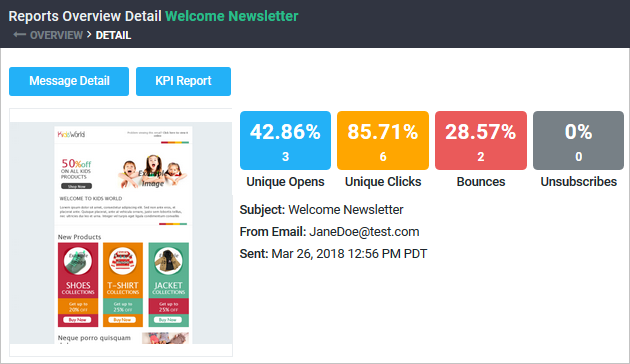
- Point to one of the messages and click More. Details page is shown as illustrated.
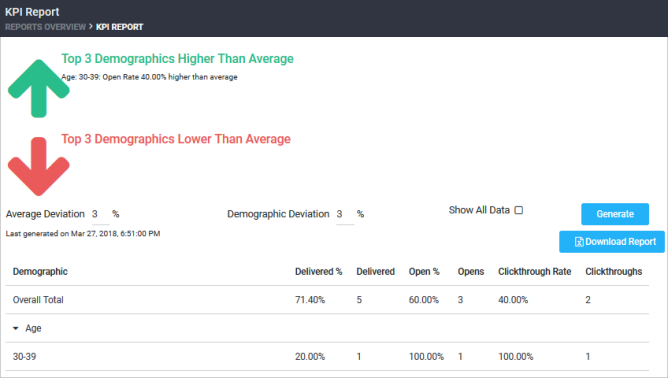
- Point to the same message again and click KPIs. The KPI report is displayed as shown in the following illustration.
- In the EmailLabs Interface
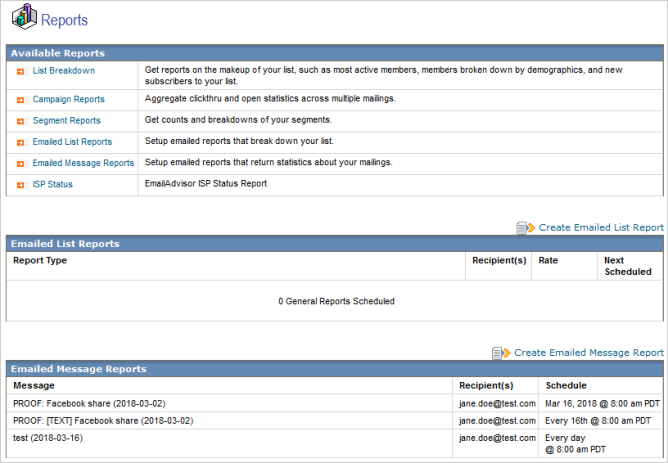
- In the side navigation bar, click View Reports.

- Click View Reports.
The following screen appears:
You can offer your customers a form on your Web site that lets them opt-in directly to your mailing list or newsletter. Customers who opt-in are added to the active mailing list the form was created in and receive any future messages sent to that list.
You can create more than one form and give each one a unique design and color scheme. This is useful if you want to add forms to different sections of your web site or different web sites.
You can choose to generate either HTML or XHTML for your form.
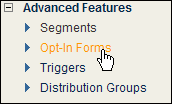
- To go to the Opt-in Forms page, in the left navigation bar of the classic EmailLabs interface, click Opt-In Forms.
- To create a new Opt-In form, click Create Opt-In Form (learn more).
- To place an Opt-In form on a web page:
- In the Actions column, click Get HTML for the desired form.
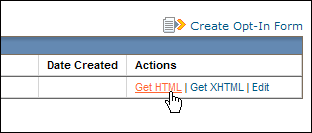
- Copy the HTML in the Opt-In Form Name section, and then paste it into your web page.
- Click BACK TO OPT-IN FORMS.
- To edit or delete a form, in the Actions column, click Edit or Delete. The steps for editing are the same as those for creating a form.
- To view pending or confirmed members (for double opt-in forms only), click the View Pending Members Confirmation or View Confirmed Members command.
You can set up a trigger to automatically send a message if (or when) certain conditions are met. For example, you can create a trigger that sends a birthday message to each customer a week before their birthday, or sends a follow-up email a specified period of time after a customer clicks a link on a web page. For more information, see Triggered Messages.
There are several things you can do:
- Include a physical address in your emails (required by law)
- View the Spam Complaints Report
- Receive an alert when the risk of being considered spam is too high
Enabling and Editing a Mailing Address Footer
The CAN-SPAM Act of 2003 requires that you include a physical mailing address in your emails. You can turn this feature on or off. You will probably want it off if, for example, you already have your mailing address incorporated into the message text. You can also edit the footer.
To enable the mailing address footer:
- In the left navigation bar of the classic EmailLabs interface, click List Settings.

- Under Mailing Address Footer, select the Enable by default check box.

To edit the mailing address footer, under Mailing Address Footer, select the Enable by default check box.
The Spam Complaints Report
The Spam Complaints Report shows you a list of users who have complained of Spam.
- To create a spam complaints report:
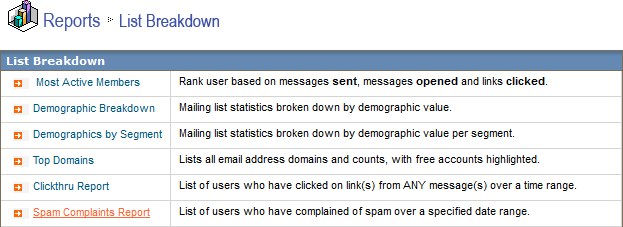
- In the side navigation bar of the classic EmailLabs interface under Reports, click List Breakdown.

- In the List Breakdown section, click Spam Complaints Report.
- Choose a Start Date and End Date.
- Click the GENERATE button. The report appears in a new window and displays the email address of the complainer, the date of the complaint, and the Message ID of the email.
- To create a report alert, set up EmailAdvisor to alert you via email when the risk of being considered spam has passed a certain threshold.
- To open the Alert Manager:
- In the side navigation bar, click Email Marketing > EmailAdvisor Overview.
- Click Options > Report Alert.

- To set a the Deliverability Threshold alert:
- Click the Alert type drop-down list and choose Deliverability Threshold.
- In the Mail to box, type the email address you want the alert sent to.
- In the Details section, choose a percentage amount that indicates when the alert should be sent. A description of the alert appears under Summary and gives you more information about the Details option.

- Upon completion, click the Save button.
- To save your changes and exit the Alert Manager, click the Done button.