Getting Started with Email Marketing
In this tutorial, you learn how to create a list, add contacts to the list, create an email message, and then test, schedule, and send the message.
Remember that Email Marketing is a powerful tool with many advanced features that can help make your email marketing more effective. At the end of each step in this tutorial, we provide links to Help topics with more information about appropriate features.
Creating a List
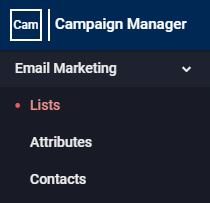
- On the navigation pane, click Lists to open the Lists page.
- Do one of the following:
- If you are an administrator, click
 and select Mailing List.
 - If you are not an administrator, click
 .
.
The Add Mailing List window displays.
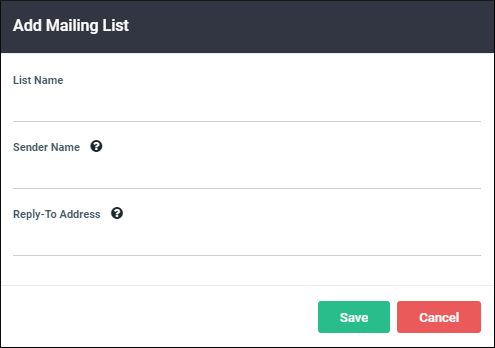
- In the List Name field, type a name for the list. Your recipients will not see the list name.
- In the Sender Name field, type the sender name. The Sender Name will appear in the From: field in your recipients' inboxes.
- In the Reply-To Address field, add the e-mail address to which all replies will be sent.
- Click OK.
The list is created and appears on the Lists page.
For more information, see Mailing Lists Overview.
Adding Contacts to a List
In this tutorial, you learn how to manually add contacts to your list.
Alternately, if you have an existing database of contacts in an CSV or TXT file, you can upload that database to your list. For instructions for uploading a database, see Uploading an Existing Mailing List.
To add a contact:
- On the navigation bar, click Contacts.
- Click
 . The Add Contact page displays.
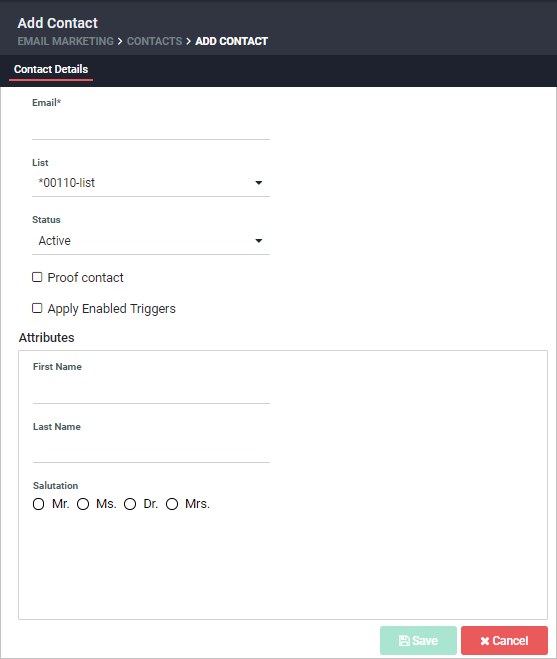
- In the Email field, type the contact's email address.
- In the List field, select the list to add the contact to.
- In the Status field, set the status of the contact to one of the following:
- Active
- Unsubscribed
- Trashed
- Bounced
- Click the Proof Contact check-box if you want to set this contact as proof contact. For more information, see About proof contact.
- Click Apply Enabled Triggers check-box if you want to execute any preset triggers on adding a new contact.
- In the Attributes section provide the First Name, Last Name, Salutation, and Age of the contact.
- Click Save.The contact is added to the list and appears on the Contacts page.