New Message Page
The new message page is where communications managers compose and target messages through the console to employee’s Internal Communications Tile.
Users have two options now for who shows as the other of posts created from the console.
- If you check the display my name as the author check-box, the post shows up as the currently logged in user.
- If you do not check this box, the persona account shows as the author.

Check display my name as the author to display post as currently logged in user
The target control is where communities can be targeted from for the new message. While you can also use @ target from the message box, only communities added to the target box counts for the reach metrics (that is, the potential distinct viewers of the message).
As you type into the search box, communities for the currently logged in user appears as auto-complete options. Hitting tab, enter, or clicking a suggestion with the mouse pointer adds the community to the box below.
Many communities can be added for each post. If needed, click the X next to the community name to remove it.

Target
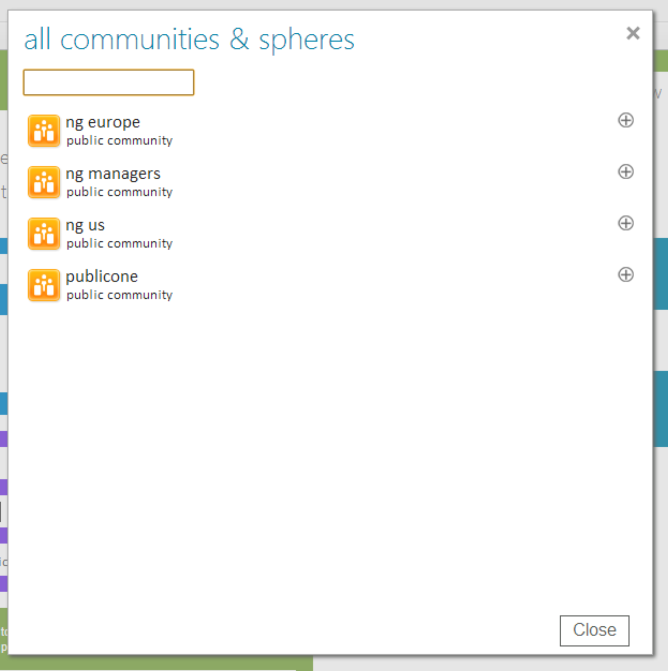
To get a list of all communities available for targeting, click the community & sphere directory link. This brings up a list of all public communities, as well as private communities the currently logged in user has access to. Communities can be added to the target list by clicking the + button, and removed by clicking the - button.

List of communities
It is not recommended to target both private and public communities in the same message. This effectively makes the post completely public, and also displays the private community’s title in the message itself.
A warning is displayed if this is attempted. If enforce privacy is enabled in the Social Sites Service application, this could cause an error to be thrown by the backend timer job in charge of posting queued messages. If this occurs, delete the post from the Message Queue Page.

Message settings control
The message settings control contains three required fields. A date, time, and time zone must be selected for every message. Also make note that the default frequency for the NewsGator Internal Communications Queue Message Processor Job runs every 15 minutes. If you frequently find you need more granularity on how soon/frequent posts need to be sent, you can reconfigure this job to run at shorter intervals.

Promoted post fields
The promoted post fields are entirely optional. The date and time must be later than the date/time entered into the message settings control. It is recommended that most posts not be promoted, and this capability is reserved for messages of high importance. If this is used too often, it can desensitize users to the appearance of promoted items in the stream.
Promoted posts appears with a green background and has a “Promoted” banner at the top of the stream item.

Click X to mute
Clicking the X in the promoted banner mutes the post for the currently logged in user.

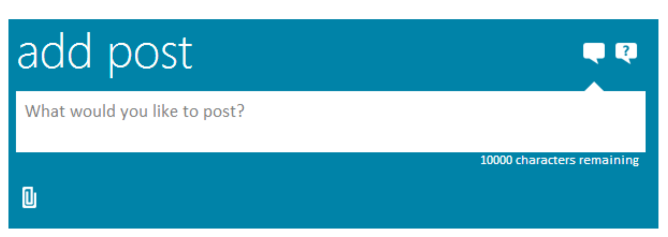
Enter your message here
You may either post a microblog from the message box, or you may also choose to ask a question. Polls are optional for questions by clicking the poll button that appears once you’ve selected the question post type.
Enter your message into the message box.
Optionally, you may attach a file (document, image, etc.) as part of the post. This attachment will live in the currently logged in user’s public documents folder on their My Site (my content).
A warning appears in the post box should any private communities be targeted when attaching a file (as the file itself is publicly accessible) Once you are done entering your message, click the Save to Queue button. If all required fields are provided, a message displays confirming that it was added to the queue.
If you want to send the same message to multiple time zones, you need to enter the message once for each time zone. Likewise for posts that should be in multiple languages.