Installing the Pivot Viewer web part
Before deploying a Pivot Viewer web part to the site of your choice, you need to activate a site collection feature. After deployment, some extra configuration may be necessary.
- From the site on which you want to deploy the Pivot Viewer web part, in the Site Actions menu, click Sites Settings. This brings up the Site Settings page.
- Click Manage site features.
- Activate the NewsGator Pivot Viewer Silverlight Client feature.
- Return to the site, and edit the page.
- Click Add a Web Part.
- Select the NewsGator Social category.
- Select the Activity Stream Pivot Viewer web part.
- Click Add.
- Pivot Viewer is displayed. Copy the site path portion of your URL, as shown, then from the web part menu click Edit Web Part, or just click the Open the tool pane link provided in the message.
- Click the Configure... button in the tool pane.
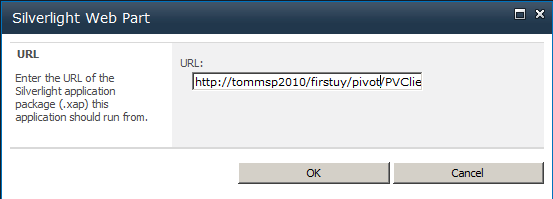
- The dialog at right appears. Paste in front of the relative URL the path URL for your site from step 9. Then click OK.
- Also click OK on the tool pane for the web part.
- Now your Pivot Viewer web part should be working properly, and look like the one pictured here.
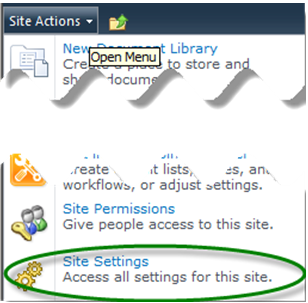
Click Site Settings
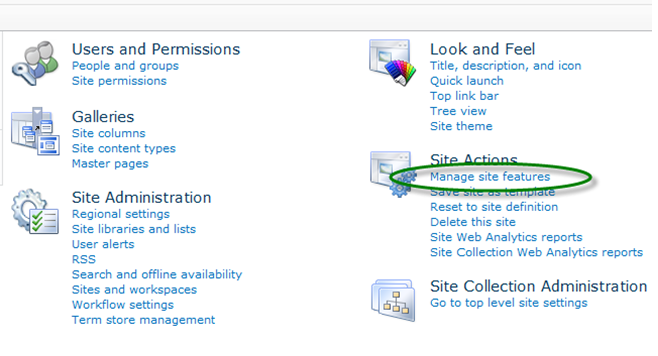
Click Manage site features
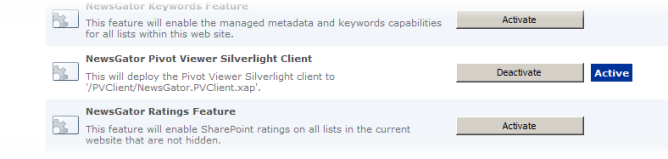
Click Activate
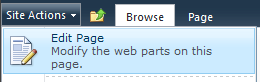
Edit page
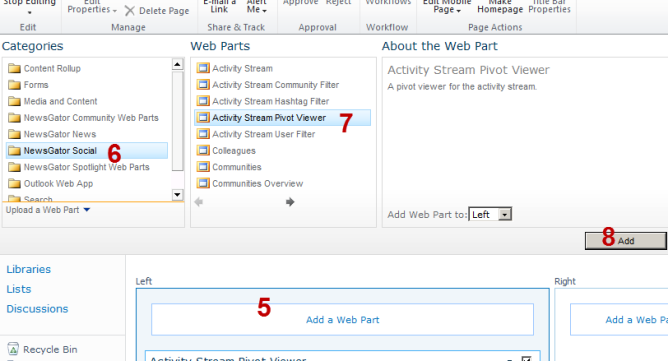
Area for steps 5,6,7 and 8 are marked on this picture

Copy the site path portion of URL
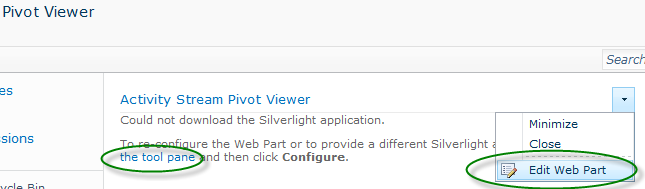
Click Edit Web Part or click the Open the tool pane link
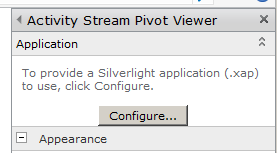
Click Configure...
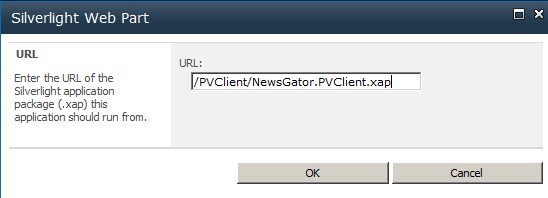
Paste URL and click OK
Click OK
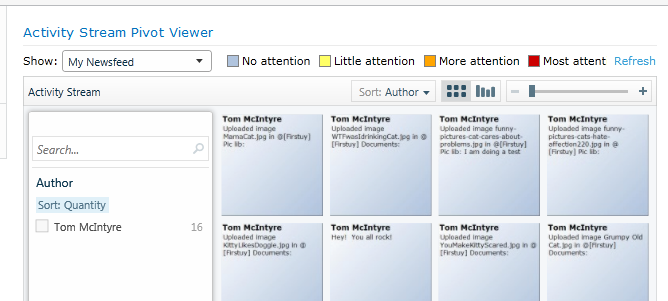
Activity Stream Pivot Viewer