Issuing a Controlled Print
You can perform controlled prints on the latest approved and effective PDF version of the document that is published to the effective documents library.
To issue a controlled print:
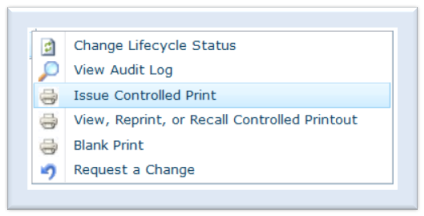
- Select Issue controlled Print from NextDocs on the document’s menu. The system presents the Issue Controlled Print window that identifies the document and the document version
- Enter a label in the Label textbox to define where the document is to be printed or used
- Enter a reason for printing in the Reason for Printing textbox
- Click Submit
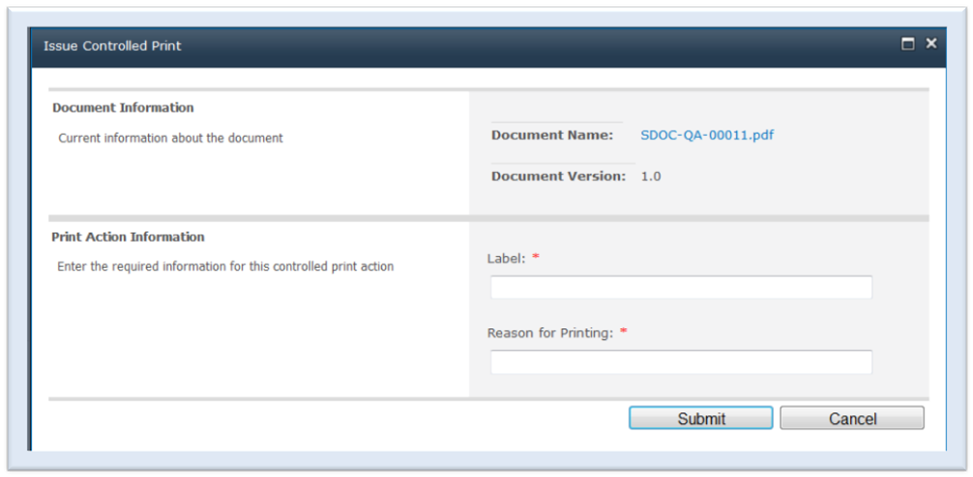
The label and the reason are mandatory fields. If either one of the textboxes is blank when the Submit button is clicked, the system issues a warning and requests that the blank field should be completed. The user is not allowed to exit the window unless either the required fields are completed or the Cancel button is selected. When the form is successfully submitted, the system presents the PDF document to be printed. - Click Print . If you do not see the Print
icon, hover over the bottom of the document to see the panel

- Select a print location
- Click OK