Create a Clinical Trial Workspace
For each clinical trial added, the system creates a workspace. The system allows the user to select a template on which to base the workspace and will apply the predefined security scheme and configurations to the workspace.
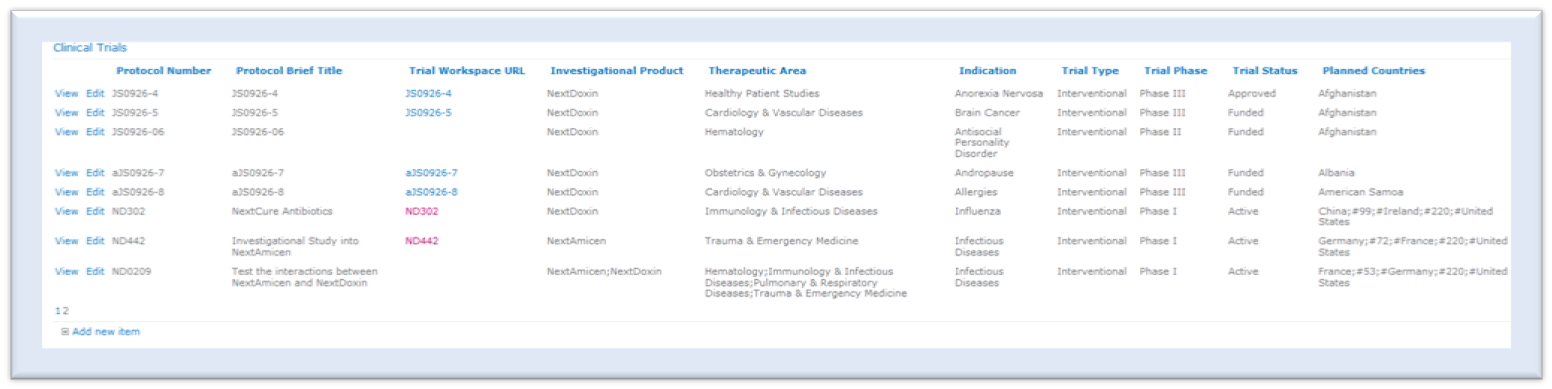
To add a clinical trial, the administrator would:
- Access the hub site.
- Select Clinical Trials under Reference Data on the Quick Launch Bar.
- Click on the Add new item link.
- Enter a Protocol Number.
- Enter a title.
- Select a Workspace Template from the menu.
- Select an Investigational Product or Product(s).
- Select one or more Therapeutic Areas.
- Select an Indication from the menu.
- Select a Trial Type from the menu.
- Select a Trial Phase from the menu.
- Select a Trial Status from the menu.
- Select one or more Planned Countries.
- Click on the Save button.
The clinical trial will be added to the Clinical Trials list. The Trial Workspace URL will not be populated until the system has completed building the clinical trial. The system will begin building the clinical trial workspace based upon the schedule configured in the NextDocs Site Provisioning timer job. Refer to NextDocs Site Provisioning Timer for more information on the timer job.
CAUTION:
The administrator must
be added to the ND eTMF Owners group in order to have full control permissions for
NextDocs features on the site.