Designating Proof Contacts
You can send a message to your proof contacts to find out exactly how the message will appear in recipients' inboxes.
You can designate any contact as a proof contact either when creating or editing a contact or when testing a message.
You can see whether a contact is a proof contact on the Contacts, Edit Contact, or Test Message page.
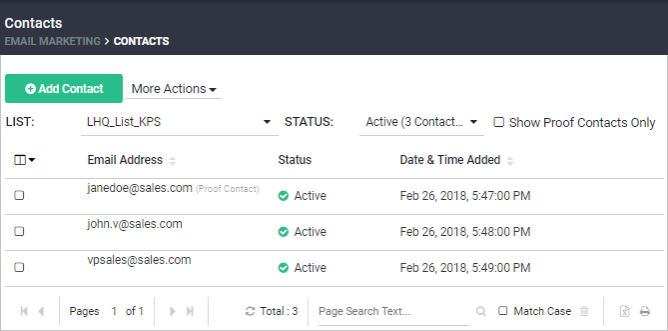
- Contacts page - A Proof Contact appears next to the contact's email address. In addition, you can select the Show Proof Contacts Only check-box to display only proof contacts for the list.
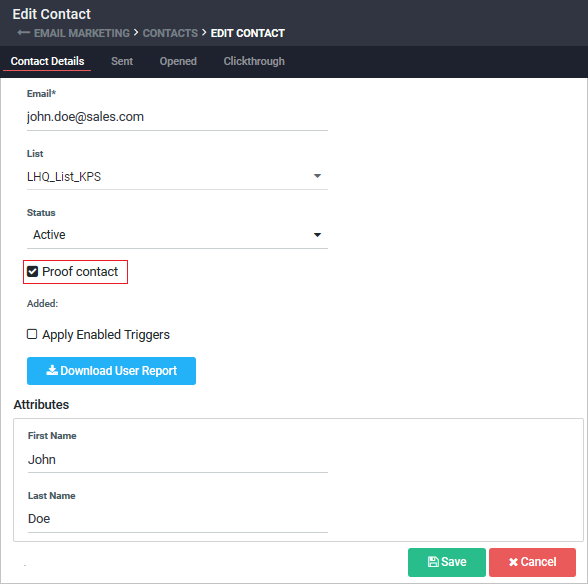
- Edit Contact page - The Proof Contact check-box is selected for proof contacts.
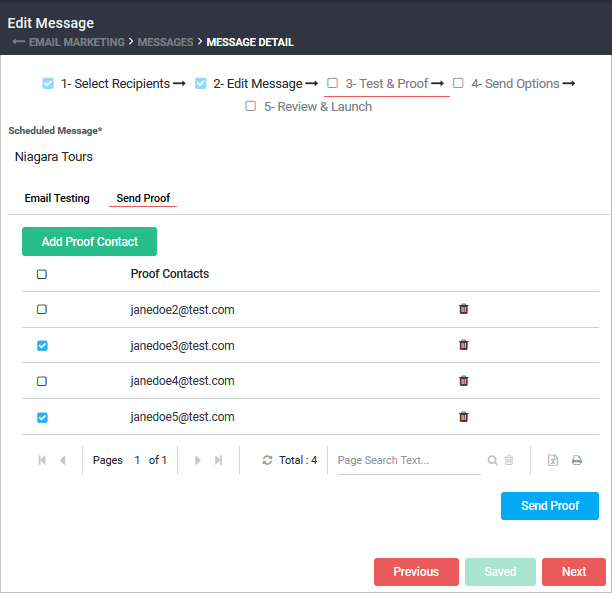
- Test Message page - All existing proof contacts appear in the Proof Contacts list when you select the Send Proof tab on the Test Message page.
To see all proof contacts for a list:
- Open the Lists page. From the navigation bar, click Email Marketing > Lists.
- On the Lists page, point at the list name and select Proof Contacts.

The Contacts page opens in a new tab, showing only proof contacts for the list.
Creating a Proof Contact When Adding a Contact
- Open the Add Contact page. From the navigation bar, click Email Marketing > Contacts.
- Enter the email ID.
- Select the mailing list and status.
- Select the Proof Contacts check-box.
For more information about adding a contact, see Adding a Contact.
Creating a Proof Contact When Editing a Contact
- Open the Edit Contact page. From the navigation bar, click Email Marketing > Contacts.
- Point at the desired contact and click Edit.
- Select the Proof Contacts check-box.
For more information about editing a contact, see Editing a Contact.
Creating a Proof Contact When Testing a Message
- Open the Edit Message page.
- Click
 .
.
- Select the Send Proof tab. The Proof Contacts list opens showing all existing Proof Contacts.
- Click Add Proof Contact. Add Email Address pop-up window appears.
- Type the contact's email address and click OK. The contact is added to the existing list of Proof Contacts.
Removing a Contact as a Proof Contact
You can remove the contact as a proof contact from the Edit Contact, Add Contact, or Test Message page.
- From the navigation bar, click Email Marketing > Contacts.
- Click Add Contact or point at the desired contact and click Edit.
- Clear the Proof Contact check-box
- From the Test Message page, click
 for the Proof Contact.