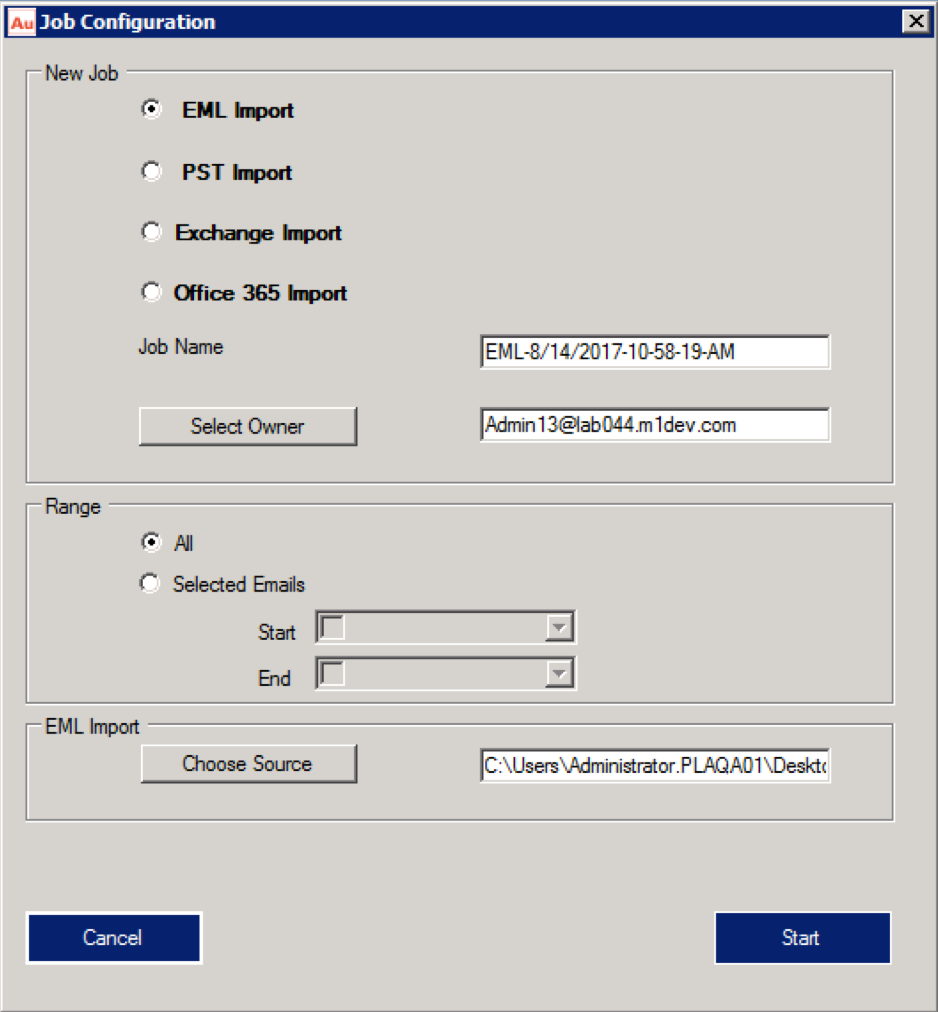
Importing an EML file
- From the Home page, click on the New Import button to launch Job Configuration Wizard.

AMS Import Manager EML Options
- In the New Job section, EML import is selected by default. System shows EML Import option section.
- By default, system shows a job name in the Job Name field which includes the current system date and time. You can further edit the name.
- To manually select and assign owner, click Select Owner button. System launches New EML Import – Select Owner wizard. You can also manually enter owner email address in the Select Owner field.
- Click Choose Source button available in the EML Import section which will help you to browse and select the input folder.
- Choose All in Range to import all messages or set Selected Emails to import messages that fall in the selected date range.
- Click Start.