Install the Required Service Software
During installation of the components, you must authenticate with the AMS Root Account (assigned by Support), or as a super administrator account (created by your organization’s AMS Root Account). If you do not have the root account login and password information, contact Support.
The installation installs:
- SyncManager
- RecoveryManager
- RedirectorController
- RedirectorManager
- Directory Configuration wizard
- Windows Authentication, if enabled
The appropriate software package for your installation is provided to you by Support.
NOTE
When a proxy server is used with Exchange 2013, the AMS Client must be allowed to bypass the proxy server in order to communicate properly with Exchange.
- On the AMS server, log in using the Active Directory Service Account that you created to meet the pre-installation requirements under Service account permissions.
NOTE
If your system is configured in an Exchange Server Coexistent environment with Exchange Server 2013, use the Exchange 2013 Active Directory Service Account to log in to the AMS server.
- Launch the installer.
- In the first screen, log in with the user name and password of the AMS Root Account or a valid super administrator account, then click Next.
- If you agree with the End-User License Agreement, select I accept the terms in the License Agreement and click Next.
- The installer now performs some Readiness Tests to ensure your system is ready for deployment of the components. If errors are returned, investigate and fix the problems and click Re-check to perform the tests again. Click Next when the system is ready without any errors reported.
- In the Setup window, choose a setup type. For a typical installation, click Complete. This installs all applicable components. To customize your selection of components, click Custom (advanced users only)and select which components to install.
- In the Network Information window the installation process automatically populates the fields with the current domain account information. Confirm the Fully Qualified Domain Name. Provide a Friendly Name for the machine on which you want the components to be installed. Retain the default port 10709 or, if necessary, enter a new port number. If you enter a new port number, be sure you identify a port not used by any other application.
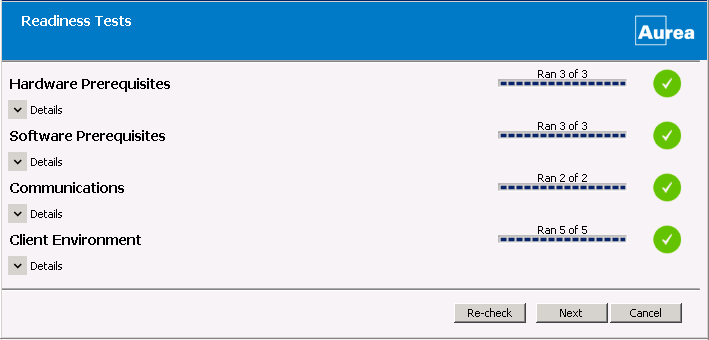
Pre-Installation Readiness Tests
NOTE
The Fully Qualified Domain name does not need to resolve externally.
- Click Next.
- In the Service Credential window complete the details of the AMS service account. The system will automatically populate the fields and only requires you to add the password information.
Click Next.
NOTE
The AMS service account must be a local administrator on the server, and must be a member of the Organizational Management security group in Active Directory. In addition the AMS service account must have "SEND AS" and "RECEIVE AS" rights for all mailboxes in the Exchange Organization
- Click Install.
- When installation is complete, check Launch Sync Manager and then click Finish.
- If SyncManager has never been run before, a prompt appears requesting your approval to continue. Click OK.
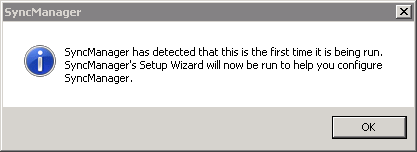
First time running SyncManager
- If prompted by the installer, reboot the system.
Next: Configure the SyncManager
Exclude RecoveryManager Temporary File Directory From Antivirus Scanning
WARNING
If an antivirus is running at the same time as RecoveryManager, the antivirus software removes temporary *.eml files causing errors or the RecoveryManager to close unexpectedly.
Exclude the RecoveryManager temporary file directory from being scanned by your antivirus software to eliminate the conflict. The RecoveryManager directory is located in the application data directory, depending on the operating system and system configuration. For example:
- C:\Documents and Settings\user\Local Settings\Application Data\RecoveryManager
- C:\Users\user\AppData\Local\MessageOne\RecoveryManager