Adding and Editing Forms
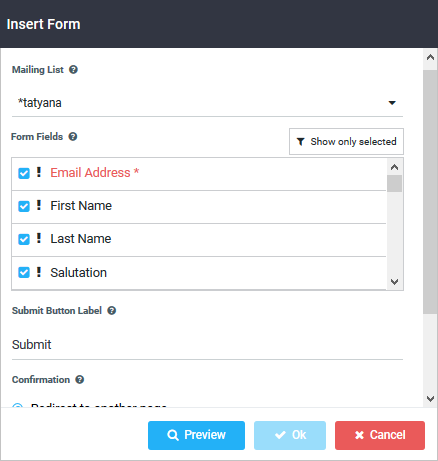
When you add or edit a form, you can choose a variety of settings related to that form in the Insert Form dialog box.
- To add a form, click the
 button.
- To edit a form, click on the form field to be edited. In the following pop-up displayed, click on
 to edit the form fields:

The options are the same for adding or editing. In either of the above cases, the Insert Form dialog box is displayed.
NOTES
- To learn more about a feature that has a Tool tip attached, move your pointer over the Tooltip button.
Inserting a Form
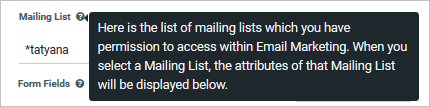
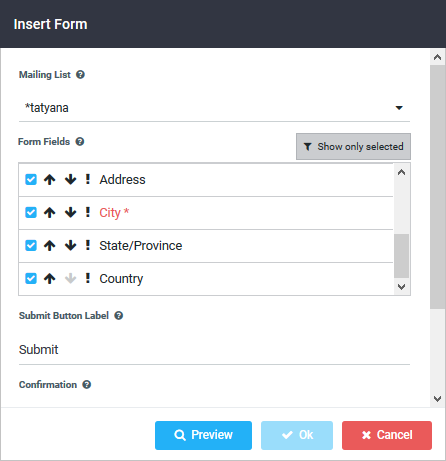
- Click the Mailing List drop-down list and choose the mailing list that contains the attributes you want to add as elements to the form.
- In the Form Fields section, select the desired attributes for your form.
- Optionally, to rearrange the fields or make a field required, click on
 . The Form Fields section changes as shown in the following image. Use the up and down arrows to rearrange the fields. To make a field required, click on ! and the field changes to red color.
Keep your form simple, and keep the number of fields to a minimum. Reducing the number of fields results in much better completion rates. However, make sure you include fields that are crucial lead qualifiers.
- To change the label that appears on the Submit button, edit the text in the Submit Button Label field.
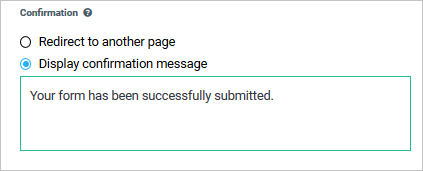
- In the Confirmation section, do one of the following:
- If you want the user to be redirected to an existing web page after clicking the Submit button, select Redirect to another page and type or paste the URLUniform Resource Locator. An Internet address, as well as a standard method of naming files on the Web. A URL begins with a protocol name (such as http), followed by a colon and two forward slashes(//). Next comes the name of the internet server that the file is stored on, followed by directories that hold the file, separated by forward slashes(/). The filename comes last, as shown in the following example: http://www.mycompany.com/whatsnew.htm into the adjoining text field.
If you do not specify https:// or http:// at the beginning of the URL, http:// is automatically used.
- If you just want to display a confirmation message after the user clicks the Submit button, select Display confirmation message and type your message in the text field below.
- Ensure to preview the form before adding it to the landing page. To preview the form, click on
 .
. - Once you are satisfied with the form fields, click OK.