Insight Board
Learn how to configure insight boards and add it to start page and details control.
Three types of Insight Board are available:
- On the login screen: You can add an Insight Board to the login screen with which users can access information like a tutorial, the Aurea blog, twitter or facebook page, see Adding an Insight Board to the Login Pages.
- SMARTBOOK menu: By default, all items that have the
RecordListViewaction assigned in the SMARTBOOK menu (defined for previous 1.x version) are displayed at the top of the start page as Insight Board, see SMARTBOOK Menu from Version 1.x.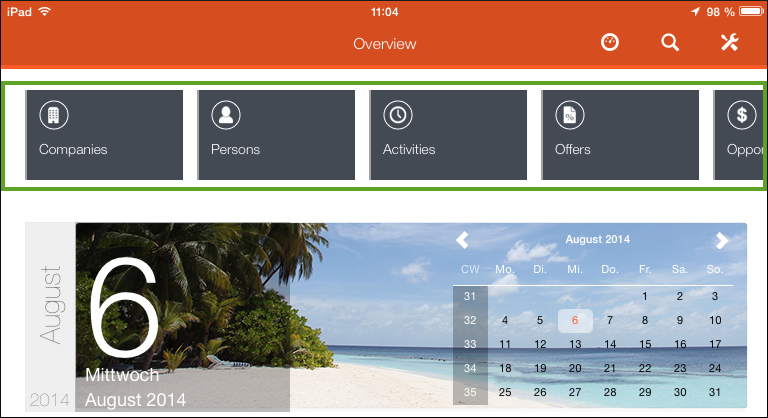
- Your Insight Boards: You can define your own Insight Boards and add them to the start page or to separate Details pages, see Adding the Insight Board to a Details Control.
Insight Boards can contain any number of tiles. If a user taps on a tile, the assigned action (usually displaying a list) is executed.
Currently, two types of tiles can be added to the insight board, see Configuring an Insight Board:
- Counting the number of existing records that switch to the record list when the user taps on the tile.
- Calling any action template except
RecordListView.
Configuring an Insight Board
To configure an Insight Board:
- Switch to the Context Menu area and add a new context menu,
e. g.
InsightBoard. - Add a context menu action for each tile and assign the
InsightBoardItem, see InsightBoardItem.- You must at least specify the
ConfigName, i.e. the name of a Search&List configuration. This results in a tile displaying the number of records and switching to the record list when the user taps the tile. - You can provide a background color for an Insight Board item by specifying the
hexcode of the required color in the
BackgroundColorinput argument. - If you want to call any action template except
RecordListView, you need to also specify theContextMenuinput argument. The action assigned to the given context menu action is executed, when the user taps on the tile.
- You must at least specify the
- Specify the
InsightBoard.TitleEnabledWeb Configuration parameter if you want to display a header, see InsightBoard.TitleEnabled.
Adding the Insight Board to the Start Page
To add an Insight Board to the start page:
- Switch to the Legacy Forms area and open the StartPage form.
- Add a row of type
InsightBoardand enter the following parameters (separated by semicolon) in the Func field.-
MenuName: Name of the Insight Board's context menu. -
RecordId: e. g.ID.$curRepfor the current rep. -
Param1: Name (with the$prefix) of a dependent start page component. For example, the defaultStartPageLegacy Form contains aDatePickerrow withCalendaras Valuename assigned. You can therefore use$Calendarto display a tile with the selected day.
Example:
InsightBoard;ID.$curRep;$Calendar -
- You can define further options in JSON syntax in the Options
field:
-
MaxVisibleItems: Limits the number of tiles displayed. If more tiles exist, the user can slide within the Insight Board.Example:
{"MaxVisibleItems":"2","Vertical":"1"}
-
Adding the Insight Board to a Details Control
To add the Insight Board to a Details control:
- Switch to the desired Details control and add a new panel.
- Assign the desired Type to this panel, see INSIGHTBOARD / INSIGHTBOARDH / INSIGHTBOARDV.