Executing the Import
Execute the import job using the Import page on the Maintenance section or the Import button in a specific info area.
To import data:
- Select or click on an
 Import button in a
 Searchheader, if configured.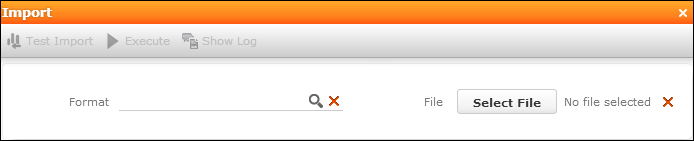
- Select an import Format. All file-based import formats are
listed.
If the import is started from an info area or with
infoAreaIddefined in the action, only the import formats containing this info area are listed.The selected format is saved in the current user's roaming settings, see User Settings.
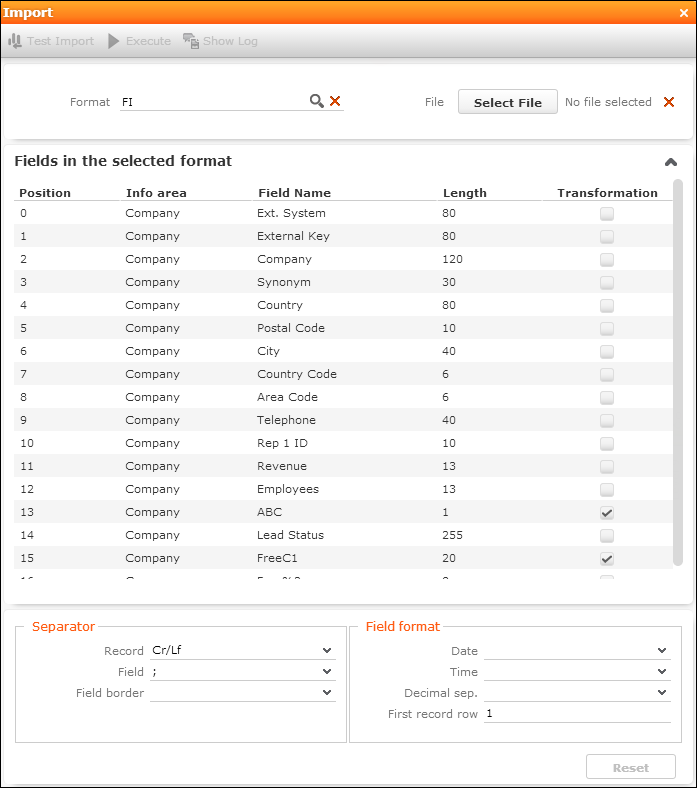
The fields and import settings Separator and Field format areas are displayed, indicating the required structure of the import file. For detailed information on the import settings. for further details, see File Format in the Aurea CRM.Win Administrator Guide.
A check mark in the Transformation column indicates that a transformation is defined for the field, see Transforming Field Contents in the Aurea CRM.Win Administrator Guide.
Fields with Duplicate previous field enabled, see Field Properties in the Aurea CRM.Win Administrator Guide are hidden from this list, but handled correctly by the import itself.
You can adapt the import settings. The changed settings are used for the current import and saved in the user's roaming settings; they are not saved in the import format.
Use the Reset button to reload the settings from the import format.
- Browse for the import File. As soon as a file is uploaded to the
server, the Test Import button is enabled.
The max. size of the import file is defined by the
Import.MaximumFileSizeWeb Configuration parameter. For further details, see Import.MaximumFileSize.If the file size exceeds the limit, a message is displayed.
- Click on
 Test Import.
The Import popup displays a Preview of the imported records.
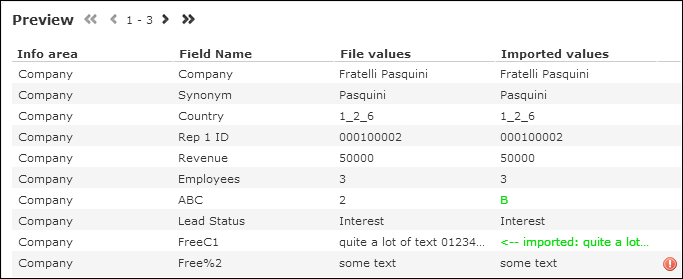
The preview can display up to 50 records. If the import file contains more than 50 records, the header text displays "Preview of the first 50 records".
The following information is displayed:
- Values that are transformed on import are highlighted in green.
- Values that can not be imported, e.g. because the field type does
not match the value, are marked with an
 . A description of the problem is displayed in the
tooltip.
. A description of the problem is displayed in the
tooltip. - The full contents of large field values are shown on mouse-over in a tooltip.
- Once you are sure about the data that is imported, click on
 Execute. The Execute button is disabled
until Test Import has been clicked.
Execute. The Execute button is disabled
until Test Import has been clicked.After confirming the warning message with OK, the import is executed.
The Import popup displays a summary of the processed records:
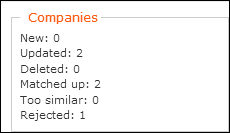
This information is also written to the Communication Log record C3 that is created for each import. For further details, see Communication Log.
- Click on
 Show Log to display the Communication Log
record. The Show Log button is disabled until the import has been
executed.Note: The Show Log button is assigned to the
Show Log to display the Communication Log
record. The Show Log button is disabled until the import has been
executed.Note: The Show Log button is assigned to theCRM process 1.5.2.8.2.2.Communication LogCRM process ID 33030000. The CRM process is enabled by default.
If errors occur during import, Import Results records C5 are created and linked to the corresponding C3 record.
One C5 record per error is created. If no errors occur, no C5 records are created.
For import errors where a record could not be updated, you can select Open Affected Record from the context menu to display the record.
You can view the Communication Log and Import Results records via Administration > Jobs & Logs > Communication Log and the corresponding sub-list.
For detailed information on error codes and messages, see General Error Codes and Import/Export Error Codes in the CRM.Core Administrator Guide.