Email Preview
Email Preview captures how your message appears in a number of email clients. It shows how your message is displayed with and without images.
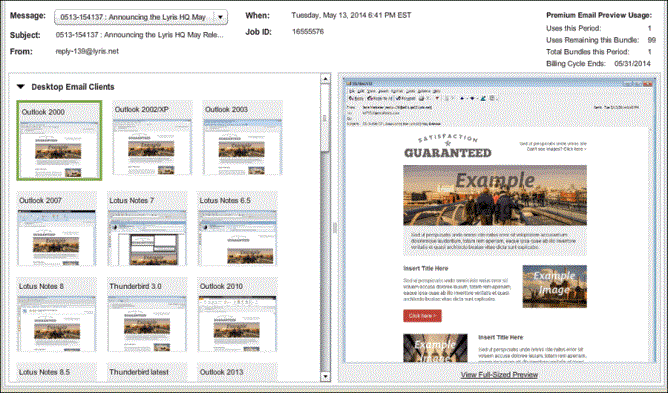
Premium Email Preview
If your account is enabled with Premium Email Preview, the following describes how this version of Email Preview operates.
Viewing Premium Email Preview
- In the side navigation bar, click Email Marketing > Email Test Overview.
- Under Available Reportsin the middle pane, click Email Preview.
Viewing Information for a Different Message
Click the Message drop-down list and choose the desired message.
The current message is displayed in the preview window on the right-hand side of the screen. Selecting a thumbnail on the left hand side of the screen determines the preview window client. The currently selected thumbnail chosen is highlighted.
There are four client groupings arranged in alphabetical order:
- Desktop Email Clients
- Mobile Email Clients
- Web Based Email Clients
- Other Clients
You can open or collapse any of the client groupings by clicking on the group title.
Viewing the Message in Full-Sized Preview
To view the message in full size:
- Click on the View Full-Sized Preview link under the display image. This will display a full size preview image over the smaller image.
- Select one of the four icons above the full-sized preview to view the message in the following formats:
- Full Preview
- Images On
- Images Off
- Inbox Preview
- Images On
- Images Off

- Scroll through the different client groups:
- Select points on the carousel control at the top of the window.
- Click the left and right arrow to view different email client preview sets. You can also click on the dots to navigate and display the email client with a tooltip on mouse over.
- Click on Close Full-Sized Preview to close the full-sized preview and return to the main display page.
The Standard Aurea Campaign Manager Email Preview
If you have not enabled the Premium Email Preview version, Email Preview operates in the following manner.
- To view information for a different message, click the Message drop-down list and choose the desired message.
- To view a message on the Inbox Preview page, click Inbox Preview in the lower left corner of the screen.

- To view the message in a different ISP format, in left-side menu, click the name of the ISP. You have four options per ISP:
- Message
- Full Message
- Message with images
- Full message with images
Color Symbols and Their Meanings
In the left-side menu, each of the ISPs and their four options have a dot next to them. The color or pattern of the dot gives you information about your activities. These are explained in the bottom row of the preview window:

Approving or Rejecting the Proof
Select the Approved or Rejected option located above preview.

Reporting an Inbox Preview Error in Messaging for a Client
- Select the Inbox Preview Error option located above the preview.
In case of a rejection or error, you can add optional comments about the problem. The status you assign, along with any comments, will be visible in the Inbox Snapshot Summary.
- Upon completion, close the Inbox Preview window.
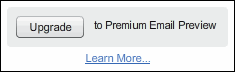
Upgrading and Trial Period
In the right-hand corner is a button to upgrade to Premium Email Preview. Click on this button to start the process of upgrading to Premium Email Preview.
For more information on upgrading and the free trial period, see Upgrading to Premium Email Preview and Spam Filter.