Configuring Budget Billing
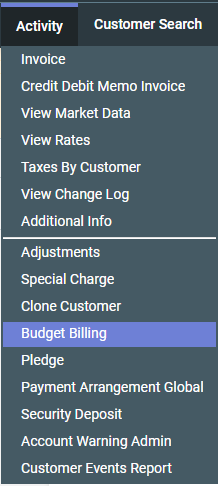
The Budget Billing screen provides the current status of the Customer. To access it, go to Customer Summary > Activity Menu > Budget Billing.
Default Values
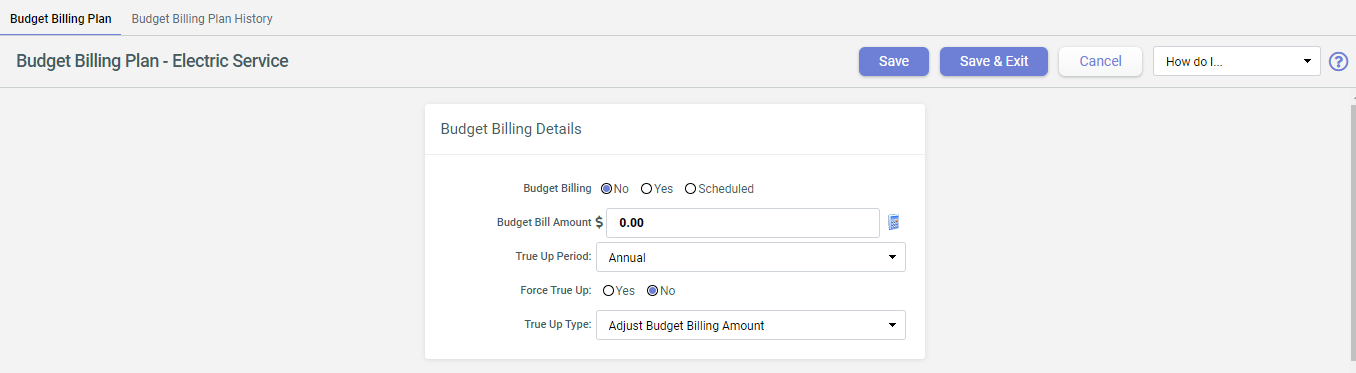
When a Customer is not yet on a Budget Billing plan, the default values are as follows:
- Budget Billing:
No - Budget Bill Amount:
$0. Click to show the Budget Billing Calculator icon.
 - True-up Period:
Annual - Force True-up:
No -
True-up Type:
Bill True-up Amount
Configuring Budget Billing
To properly set up a Customer on the plan, the following process should take place:
- In the Budget Billing Details screen, choose from the following Budget
Billing options:
Yes- This is for the changes to take effect immediately on the next invoice.Scheduled- Choose this if you want the plan to start at a future date. Choosing this option opens the Effective (Scheduled) Date window. Enter the preferred date using theCalendaricon.
- Enter the Budget Bill Amount in dollars and cents. No need to enter the $ sign. If the Budget Bill Amount is unknown, you can use the Budget Billing Calculator instead. For more information, see Budget Billing Calculator Tool
- Select the True-up Period. Choose from
Annual,Semi-annualorQuarter. - Set Force True-up to its default setting
No. - Select the True-up Type:
Bill True Up Amount- This adds the Budget Billing Balance in the next billed invoice following the end of the True-up period.Adjust Budget Billing Amount- This adjusts the Budget Billing Balance over the True-up period.For more information, see Balance True-up.
- Click
Save.
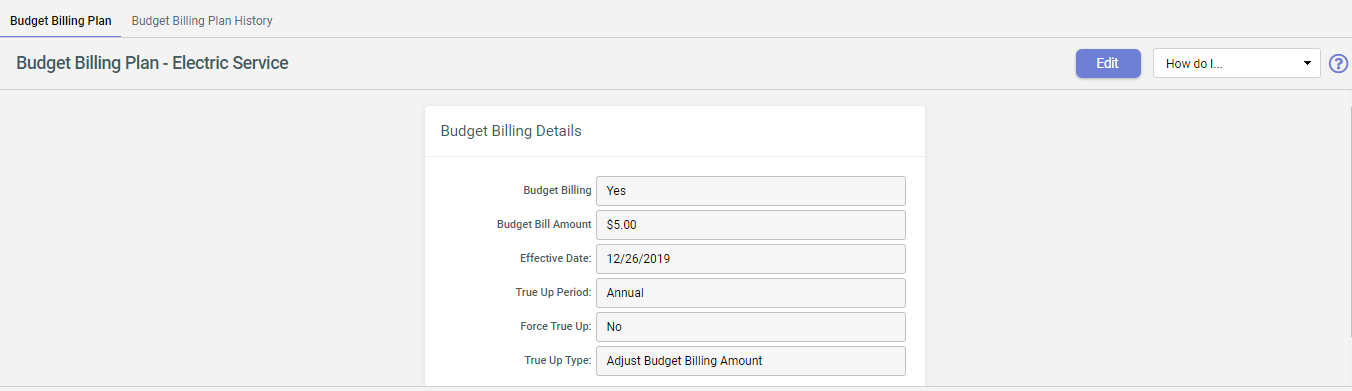
This displays the Budget Billing Details screen indicating that the account is now on Budget Billing.
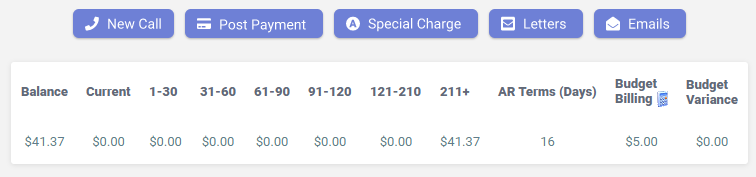
You can also use the Payment Plan field within the AR Aging section on the Customer Summary screen to identify if the account is on Budget Billing. This is the Monthly Budget Billing Amount for the Customer while they are active on the Plan. The Budget Balance is displayed in the adjacent box to the right of the Billing amount.
Once the account is no longer on Budget Billing, these fields are no longer visible.
Budget Billing Calculator Tool
One of the functionalities of Budget Billing is the Budget Billing Calculator Tool that allows easier calculation of the monthly budgeted amount.
- On the Budget Billing screen, click icon to open
the Budget Billing Calculator.
- Enter the values in each criteria that you want the calculator to use to create the
Budget Usage Table:
- Energy Price
- Profile - Choose from
Electric Residential,Gas residentialorGeorgia. - Calculate Usage - Choose either
Use Profile Usage OnlyorFill-in Usage with premise consumption. - Risk Factor
- Monthly Charge
- Monthly Utility Charge
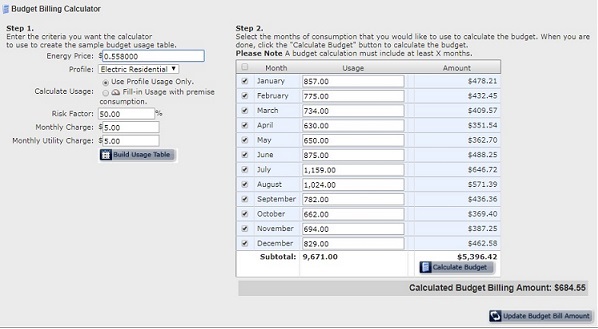
- Click
Build Usage Tableto display the table containing usage break-up for each month and the respective billed amount. Select the months of consumption to add when calculating the budget. - Click
Calculate Budgetto show the value for the Calculated Budget Billing Amount. - Click
 to save the changes.
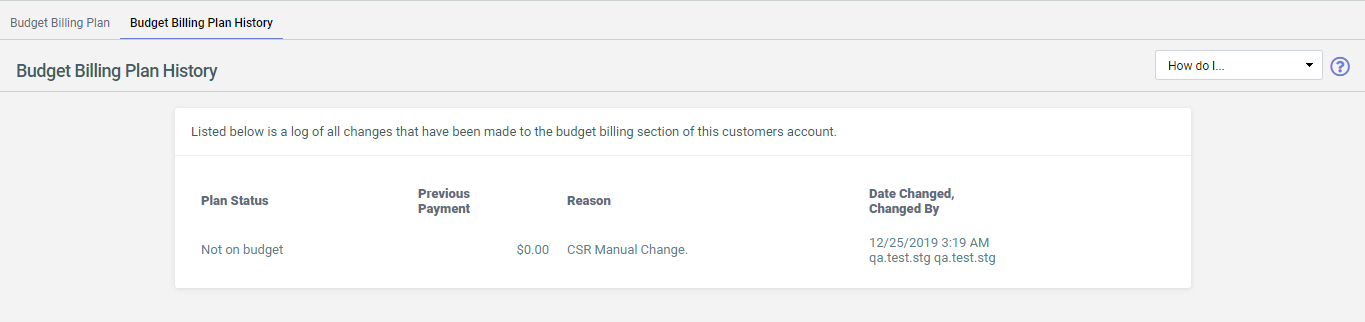
Budget Billing Plan History
The Budget Billing Plan History tab stores log of all Budget Billing changes made on the account.
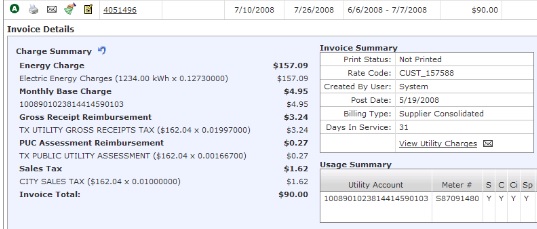
Monthly Billing
As the Customer account is moved on the Budget Billing plan, it starts getting billed on
monthly usage (867_03) on a configured Budgeted Amount. The invoice
break-up display actual charges incurred while the total invoice amount is.
The Customer’s invoice shows the normal usage and charges incurred, but the amount due will equal the Budget Billing Amount. Each month the Budget Balance goes up or down depending upon the difference between actual charges and the budget amount billed.
The image below shows the Budget Billing column on the Customer Summary screen.