Managing Generated Invoices
Learn about actions that can be performed on an invoice.
To view the list of invoices generated for an account, go to AR / Billing Tab on CSR screen. The most recently billed invoice is at the top of the list.
The following actions can be performed on an invoice:
Invoice Emailing
To email the invoice, click the ![]() icon at left side of the Invoice #.
icon at left side of the Invoice #.

This opens to another window where you can create an email to send the invoice.
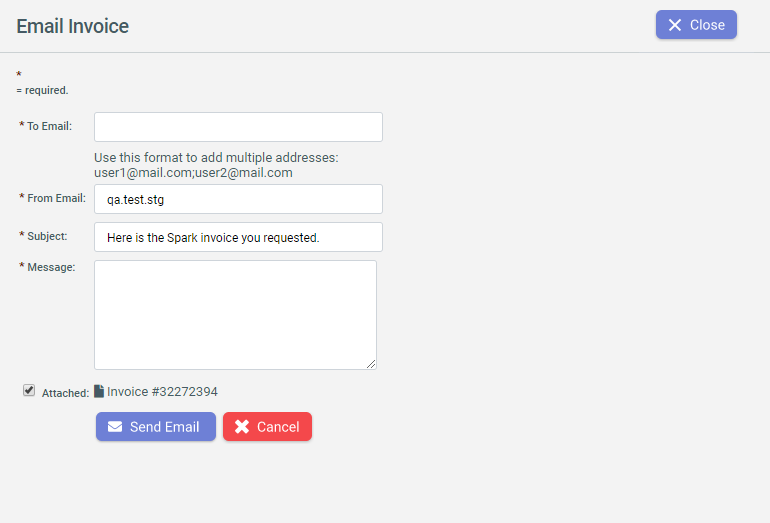
- To Email - Enter the Customer's email address.
- From Email - Enter the Sender's email address.
- Subject - There is a default Subject set but can be edited.
- Message - Put in the details that are necessary for sending the email.
- Attached - This indicates the particular Invoice # is being sent as an attachment to the email.
Invoice Memo
This is used to create off-cycle invoices when necessary. Debit/Credit memos generate a non-printed, manual invoice in the billing system called “Memo Invoices”. These are created real-time and affect the Customer receivables automatically.
- Click the
 icon located at left side of
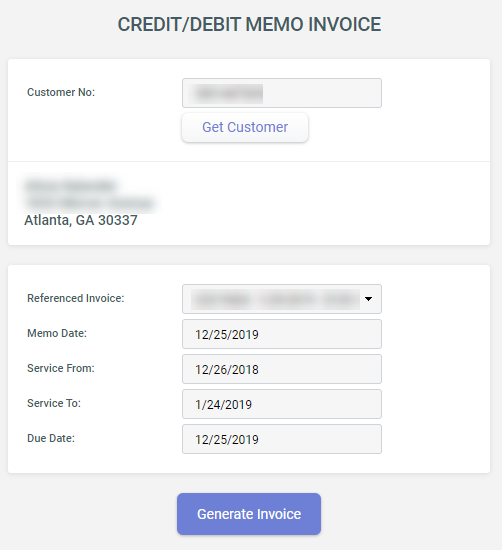
the Invoice #. Enter the required details on CREDIT/DEBIT MEMO INVOICE page.
icon located at left side of
the Invoice #. Enter the required details on CREDIT/DEBIT MEMO INVOICE page. - Click Generate Invoice.
| Fields | Description |
|---|---|
| Referenced Invoice | Select referenced Invoice for which memo needs to be created |
| Memo Date | Enter the memo date. |
| Service From | Enter the consumption service from date. |
| Service To | Enter the consumption service to date. |
| Due Date | Enter the memo due date. |
- Select a Rate Description from the list.
- Enter a Memo Description.
- Enter a Memo Quantity.
- Enter the Memo Amount. Note: A minus sign in memo amount indicates credit.
- Click Submit Invoice Detail to add the invoice details.
- Submit multiple details, if required.
- Click Submit Completed Invoice to complete the process. You can view the
generated Memo inside AR Summary section.

Invoice Adjustment
To add adjustment to an invoice, click  to show the
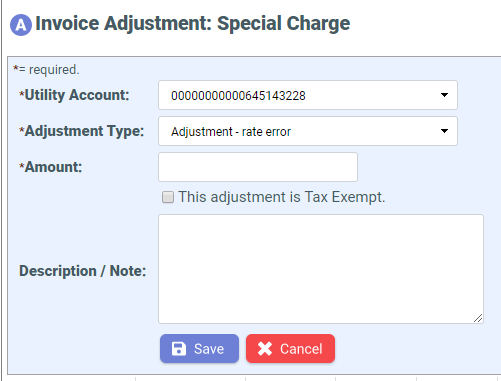
Adjustment Note. Enter the required details on the Special Charges pop up.
to show the
Adjustment Note. Enter the required details on the Special Charges pop up.
| Fields | Description |
|---|---|
| Utility Account number | Enter the specific Account number where Adjustment applies. |
| Referenced invoice number (if applicable) | This is unique to the invoice. |
| Charge type | Choose from the list whether it is an adjustment, a refund, or fee. |
| Adjustment amount | The specified amount depends on the type of adjustment or charges. |
| Description/Note | Put in a short description of the adjustment being applied. |
| Tax Exempt | There is an option to indicate if adjustment is Tax Exempt. |
| Bill Now | Click Yes to apply the adjustment to the bill immediately. |
| Save and Cancel buttons | Click Save to save the entry. Click Cancel to cancel the entry. |
- Go to Administration Menu > Operations > Bulk Special Charges Upload.
- On Process Special Charges Upload page browse the special charges in excel
format and click Upload.
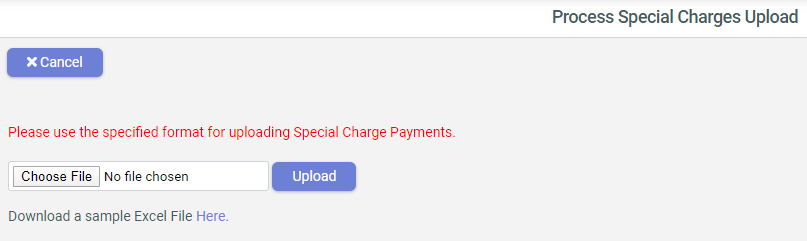 Note: Sample Excel File to upload special charges can be downloaded from Process Special Charges Upload page.
Invoice Printing
To print invoice, click  to the left of the invoice number to view or print a copy of the
invoice mailed to the Customer.
to the left of the invoice number to view or print a copy of the
invoice mailed to the Customer.
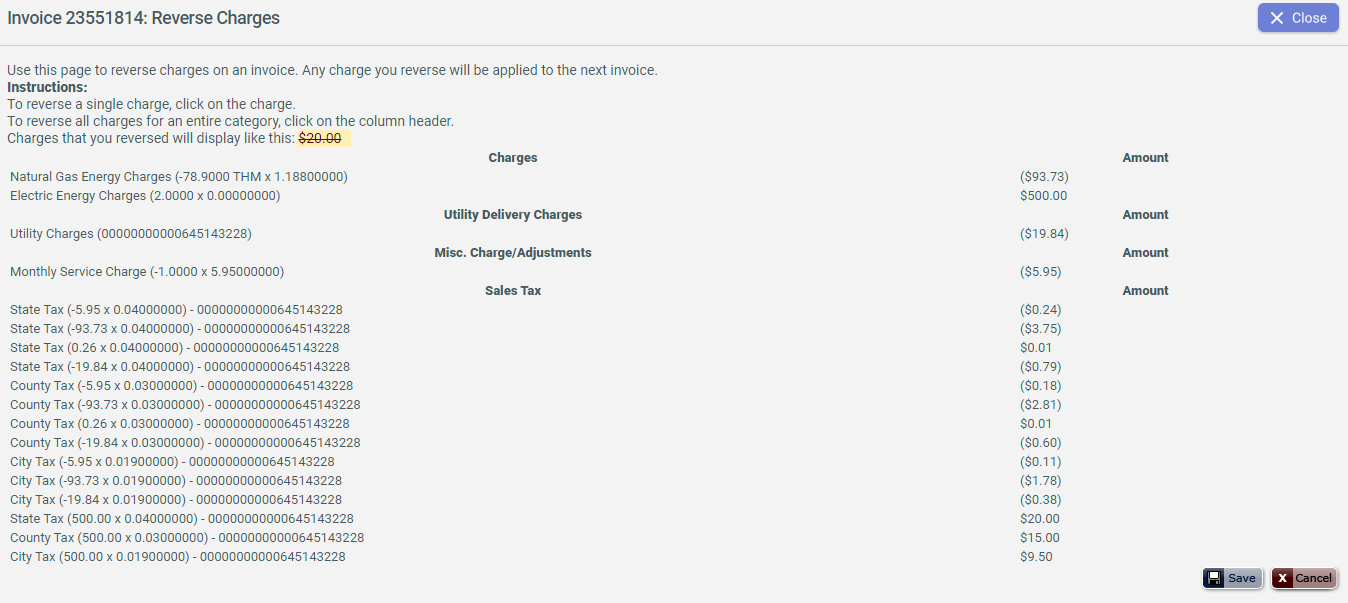
Reverse Charges
To reverse charges on invoice, do the following
- Click on the Invoice#, then click
 .
. - To reverse a single charge, click on the charge amount itself. To reverse all charges for the entire category, click on the column header.
Invoice Payment
To make payment, click the  icon to the left side of the invoice number. To learn
more about payments, see Payments Overview.
icon to the left side of the invoice number. To learn
more about payments, see Payments Overview.