Creating a Test Environment
Learn how to create a Test Environment.
To create a new test environment, perform the following steps:
- Click the checkbox besides the backup listed in the Backup section. Note: The backup source should be in a hot state and ready for deployment. For more information, see Restoring a Backup Instance.Note: You have to select a backup to create a test environment.
- Select the Application to be created from the following options:
- Get Specific Version – Use this option if you want to create a test environment without any of the customizations created in the backup.
- Get app from backup – Use this options if you want to import the customizations created in the CRM server from which the backup was created. Note: You cannot use the database from the backup if you want to use a specific version of the CRM server in the test environment.
- Select the Database option that you want to specify from
the following options:
- Empty Database – select this option to create a test environment with empty database.
- Original Database from backup – select this option if
you want to import the data from the backup to the test environment
database. Note: If you are importing the customizations in the backup then you cannot use a specific version of the CRM to create the test environment.
- Anonymized database from backup – use this option if you want to import the database from the backup but you do not want certain data to be visible. For more information on anonymizing the data, see Anonymizing the Backup Database.
- Select the Version of the CRM servers with which you want to create the test environment from the drop-down list.
- Select the required Industry Vertical configuration for the CRM servers in the
test environment. You can select from the following options:
B2B; B2C; and
F2C.Note: The above two options is disabled if you have opted to import the customizations and the database or anonymized database from the backup.
- Click New. The new test environment creation is
initialized and it is listed in the Test Environment section
of this page. The Status column shows Initialization in the screenshot below. And
the Actions column has the Delete button activated. Click
Delete, if you wish to stop creating the test
environment.
Once the initialization is complete, the status of the test environment created changes to Up. It also shows the lifespan of the test environment (in hours) before it is terminated. The Links column contains links to the CRM.Web and CRM.Designer created in the test environment. The Actions column nows has the Stop and Delete buttons. See the screenshot below.

- Click on the CRM or Designer link to open the server in a new tab. The following
screenshot shows the CRM.web server login window in a new tab.
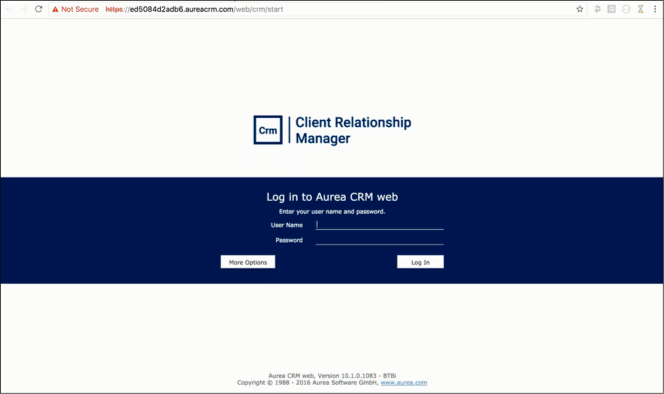
Notice the URL, it uses the SSL to establish the connection to the CRM.Web in the test environment. It is of the format
https://<unique token>.<domain
                        name>/web/crm/start
. The unique token ensures that you always connect to the correct instance of the test environment. The domain name is specified by the<CrmWebUrl>configuration element. For more information on configuration, see Configuring the On-Demand Access settings. - Click the Stop button to stop the test environment. The Start button gets activated.
- Click the Delete button to delete the test environment. The Status of the test environment changes to Deleted.