Defining Lists
All fields available in a level can be included in a list in any order.
To define a list:
- Switch to the list view.
- Select View > Define List Format from
the menu. The Define List Format dialog box opens
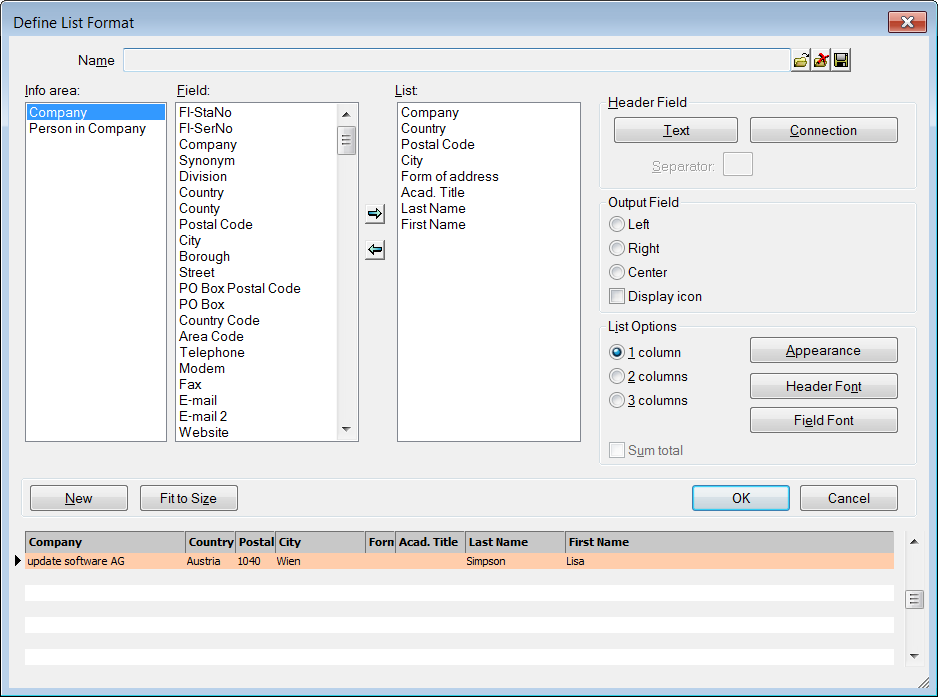
- If the current level contains more than one info area, select the desired info area
from the list under Info area. The fields available in the info
area are displayed under Field.Note: Enable the Sort selection lists alphabetically option under Extras > Other Options in the update.CRM win main module to sort the fields alphabetically.
- Double-click on a field to add it to the list. Double-click on the field again to remove it from the list.
The bottom portion of the dialog box provides a preview of the selected fields and settings.
- To change the column order, click on a column header in the preview and drag it to the desired position.
- To change the column width, click on the divider between columns and drag it to the desired position.Note: You can also edit the column width and order in the list view.
- Define more view settings for the list, see List Properties.
- Click OK.
- When prompted:
- Select Yes to save the list format, see Saving, Loading and Deleting Formats.
- Select No if you want to use the list only temporarily.