Custom Masks
You can define custom masks specially adapted to your specific requirements. To define a custom mask for an info area:
- Switch to the info area.
- Select View > Custom Mask from the menu.The custom mask is displayed.
- Select View > Load Mask Fields.
The Field Selection is displayed:
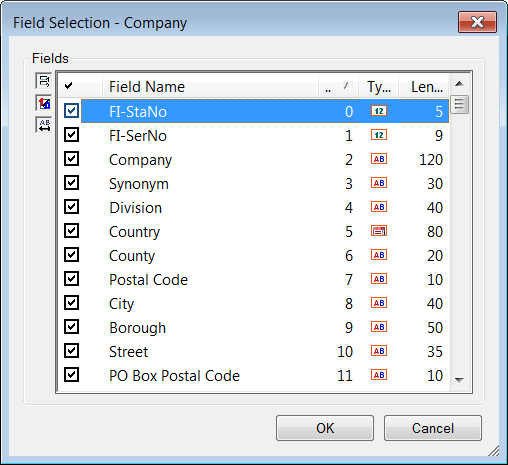
- To add or remove a field, enable or disable the corresponding check box.
- Click OK.
- Select View > Save Custom Mask from the menu.
- Enter a name for the mask and click OK.
To load a custom mask:
- Select View > Load Custom Mask from the menu.
- Select the desired mask.
- Click OK.
Masks can also be deleted, sent to other users or access can be denied to other users, see Saving, Loading and Deleting Formats.