Select Template Launch Options
Each notification template has the following advanced options called Launch Options. These are used when a template notification(s) is sent from the Alert Console.
To select an option, click on the check box next to it and a check mark will be displayed in it. To deselect it, click again, and the check mark will be removed:
| Enable Editing
|
To allow the person sending this notification from the Alert Console to edit or change the notification subject, recipients, and message, check this option.
This does not change the template itself. Rather, it enables the sender of the notification to make edits to this specific notification prior to sending. The notification template will remain unchanged.
For example, if you created an Inclement Weather notification template and had Enable Editing checked in the template, then when sending the notification from the Alert Console, the person sending the notification could change the message body to include the specific office location that is affected. In this case, the sent notification would say Inclement Weather, but the message body would have more specific site information.
|
| Send All Notifications
|
To require that all the notifications linked to this template be sent at the same time, check this option.
An example of when this might be appropriate is when you want to send one message to activate the crisis response team and another general message to employees. Both notifications have to go out.
When this is unchecked, AlertFind will send only the selected notification and not any others that are linked to the template. An example of when this is appropriate is the Hurricane Alert notification template. In this template, Send All Notifications is unchecked. This means, when people select this template from the Alert Console, they must pick one of the available Hurricane Notifications to send. They cannot send more than one notification at the same time.
|
| Quick Launch ID
|
To have the notification sent over a Hotline and as a text message, enter a Quick Launch ID. You can have the system generate one or you can create one of your own. For example, 1001 or BADWEATHER. This option is not available unless you check Send All Notifications.
|
| Create Incident
|
To automatically create an incident when this template notification(s) is sent from the Alert Console, check Create Incident.
In this case an open incident is automatically created, linked to the template's notification(s), and listed on the AlertFindIncidents page when the notification(s) is sent.
If you check this option, you will be prompted for adding attachment(s) to the template. You can add up to 5 attachments of up to 50 MB.
The following task example is of an incident automatically created by the Hazmat Emergency alert when it was sent.
|
To see an automatically created incident:
- From the left menu bar, in the Incidents section, select Incidents. This displays a page of all listed Incidents.
- To see the created incident, double-click the new incident (or select it and click View Details) to view it.
The following is an example of an incident automatically created by the Hazmat Emergency alert when it was sent.
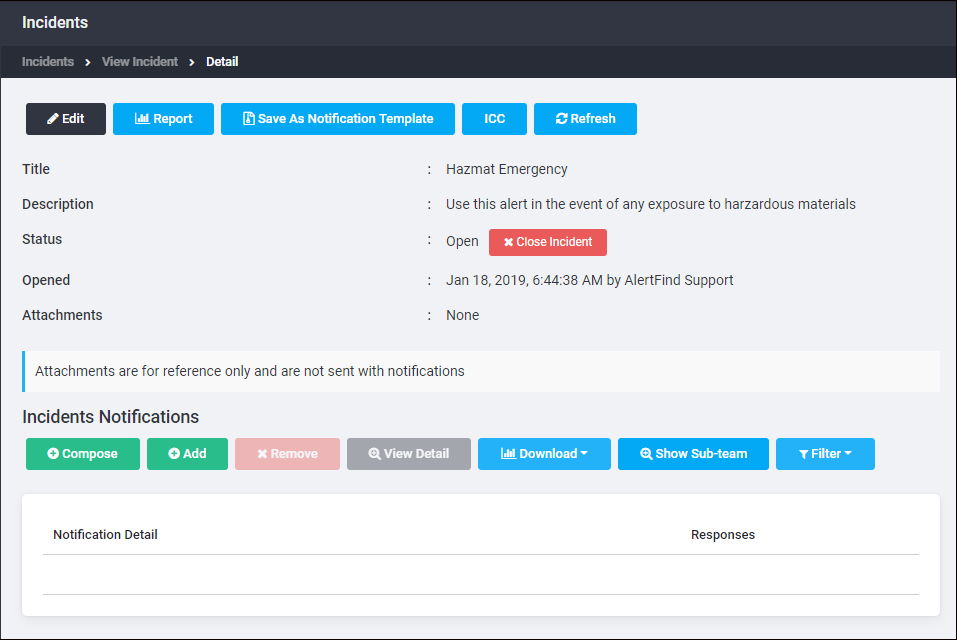
The incident takes on the title of the notification template along with its description. Any attachments and all notifications linked to the incident are listed.
Incident templates created prior to AlertFind 5.0 work the same way they previously worked. However, they will also have the new advanced launch options. In this case, Enable Editing is turned off by default and Send All Notifications and Create Incident are turned on by default. If needed, you can edit these options.