Creating a new campaign from scratch
This topic guides you to create a new campaign from scratch.
To create a new campaign from scratch, perform the following steps:
- Click the Marketing menu icon, and select New Campaign from the menu.

- Click Empty Campaign.
- Enter the following details in the New Campaign window:Note: All fields that are in orange are mandatory fields.
- Name – Enter a name for the campaign. (Mandatory field)
- Starts On – Enter the start date of the campaign. (Mandatory field)
- Type – Select the type of the campaign: Event; Questionnaire; or User Satisfaction. (Mandatory field)
- Target Group Size (Target) – Enter the number of recipients expected to participate in the campaign.
- Ends On – Enter the end date of the campaign.
- Status – Select the status of the campaign. (Mandatory field)
- Costs: Enter the estimated cost of the campaign.
- Currency – Enter the currency in which the campaign cost is estimated.
- Resp.Rep ID – Enter the ID of the responsible rep for the campaign.
- Budget approval required – Select the check box if an approval is required for the estimated budget of the campaign.
- Verification required – Select the check box if a verification is required for the campaign.
- Click Save. The Campaign Designer opens.
- To add marketing activity to the campaign, click the context menu on the right of the
campaign container. You can select an existing marketing activity or create a new
marketing activity from scratch.
- To use an existing marketing activity:
- From the context menu select Reuse Marketing
Activity. The Reuse Marketing Activity
window opens.

- Search for the marketing activities from a campaign and select it from the search list.
- Enter a New Start Date for the marketing activity, in the resulting
window.
 Note: If you do not provide a start date for the marketing activity then the start date on the reused marketing activity is used as start date.
 - Click OK. The marketing activity and its descendent marketing activities
are added to the campaign designer.

- Next you can make further additions to the marketing activity.
- From the context menu select Reuse Marketing
Activity. The Reuse Marketing Activity
window opens.
- To create a new marketing activity:
- From the context menu select New Marketing Activity.
The New Marketing Activity window opens.
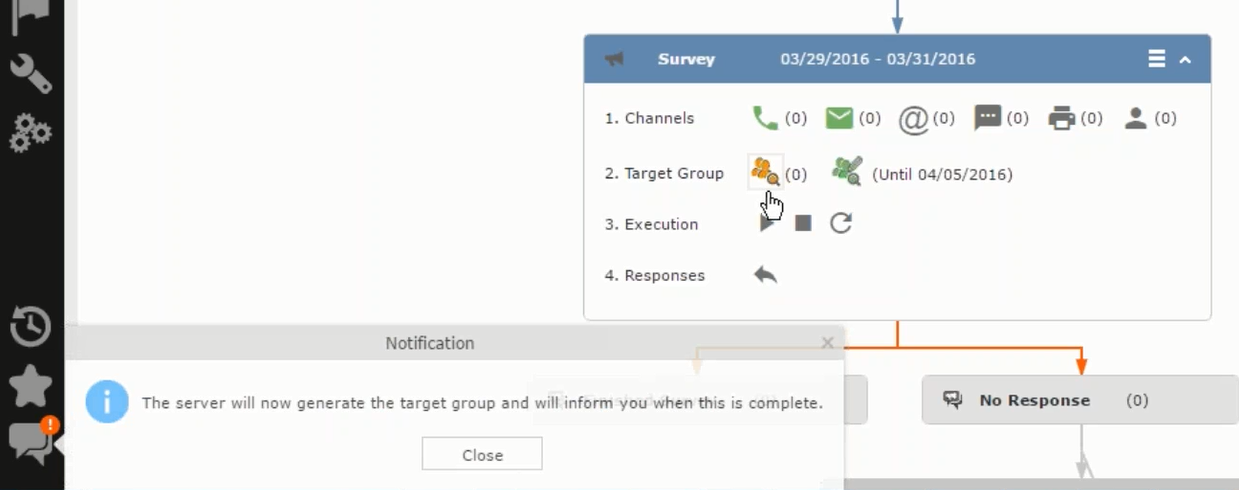
- Enter the following details for the new marketing activity:
- Marketing activity – Select the marketing activity type from the following: Confirmation, Event, Follow-up, Invitation, Survey, Survey-remainder. (Mandatory field)
- Starts on – The start date for the marketing activity.
- Ends-on – The end date for the marketing activity.
- Resp.Rep ID – The ID of the rep responsible for the marketing activity.
- Costs – The estimated cost of the marketing activity.
- Currency – Select the currency the cost is estimated in.
- Text – Provide a description and other relevant information in this text field.
- Click Save to create the new marketing activity
container in the campaign designer.
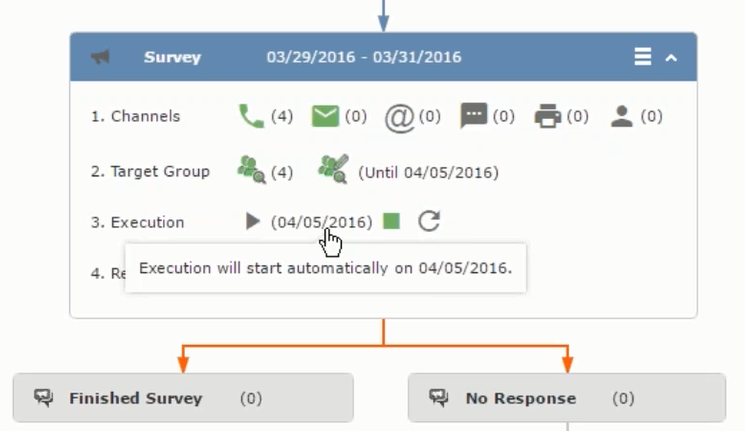 Note: A blue arrow points from the campaign container to the marketing activity container.
 - In the next step you need to define some responses for this marketing activity.
- From the context menu select New Marketing Activity.
The New Marketing Activity window opens.
- To use an existing marketing activity:
- The context menu for the marketing activity container allows you to perform the
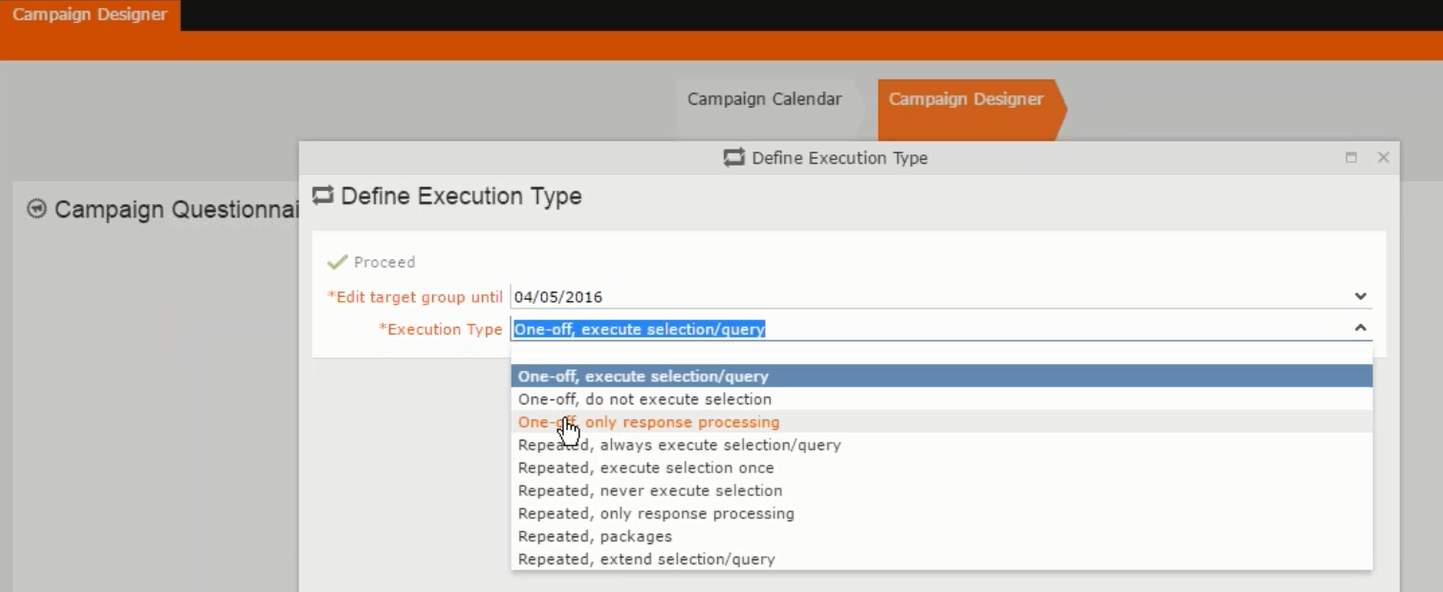
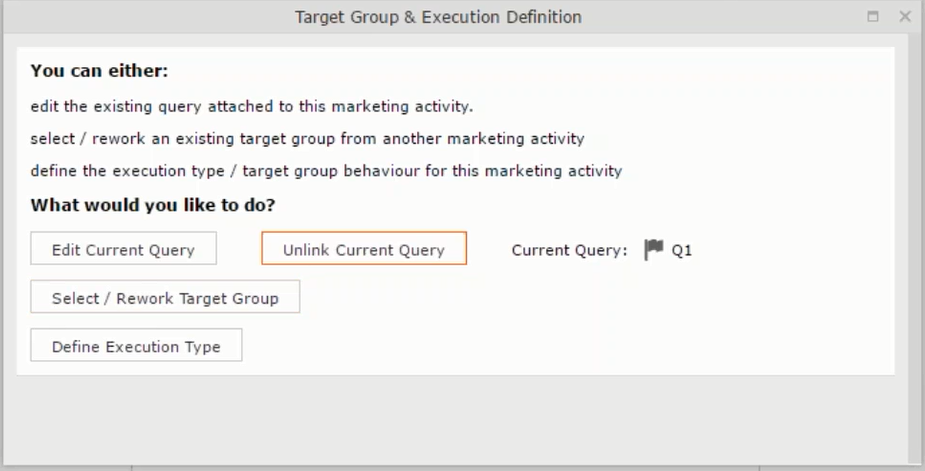
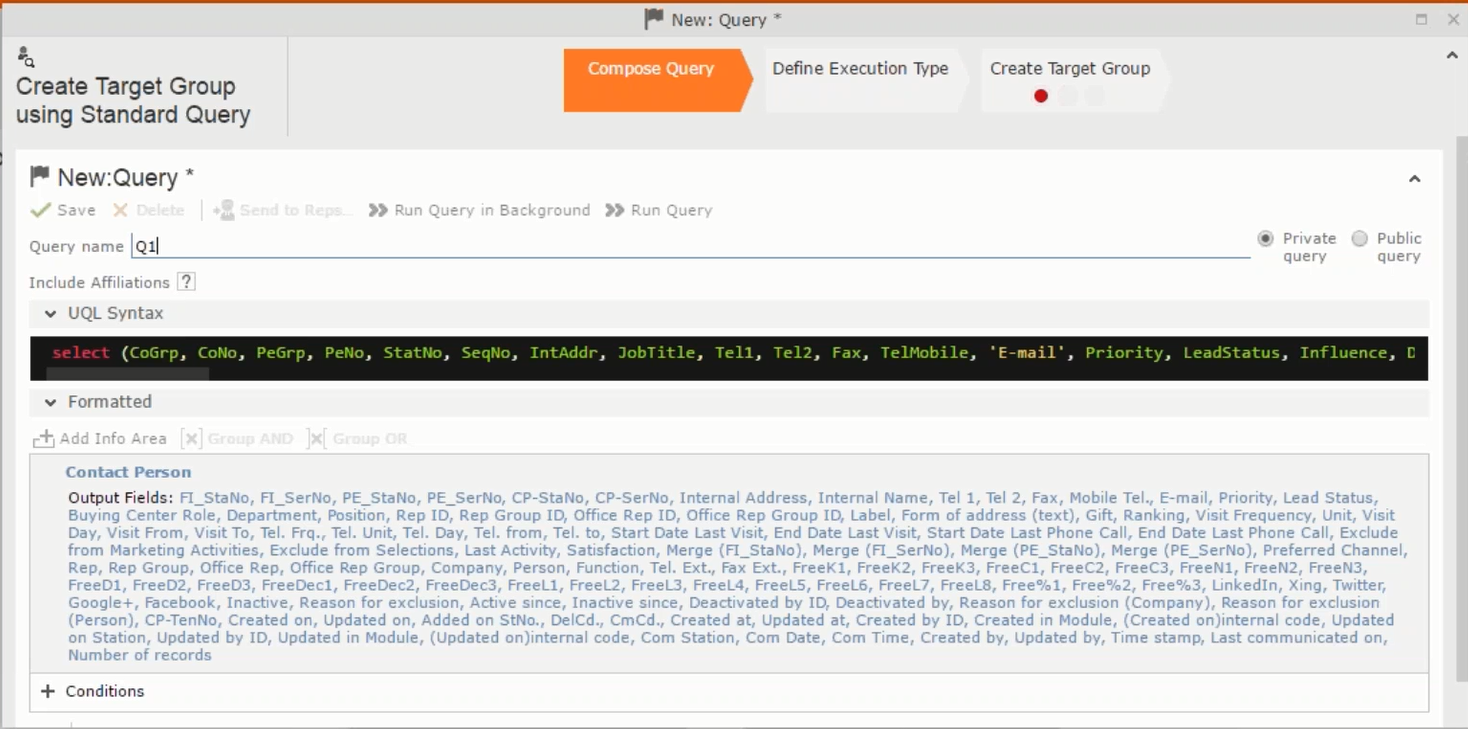
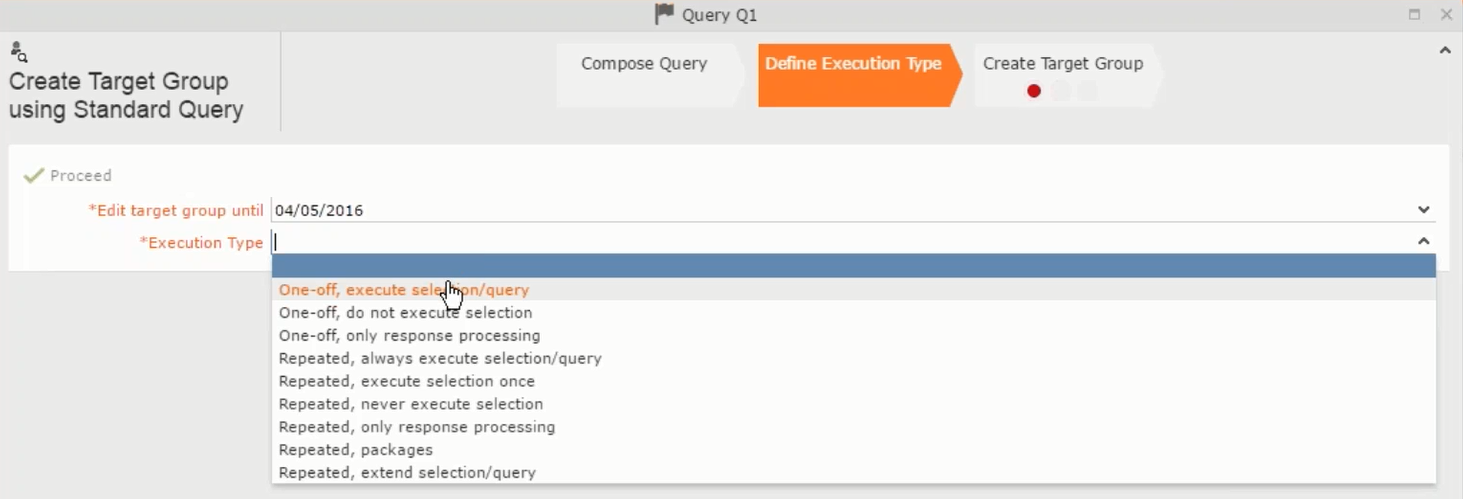
following: Define responses, Channel and Format definition; Target group and Execution
definition; Edit Target group; Notify Rep; Edit/View Responses (Activities); Edit the
marketing activity; Delete; Delete (including Generated Record).
In this case we define a response to the survey marketing activity, we have defined.

- Select Define Responses from the context menu. A pop-up window
is displayed.
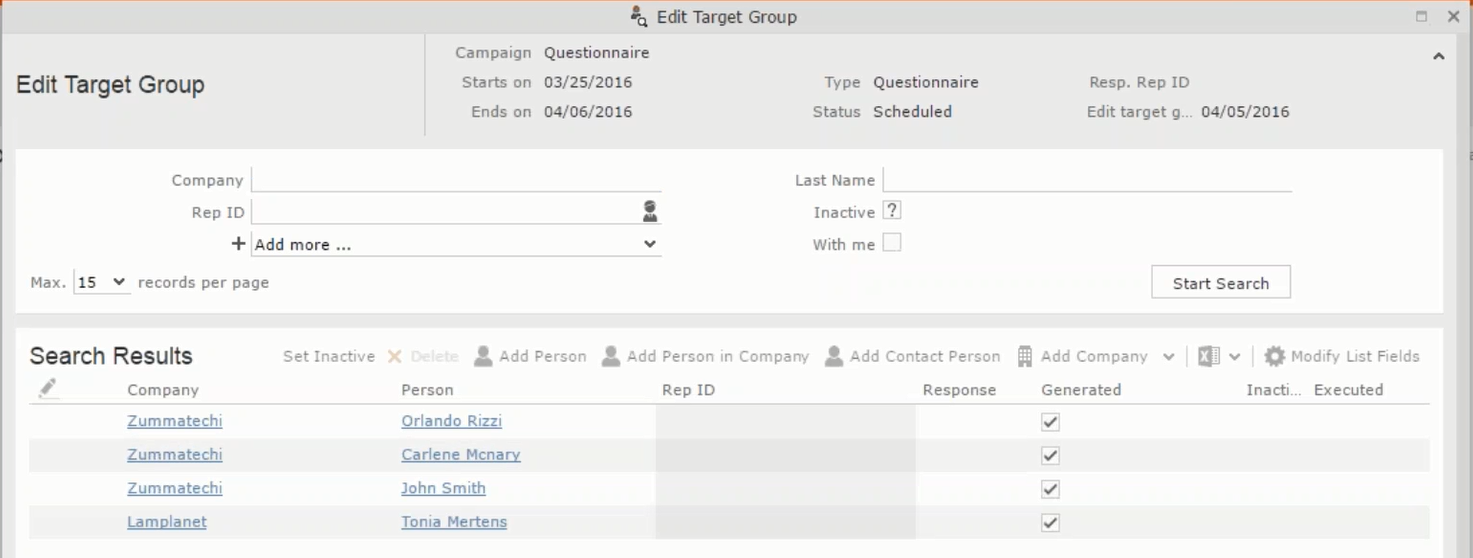 Note: The list of available responses are defined in the catalog entries for marketing activities. If no entries are present you get the catalog entries window and you have to define the response catalog entries in that window.
 - Select the responses you want to define and click OK. The
responses are added to the graph view under marketing activity container.

Now you can further define the follow-up marketing activity to the responses defined above.
- To define a follow-up marketing activity, select the Define Follow-up
Marketing Activity from the context menu for the “No
Response” container. The New Follow-up Marketing
Activity window displays.

This window gives you the option to create a new follow-up marketing activity or use an existing one.
- To create a new marketing activity or to reuse an existing one, perform the sub-steps
described in step 5. In this case we add a follow-up marketing activity
(Survey Reminder) to the No Response
marketing activity.

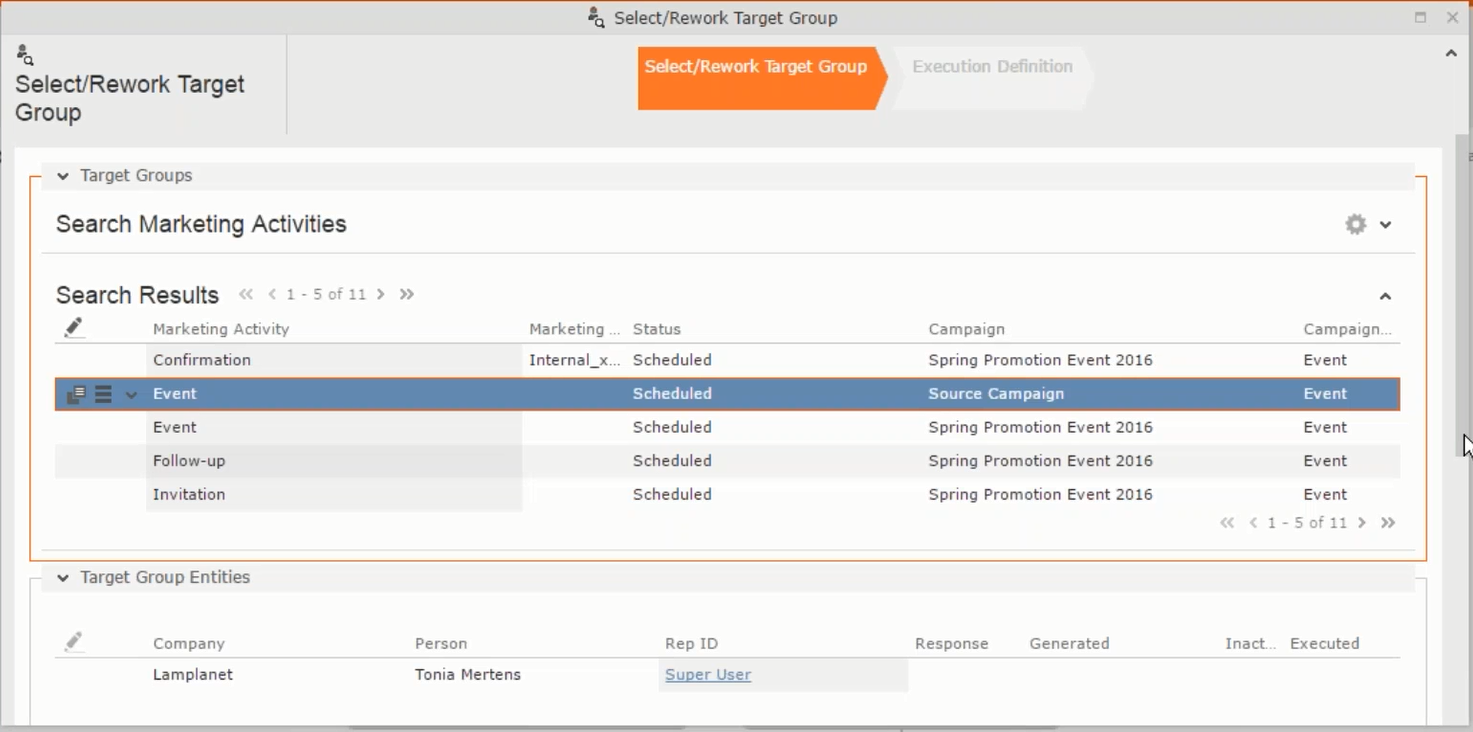
- Next we define the responses to the Survey Reminder follow-up
marketing activity. Select Define Responses from the context
menu. The Responses (Survey Reminder) window opens.
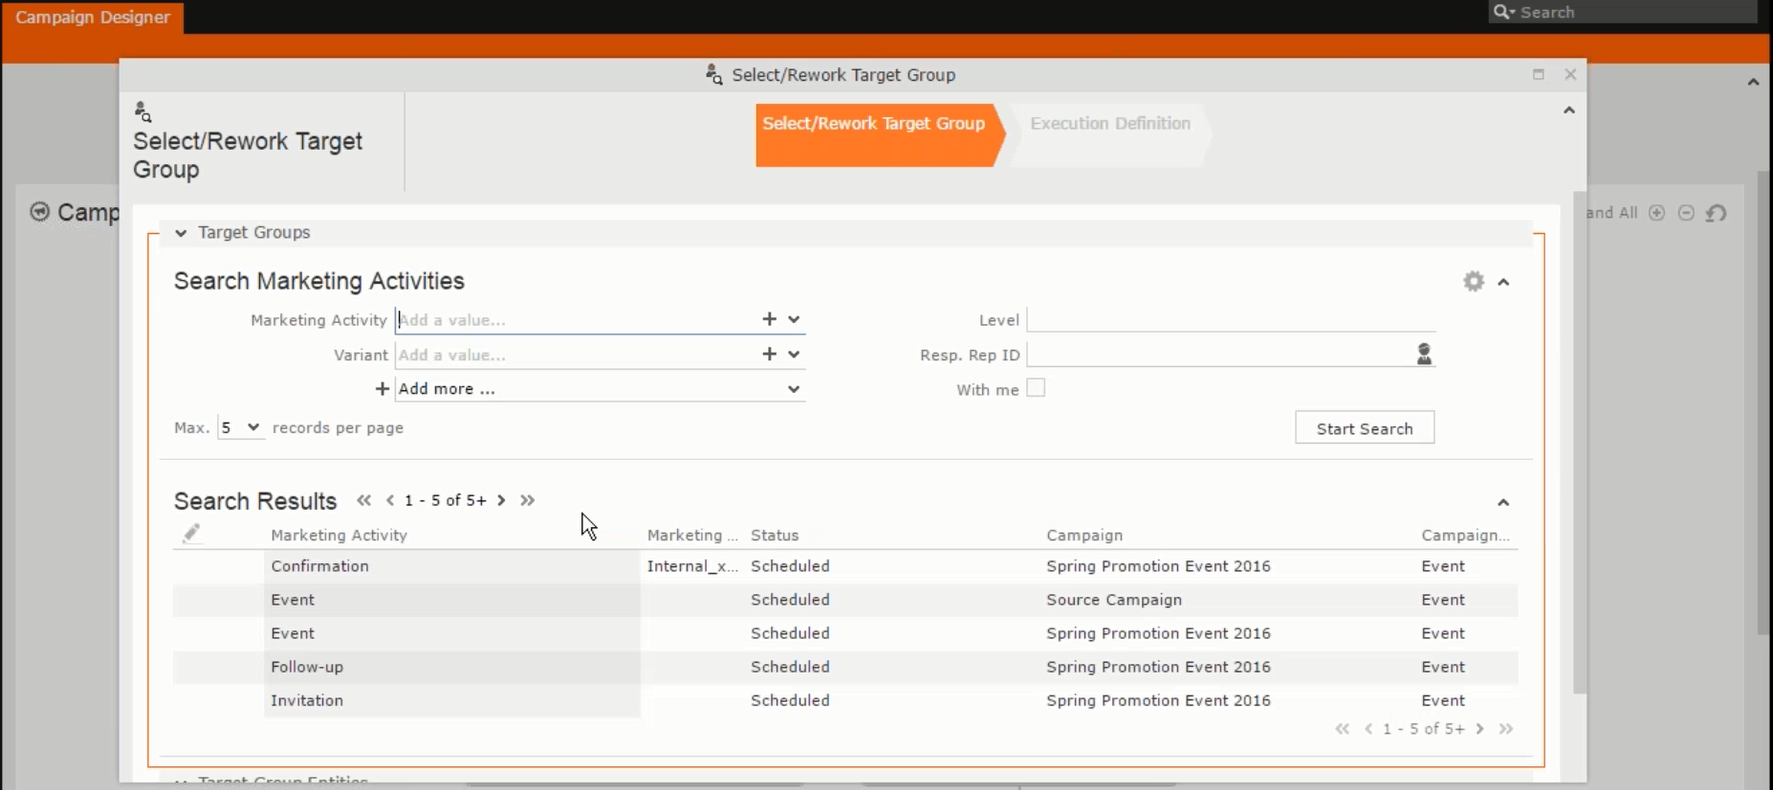
- Select Finished and No Response options and click OK.
- Next we want to send the survey reminder to those who have not responded. This loops
the defined actions. To do this, select Define Follow-up marketing
activity from the context menu of the No Response container.

- Click Use Existing button.
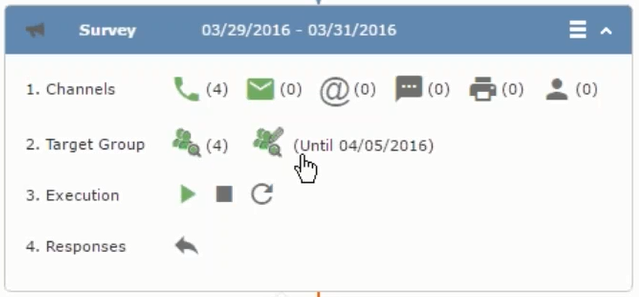 Note: Since we want to send a survey reminder from the same campaign named “Questionnaire” we restrict the search content to the Questionnaire campaign. By changing the Context to Entire Database you can search for and add marketing activity from other Campaigns. To do that it is recommended that you use the Re-use Marketing Activity function described in step 5.
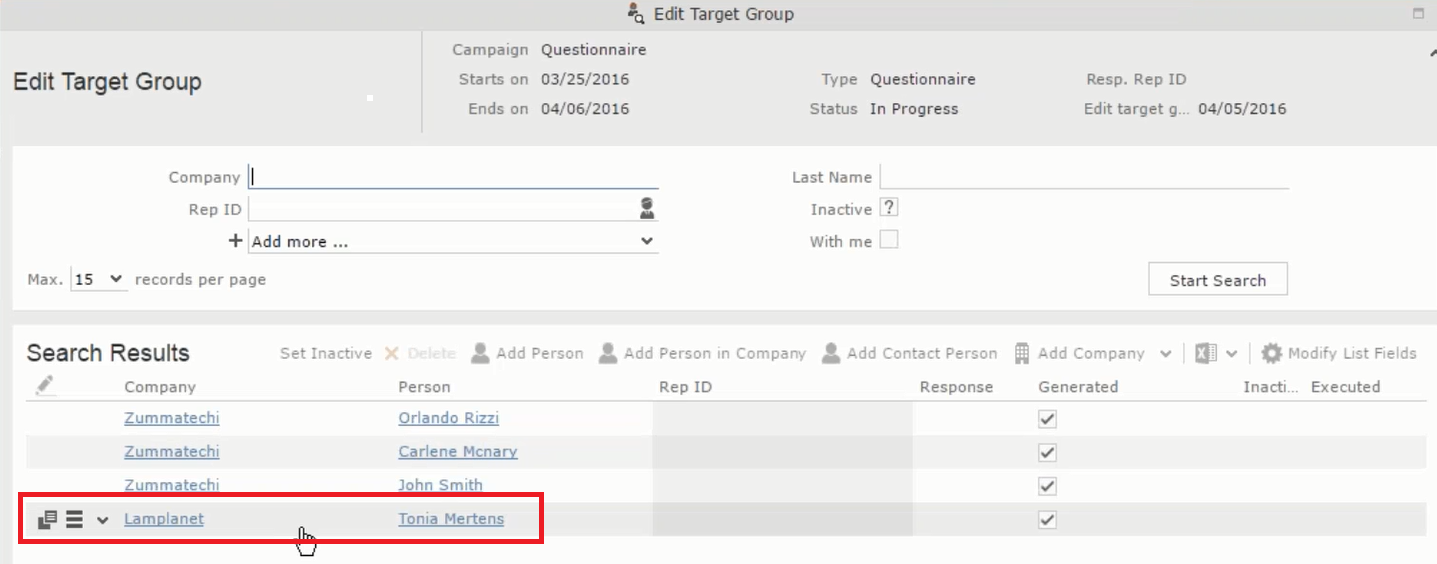
 - Click Start Search and select Survey
Reminder from the search result.
- Next a confirmation follow-up marketing activity is added to the Finished Survey activity. To do this select Define Follow-up Marketing Activity from the Finished Survey context menu. To create a new marketing activity, perform the sub-steps described in step 5. In this case we add a new follow-up marketing activity (Confirmation) to the Finished Survey activity.
