Creating a New Incident
Administrators can create incidents for any team. Team leaders can create incidents for their teams if they have been granted that permission (Manage Templates).
To create a new incident:
- Go to your team’s Incidents page. See Viewing a List of Incidents.
- On the Incidents page for the selected team, click Add. The Create Incident window displays.
- In the Create Incident window, type a title for the incident. This is a required field.
- Type a description of the incident. This is an optional field.
- Click Attachments if you want to add attachments to this incident. You can add up to 5 attachments of a total size of not more than 50 MB. If you choose to add an attachment, a new window appears so that you can navigate to the location of the attachment. Note that attachments are for reference only and are not sent with notifications.
- Click Save. The Viewing Incident page is displayed. This page allows you to create one or more notifications and automatically link them to the incident. The following is of an example incident with two notifications already linked to it.
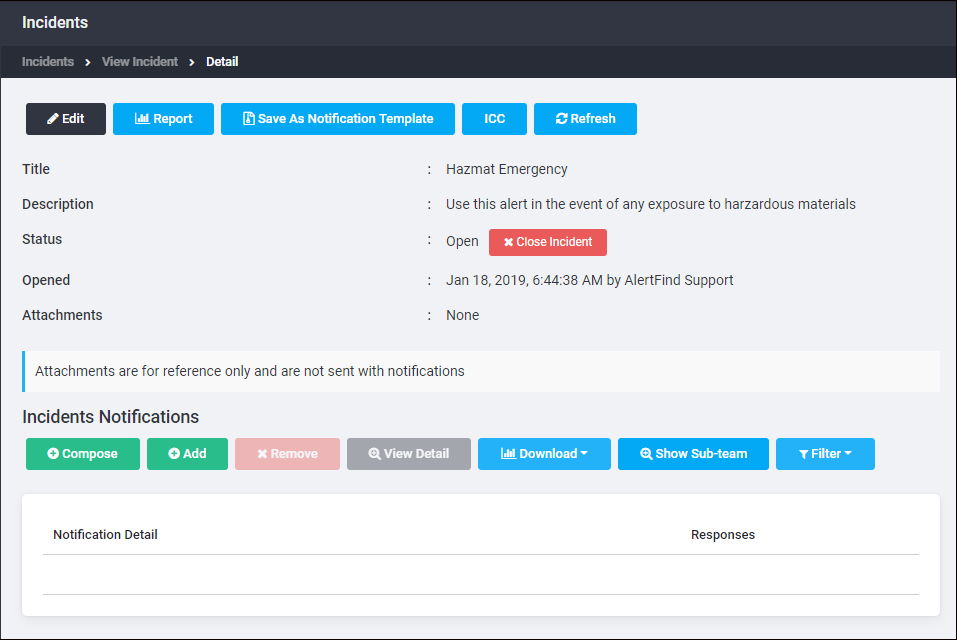
- In the Incident Notifications section, click Compose to create a notification automatically linked to the incident. See Compose Notification for instructions on how to compose notifications. You can compose as many notifications as you may need to link to the notification. You can also click Add to link a previously created notification to the incident. This displays the Manage incident notifications window. In that window, select the notification you want to add and click Add Selected. When you have finished adding notifications, click Close.
- When you have finished creating your incident, click Close. The new incident is listed on you team’s Incidents page.