Create New User
Learn to create new user in CIS.
To create a new user, follow these steps on the User Setup screen:
- Go to .
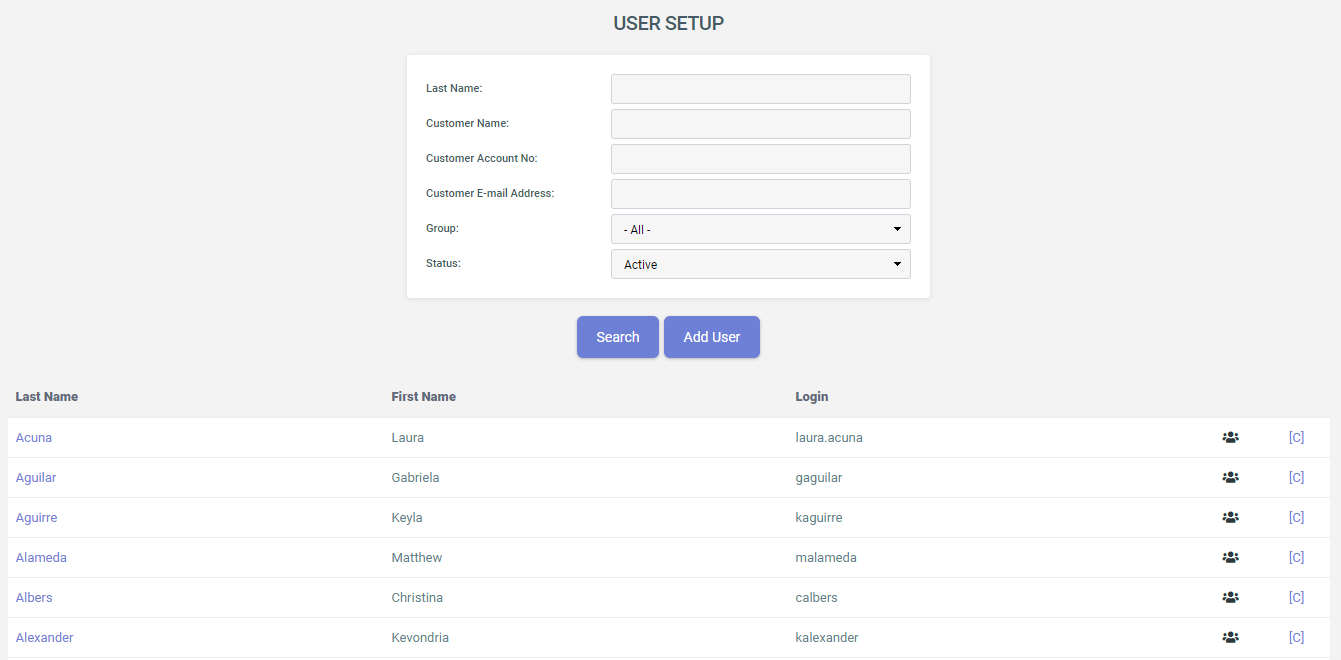
- Click Add User.
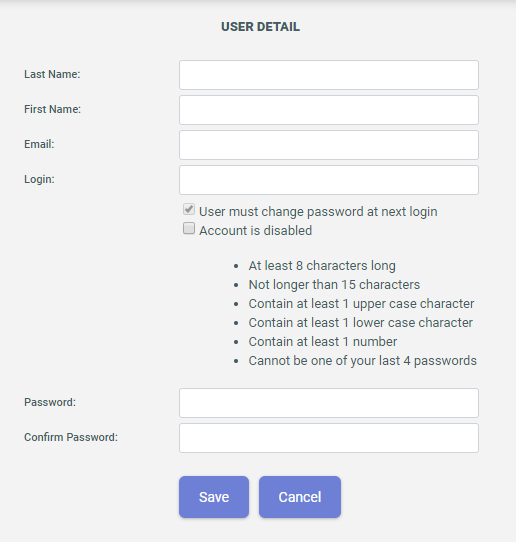
- On the User Detail page, provide the details requested including a temporary password and click Save. A new user is created. On the first login, the user is then required to change the temporary password to the permanent one. The passwords must meet the following requirements:
- The password must be of minimum 12 characters.
- The password contains characters from three of the following categories:
- Uppercase Latin letters (A through Z).
- Lowercase Latin letters (a through z).
- Base 10 digits (0 through 9).
- Non-alphanumeric characters (special characters).
- The password must be different from the last 10 passwords used.
You can also choose to create the account in the “disabled” mode. This can be useful if you want to take care of the administration account creation process but wish to delay account activation until the training is completed.
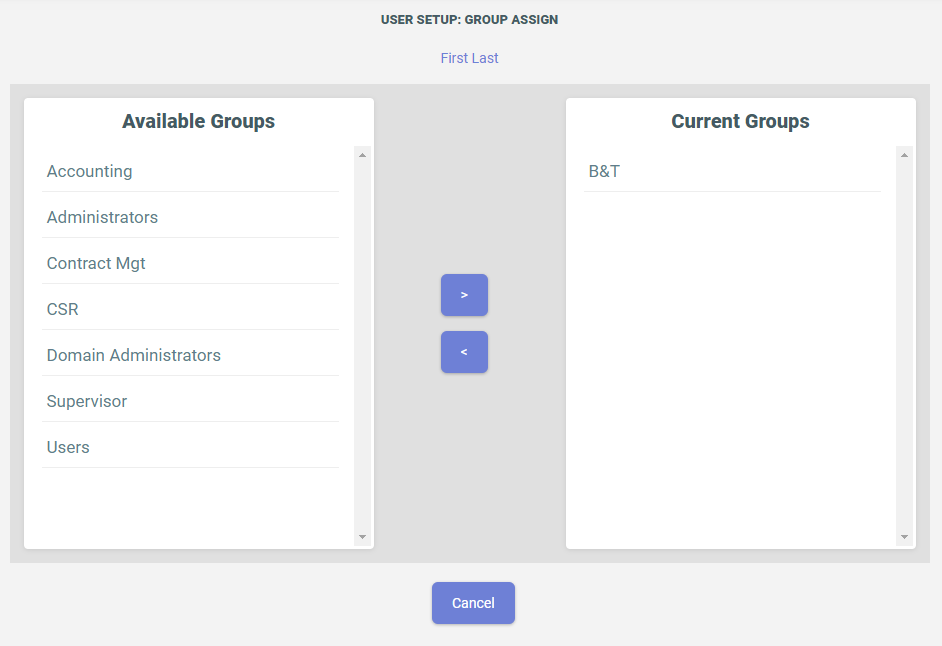
- Click on the last name (from the Last Name column) of the newly created user and click Assign Groups to add a security role to a new user. To
search for a user, see Manage Users.
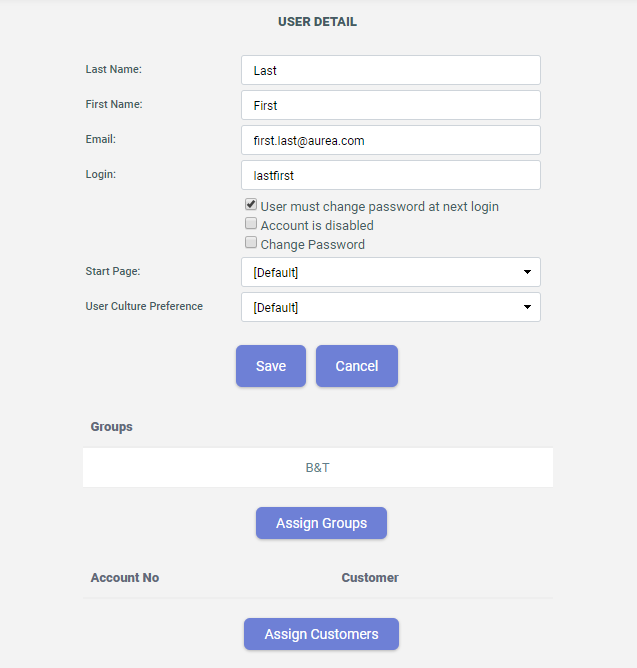
- To assign group roles select a relevant role from Available Groups and move it to Current Groups using the using the forward direction button.
- Click username to return to the User Details screen.
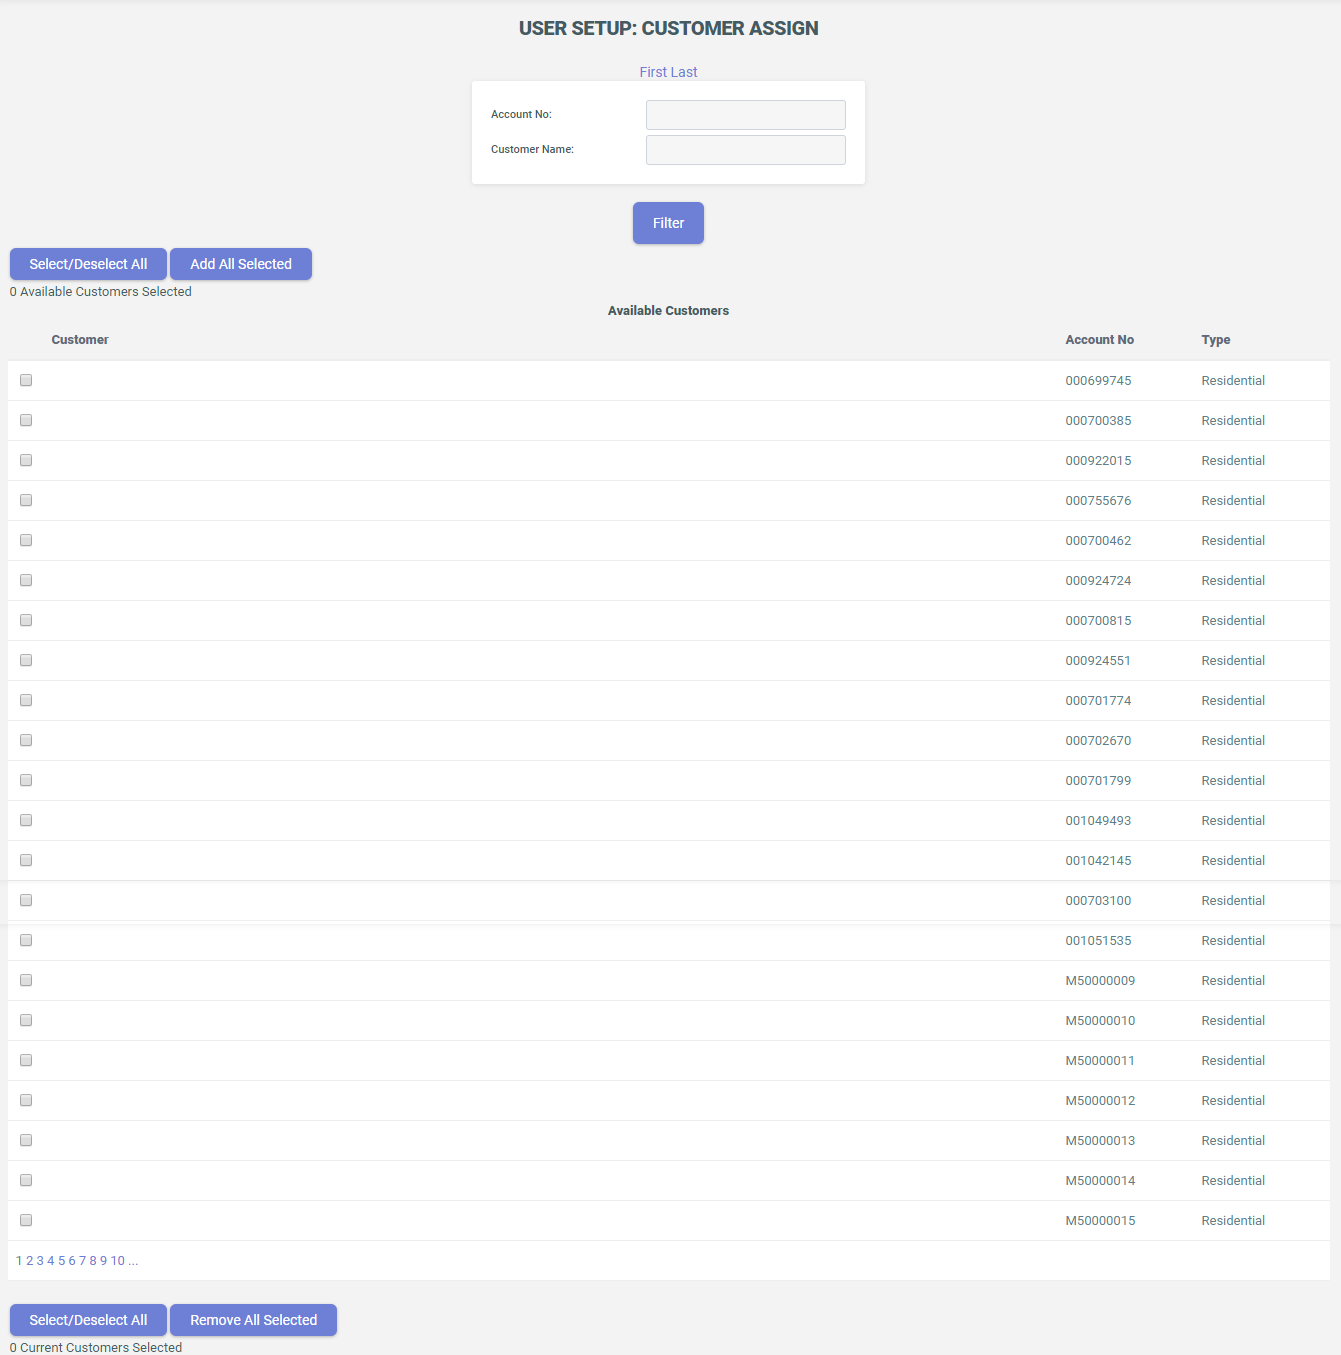
- Optionally, you may assign particular Customers to a user account by using Assign Customers. This is only needed if you want to support the creation of user accounts for Customers using the B2B portal.
On the Customer Assign screen, you can add or remove Customers to this new user account as you want.
