Creating and Managing Rate Details
Learn about creating and managing rate details.
Rate Details refer to the rate structure assigned to a Customer (or Product) that specifies Utility Charge calculations, Customer Charge Calculations for billing purposes. It is also commonly referred as the Customer’s rate. CIS allows you to create and manage Rate Details from the Client Rate Administration page.
Creating Rate Details
Creating Rate Details is a two stage process:
- Adding rate description details
- Adding rate charge details
- Navigate to General > Client Rate Administration from the middle pane. Alternatively, go to Administration Menu > General > Client Rate Administration.
- On the Rate Administration page, click New Rate.
- On the Rate Administration: Rate Detail page, set the following identification
fields:
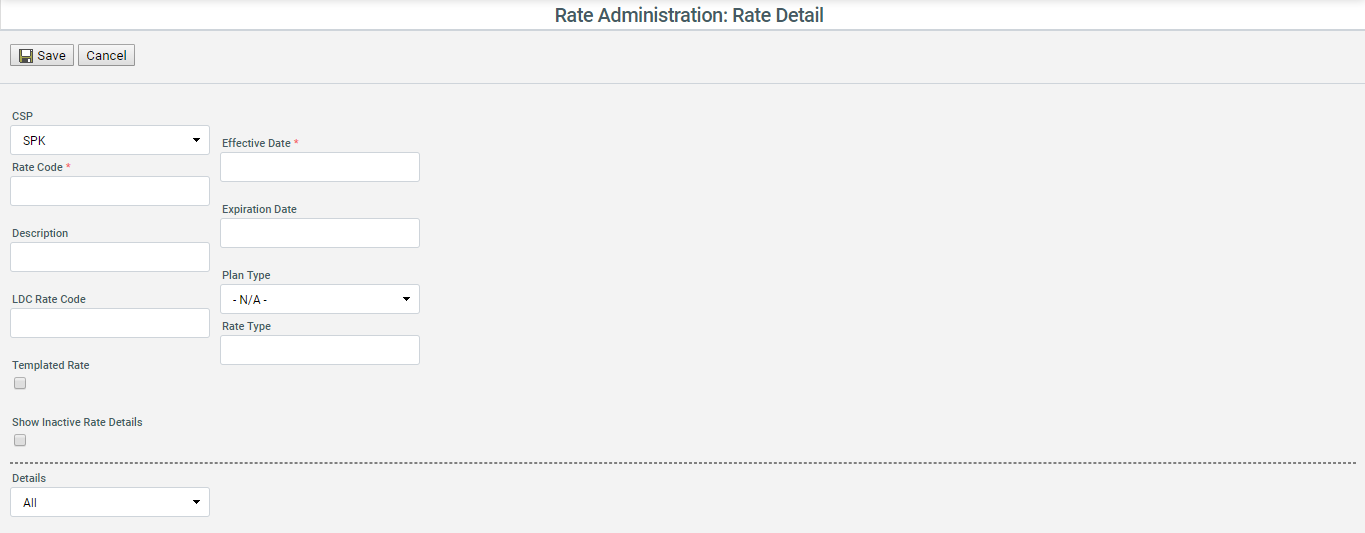
- CSP - Select the relevant service provider for whom this new rate details is being created.
- Rate Code - This is the name of the rate. Enter a unique code to locate and identify this new rate in CIS.
- Description - Enter the description of this charge to be used by the
Supplier to bill a Customer. For example,
Energy Charge,Monthly Meter Charge,City Taxes,County Taxes,NSF Charge,Late feeetc. - LDC Rate Code - Enter an appropriate code as for rate changes, CIS either sends the LDC Rate Code or Rate Amount to the utility.
- Templated Rate - Check this option to indicate the same.
- Effective Date and Expiration Date - Specify the time span during which this Rate Details would be valid and active in CIS. The dates must be inclusive dates with no overlap.
- Plan Type - Select an appropriate value to give a higher level description of this Rate Details.
- Rate Type - Enter the calculation method for a given Rate Description. For
example -
Fixed,Variable,Indexed.
- Once done, click Save.
- On the Rate Administration: Rate Detail page click Add Details.
- On the Rate Administration: Rate Item Detail page, set the following fields to
include a charge in Rate Details:
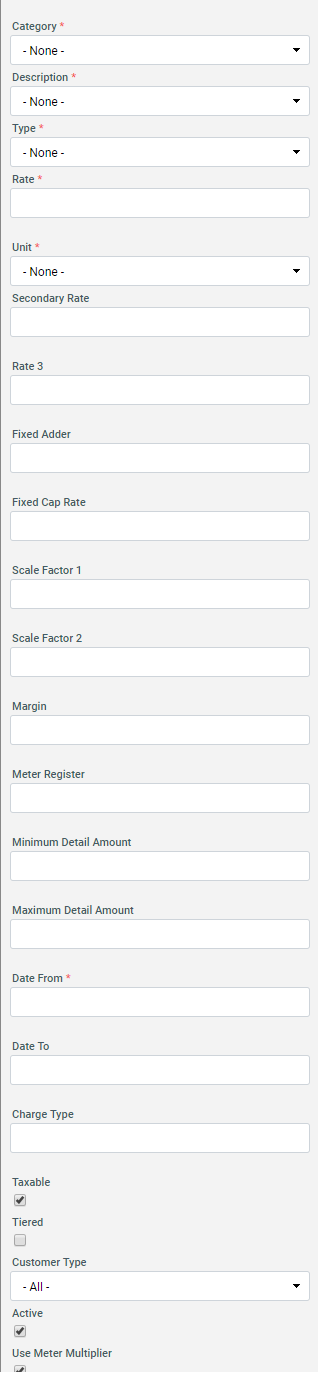
- Category - Select an appropriate category for the charge.
- Description - Based on the selected Category, select a relevant Description. Category and Description drive the Customer summary screen, invoice layout, accounting reports.
- Type - Select an appropriate type for the charge being created.
- Rate - Enter the fixed rate for the charge being created.
- Unit - Enter the unit for measuring this charge.
- Secondary Rate - Enter the rate amount in case the charge being defined is tiered.
- Rate 3 - Enter the rate amount in case the charge being defined is tiered..
- Fixed Adder - Specify the additional amount to be added to the rate in case of indexed rate.
- Fixed Cap Rate - Enter a amount to be utilized for indexes. Indexes are used for variable products that change frequently. When an Index is changed, the Rate Details will refer to the Index.
- Scale Factor 1 and Scale Factor 2- Enter additional factor to multiply it with the rate during invoicing.
- Margin - Enter a margin to keep the charge as adjustable.
- Meter Register - Enter the TOU register number for usage.
- Minimum Detail Amount - Enter a maximum amount that can be billed for this charge.
- Maximum Detail Amount - Enter a minimum amount that has to be billed for this charge.
- Date From and Date To - Specify the time span during which this charge would be valid and active in CIS. The dates must be inclusive dates with no overlap.
- Charge Type - Enter the Charge Type to define how to calculate a line item of this charge on an invoice.
- Taxable - Check this option to indicate if Invoice details generated by Rate Detail are taxable.
- Tiered - Check to indicate the same. If this option is checked then Lower, Upper Range field and Minimum and Maximum Days per period field will be displayed. These needs to be filled appropriately.
- Customer Type - Select an appropriate Customer type for which this charge would be applicable.
- Active - Check to indicate the same.
- Use Meter Multiplier -
- Lower Range and Upper Range - Define the tiered rate range.
- Minimum Days Per Period - Enter the minimum days a period must have.
- Maximum Days Per Period - Enter the maximum days a period must have.
- To add more charges in Rate Details, follow the same steps.
- Once done, click Save.
You can also use Clone and Deactivate to keep the charge deactivated in the Rate Details. This provides you the same result as when you uncheck the
Activeoption as explained in the steps above.
Managing Rate Details
Apart from creating a new rate from the Client Rate Administration page, you can
also use the Search feature to look for an existing Rate Details. Enter the
exact Rate Code or its first few characters to find the relevant Rate Code. The
search results include Rate Code and their corresponding description.
Search can also be performed with the Rate Code search field empty, this will return all the rate codes and their corresponding description.
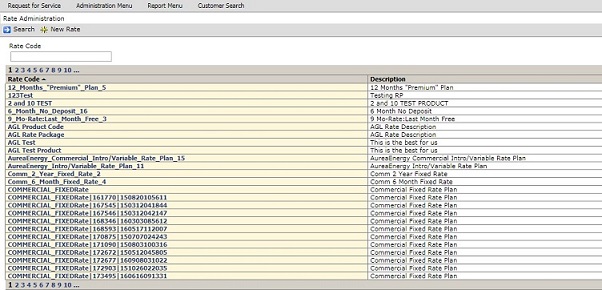
In the search results, click the Rate Code to open a particular Rate Details on the Rate Administration: Rate Detail page.
- change and update the current Rate Details using the
 buttonNote: While editing, only editable fields are displayed as enabled and can be edited. Fields that are ineligible for edit appear as disabled and highlighted in yellow. Edited rate details are applied on future invoices for the account(s) tied to the Rate Code
 - add more charges using the
 button
 - edit existing charges added to the Rate Details
- view and edit deactivated charges using the
Show inactive rate
              details
option