Need Approval
The Mailings > Approval > Need Approval page shows you all mailings which are pending your approval to be sent.
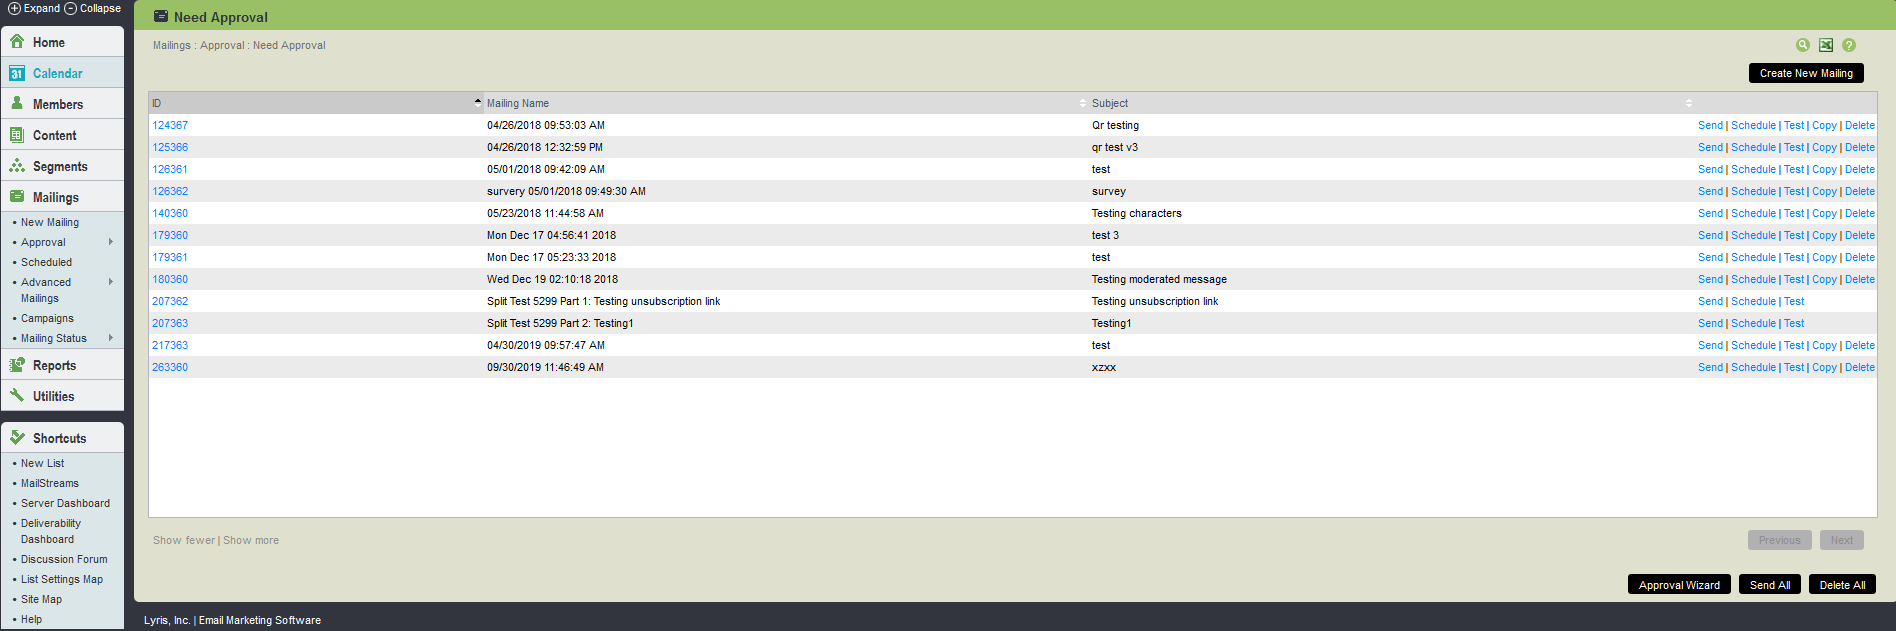
Need Approval UI
The table below explains the actions that can be done on Need Approval page:
| Actions | Description |
|---|---|
| Finding a mailing |
Twenty mailings for the list are displayed in Mailings > Need Approval. To view more, click show
more. Repeatedly clicking You may change the sorting order of the mailings by clicking the up or down triangles next to ID, Title,
or Subject. By clicking the top triangle, the sort order starts ascending (a-z); clicking the bottom
arrow makes the sort order descending (z-a). Click To search this table, click |
|
Viewing or editing a mailing |
To view a mailing, click the mailing ID. You are taken to the Mailings > Need Approval > Edit Mailing screen, where you can view the mailing, edit it, or save and test it. |
|
Sending a mailing |
Note This is not available for transactional messages. To send a mailing, click Send next to the mailing. Your message is approved, and sent out immediately. If you have multiple mailings with the same name and title, you also have the option to send all of these mailings to be sent at the same time. Multiple mailings like this are created when you send a single message to multiple subsets or lists. |
|
Activating a Transactional Message |
Note This is only available for transactional messages. To approve a transactional message, click Activate next to the message. Approving a transactional message makes it available for sending. Transactional messages can be sent using the TMSendMessage API. |
|
Sending All Mailings |
To send all normal mailings, click Send All. Note This action does not apply to transactional messages. You need to activate each transactional message individually to make it available for sending. |
| Testing a Mailing |
Click |
| Scheduling a Mailing |
Note This is not available for transactional messages. To schedule a mailing to be sent at a future time, click Schedule next to the mailing. The Title, Subject, and Schedule Send Date is displayed. To schedule the date and time the message should be sent out, enter the date and time in Schedule Send Date. Important In the case of scheduling, a split test for a specified date, the first part is sent on the scheduled date that you specify, while the following parts are sent out at midnight of the day it was scheduled. For example: If today is Feb. 18, 2014 and you schedule a Split Test for February 20, 2014, the first part of the mailing goes out on Feb. 20, 2014 and the following parts go out at midnight on February 18th. |
|
Rescheduling split tests |
Each part of a split test is displayed as a separate item. You can reschedule each part to go out at a different time. When you reschedule a part of the test, the following rules apply:
For more information about split tests, see Mailings > Advanced Mailings > New Split Test Mailing Wizard. |
| Copying a Mailing |
Click Copy next to the mailing you want to copy. Aurea List Manager shows you the old title, and asks you the new title you like. You might want to copy a mailing if you want to send it again at a future date. |
|
Deleting a Mailing |
Click Delete next to the mailing you want to delete. Aurea List Manager asks you if you are sure before deleting the mailing. To send the sender a message why the mailing was rejected, select the mailing and click Delete with Feedback. You are taken to the Delete with Feedback page, which allows you to tailor your response to each rejected mailing sender. If you have multiple mailings with the same name and title, you also have the option to delete all of these mailings at the same time. Multiple mailings like this are created when you send a single message to multiple subsets or lists. |
| Creating a Mailing |
Click |
Refer to the following topics for more information: