Sofon
Learn how to install and configure sofon and integrate it with aurea win and web.
Aurea CRM win
Datamodel
We added 2 fields for the sofon integration:
Infoarea PR: field 5048 here the sofon id is stored
Infoarea AP: field 5028 describes if the offer item represents a sofon item These fields are automatically set in the background.
Rights
We have locked the following fields (infoarea PR) if the sofonID is set, beacause it should not be possible to set a sofon offer as template.
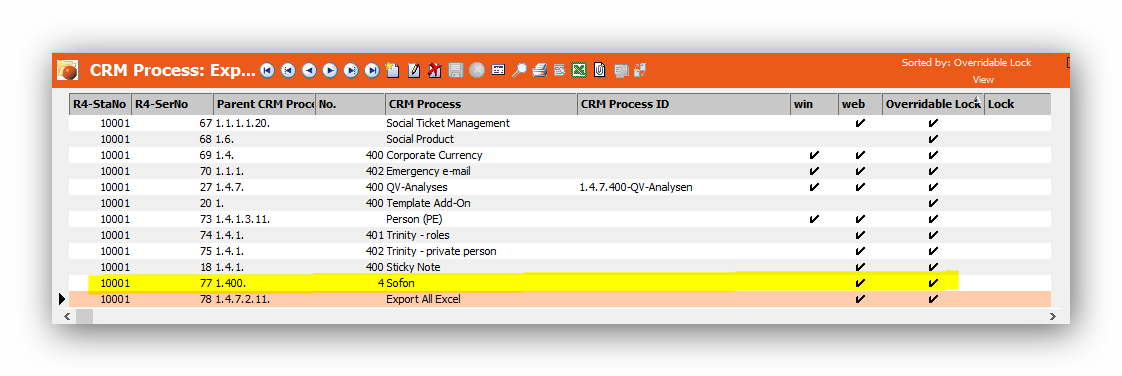
CRM process
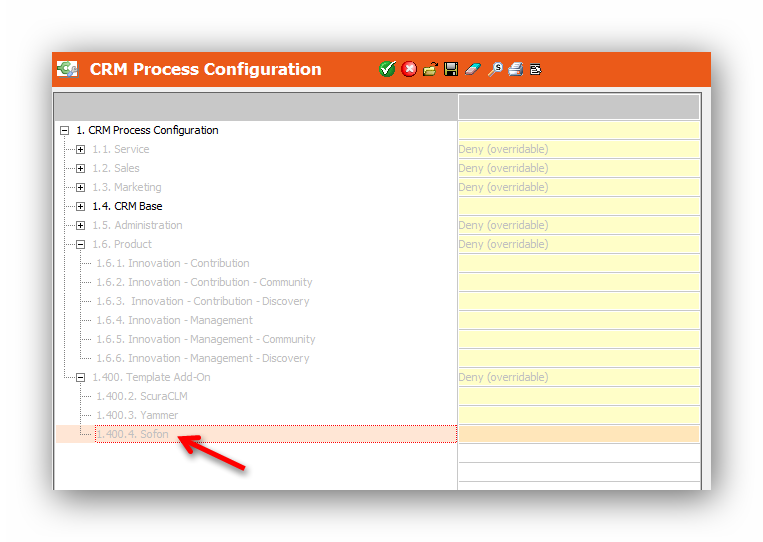
A new crm process has been created and is delivered deactivated. All designer elements are linked to this process. If you want to used sofon in your project, you have to activate this crm process.
Aurea CRM web
WebConfiguration Parameter
There are 4 web configuration parameters which have to be set in the projects to run sofon.
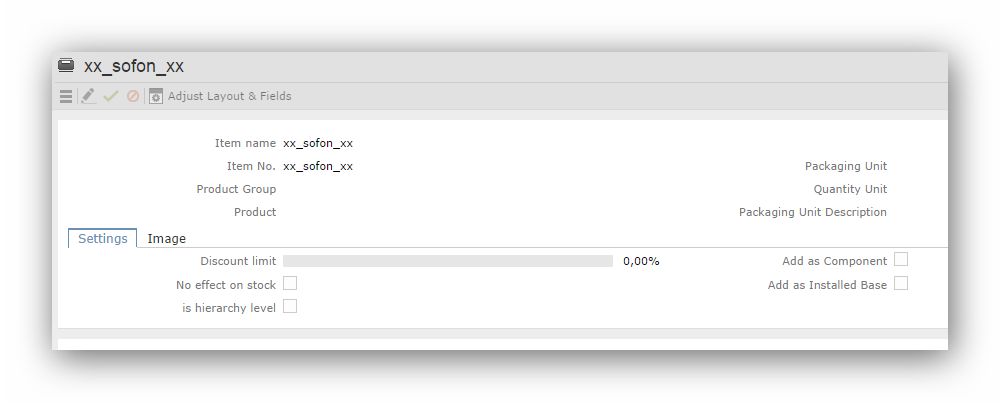
The first parameter defines which item master is used to create the offer item position of the sofon offer

Please make sure that the item master records exsists in your crm
The second parameter defines the default values of the offer item record
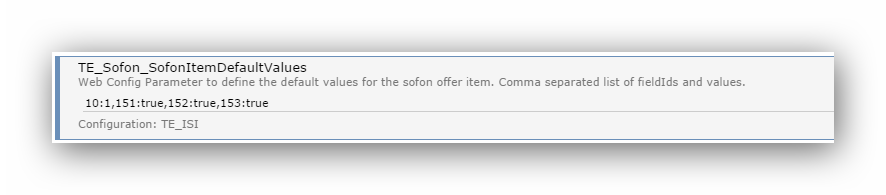
The parameter contains a comma separated list of fieldIDs and values <fieldID>:<fieldValue>,…
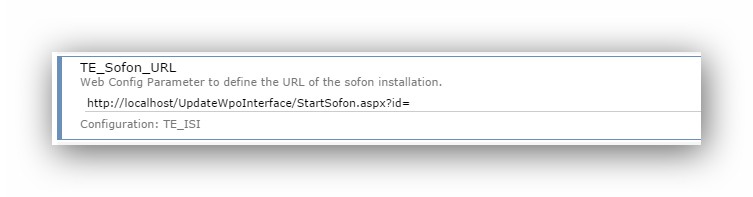
The third parameter defines the url to your sofon installation
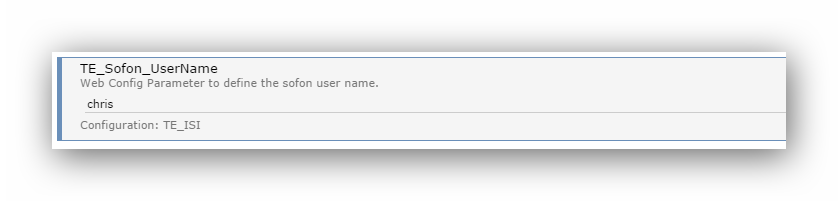
The fourth parameter defines the user name of your sofon installation
Textgroup
We’re using a special textgroup for all texts used for sofon called “TE_PR_Sofon”.
Queries
We created 2 new queries which are used in the javascript. Please make sure that these queries exist in your designer database (TE_PR_Sofon_CheckAP, TE_PR_Sofon_CheckAR).
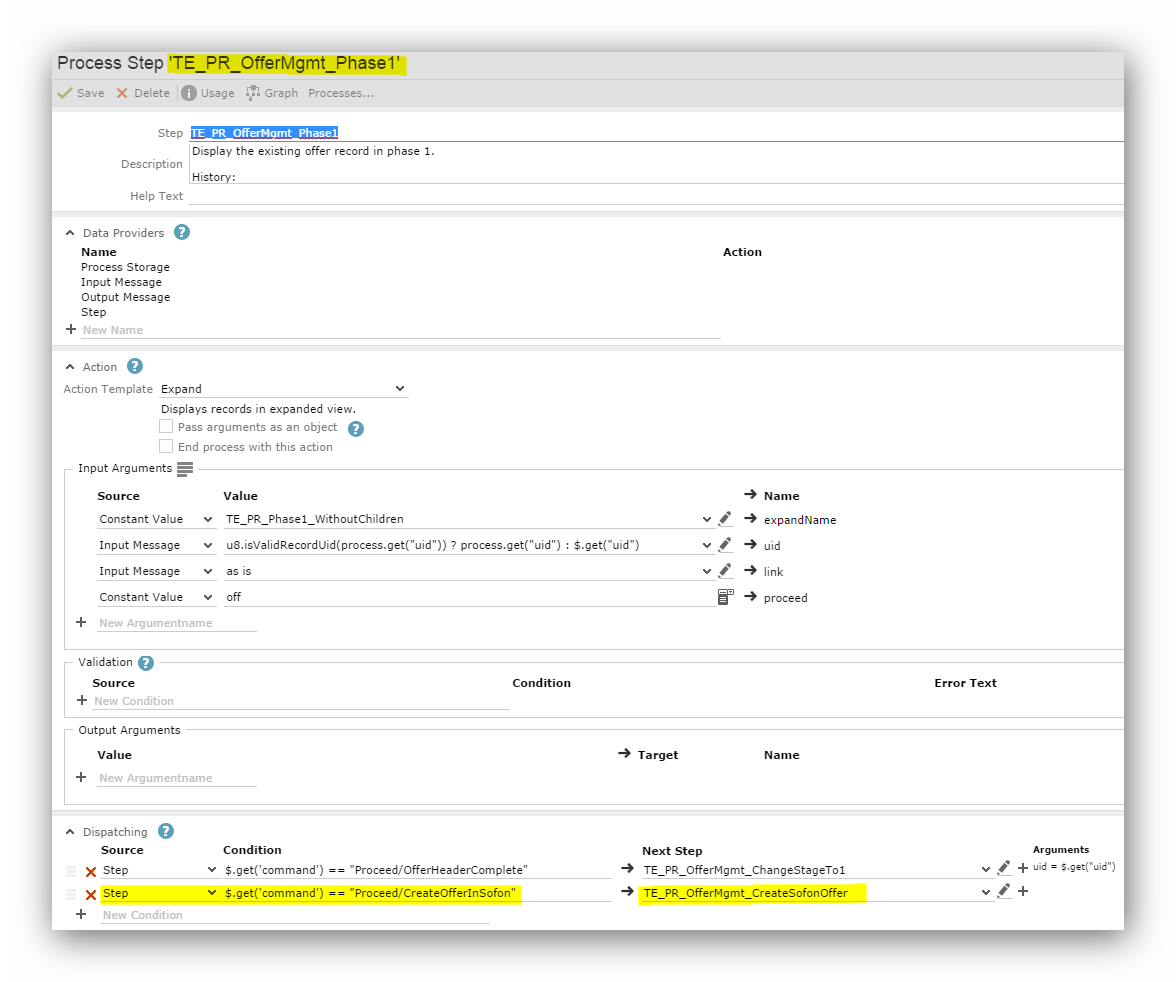
Offer Process
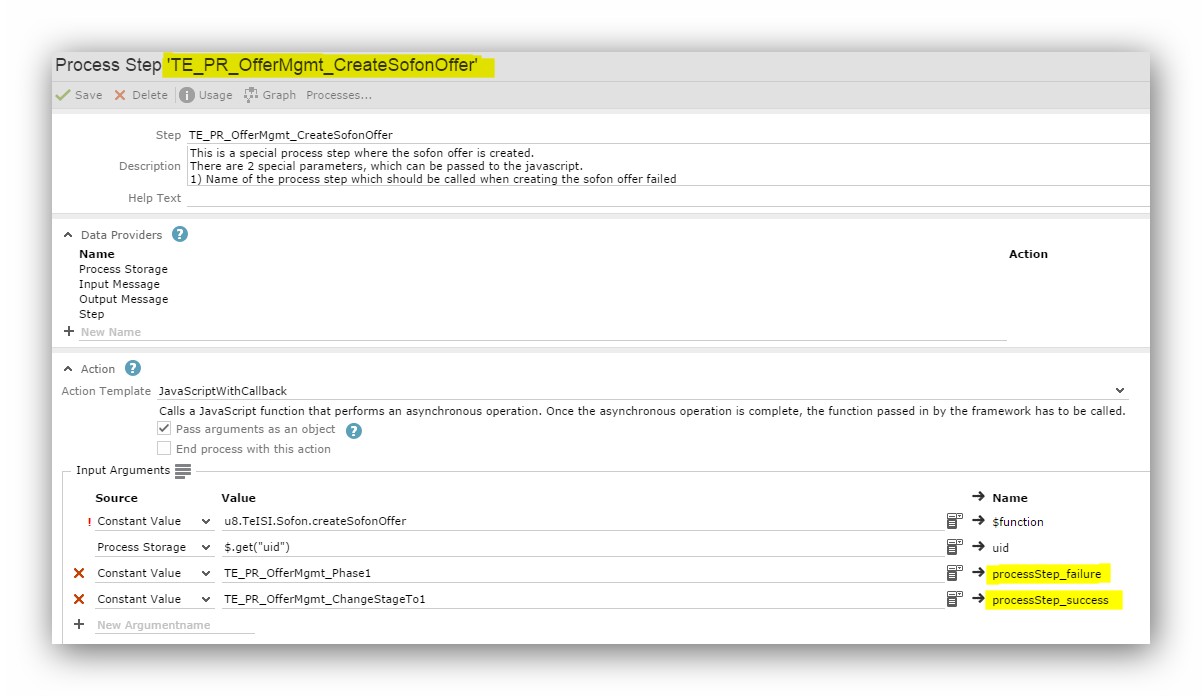
The offer process has been modified to fit the requirements. A new process step has been added. This step call a javascript function which calls the sofon channel. The channel is used to call the serverside code. This code creates an offer in sofon and returns the sofonID.
There are 2 additional parameters which define the next steps. You can define which steps are called, if the creation of the offer in sofon failed or was successful.
Buttons
A few new buttons have been created.
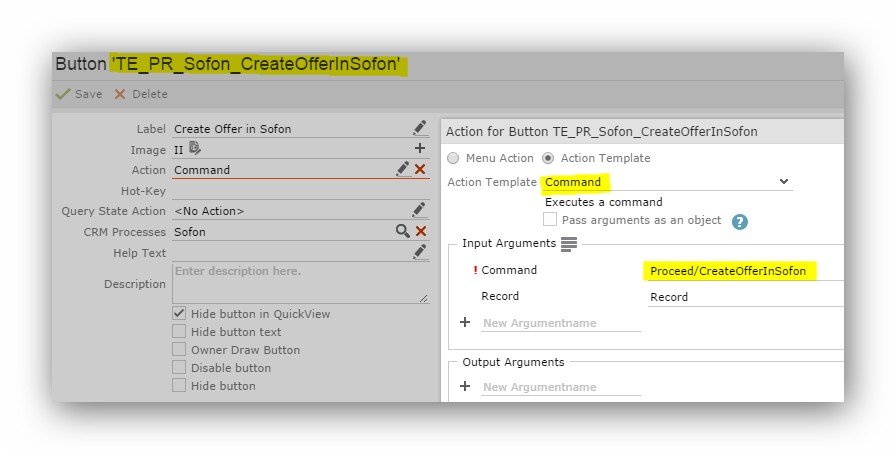
TE_PR_Sofon_CreateOfferInSofon
This button fires a command, which is handeled in the offer process to create a new offer in sofon
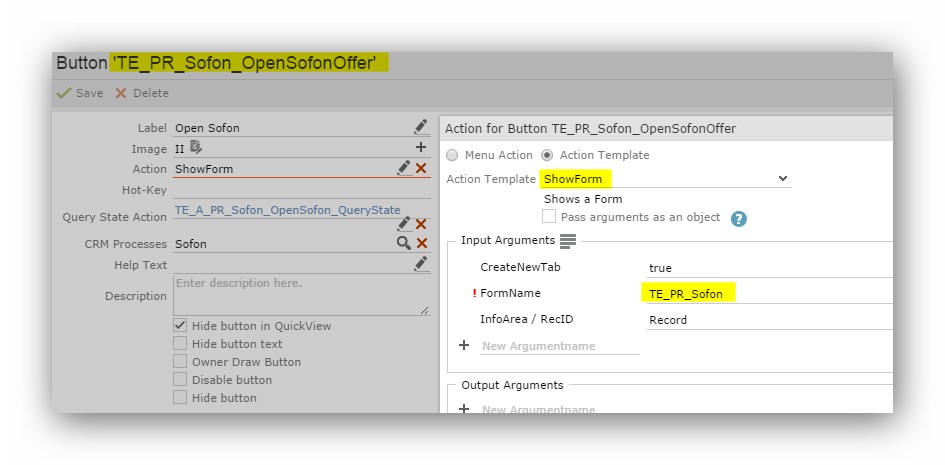
TE_PR_Sofon_OpenSofonOffer
This button opens the sofon form in a new tab
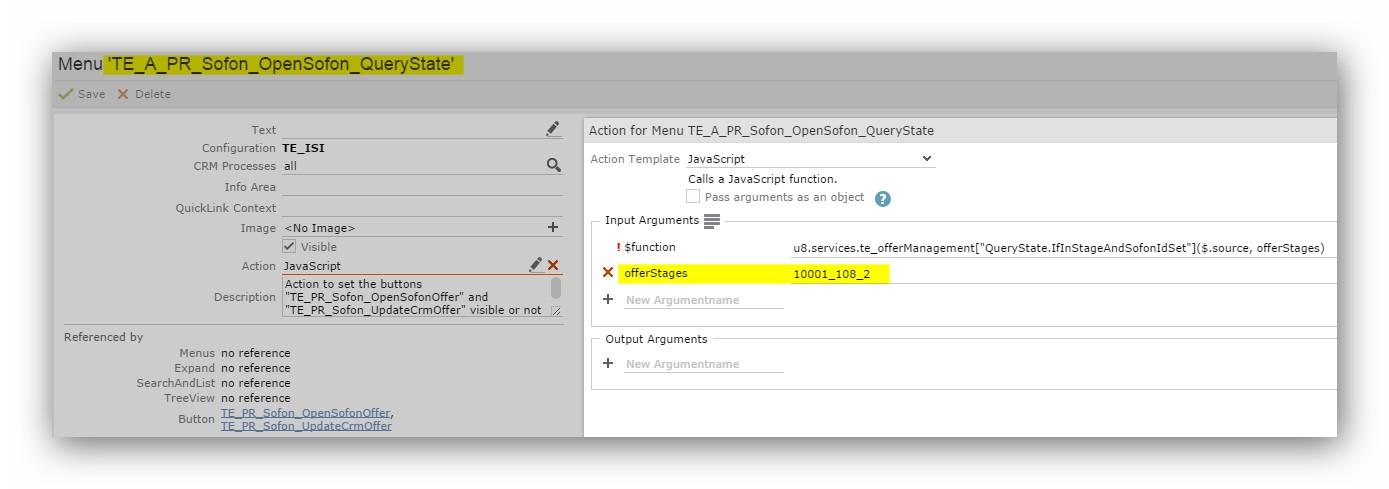
Furthermore a querystate action is linked to the button. Using this querystate you can define, when the button is visible or not, dependent on the offer stage:
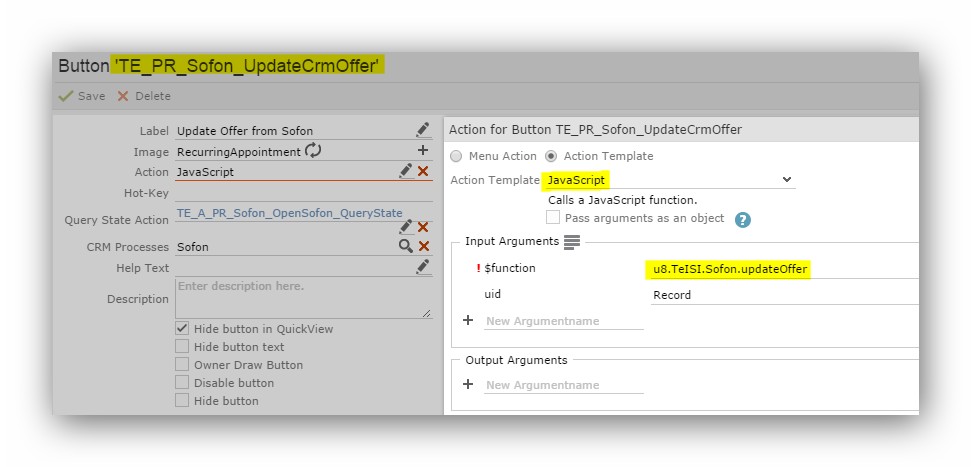
TE_PR_Sofon_UpdateCrmOffer
This button calls a javascript function which calls a channel. This channel calls the serverside code to update the offer in your crm with data from sofon. Which fields should be updated, can be defined in the settings.xml
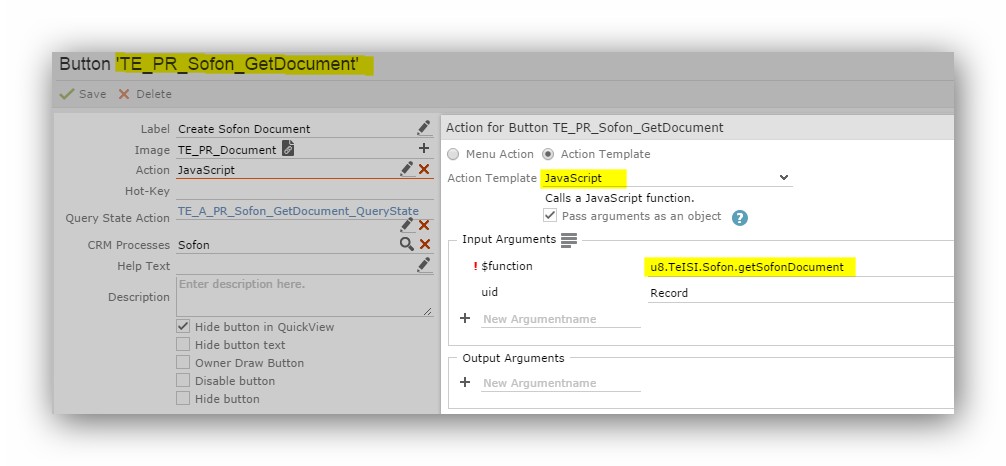
TE_PR_Sofon_GetDocument
This button calls a javascript function which calls a channel. This channel calls the serverside code to get the document from sofon. After getting the document, a D1 and a D3 records is created in the crm. The D3 record gets linked to the offer.
Form
The form itself contains 3 elements:
- Model to save the offer record
- FlowPanel
- FormFrame to render the sofon application
The model is used to store the offer uid in the form. When using javascript code we can access this variable and get the right offer record:
As you can see on the second screenshot, there are functions which are called when the form is created and when the form is disposed.
The “onCreate” function gets some information out of the form and calls a javascript function which renders the sofon
application in the formframe.
The “onDispose” function does the same as the “TE_PR_Sofon_UpdateCrmOffer” button. When the tab with the form is closed, the crm offer gets updated.
For more information please check out the code comments in the form.
Files
Following files have been added/modified to run the sofon integration:
- Sofon.dll (\web\te.bin)
- Settings.xml (\web\system\settings)
- isisofon.js (\web\scripts\te.isi)
Settings.xml
This file contains some additional parameters for sofon. A new plugin has been added. The whole fieldmapping between update and sofon fields is done in this file. Furthermore you can define the URL of your sofon installation.
Example Code:
<PlugIn type="Sofon.PlugIn,Sofon">
<SofonWebService url="http://localhost/UpdateWpoInterface/integration.asmx"/>
<InputFieldMappings>
<!-- Fields which are initially sent to Sofon -->
<FieldMapping type="Company">
<Field sofonName="CustomerName"index="2" />
</FieldMapping>
<FieldMapping type="Person">
<Field sofonName="CustomerLastName"index="2"/>
</FieldMapping>
<FieldMapping type="Rep">
<Field sofonName="Salesman"index="3" />
</FieldMapping>
<FieldMapping type="Offer">
<Field sofonName="QuoteDate"index="10" />
<Field sofonName="QuoteNr"index="7000" />
</FieldMapping>
</InputFieldMappings>
<UpdateFieldMappings>
<!-- Fields which should get updated, if the data in the crm has changed (eg. contact person) -->
<FieldMapping type="Company">
<Field sofonName="CustomerName"index="2" />
</FieldMapping>
<FieldMapping type="Person">
<Field sofonName="CustomerLastName"index="2"/>
</FieldMapping>
<FieldMapping type="Rep">
<Field sofonName="Salesman"index="3" />
</FieldMapping>
<FieldMapping type="Offer">
<Field sofonName="SalesmanCode"index="24" />
</FieldMapping>
</UpdateFieldMappings>
<OutputFieldMappings>
<!-- Fields which get updated from Sofon -->
<FieldMapping type="Offer">
<Field sofonName="Subject"index="72" />
</FieldMapping>
<FieldMapping type="OfferItem">
<Field sofonName="CostPrice"index="17" />
</FieldMapping>
</OutputFieldMappings>
</PlugIn>
You can extend the field mapping in this file, but the infoareas are fixed. Therefore it is possible to change the sofonName and the index.
- index represents the fieldID of the update datamodel
- sofonName represents the sofon xml field name
Other infos
Due to the fact, that we’re not delivering the sofon item, you should make sure,that you set special rights on that item.
Furthermore you should modify your document templates, so that when creating offer documents the sofon item is not passed to the template and therefore not part of the document.
Installation & Configuration
- To install Sofon please run the Sofon Standard installer. Note: Packages folder must contain msi files.


- After installing Sofon you have to intall the update specific interface.
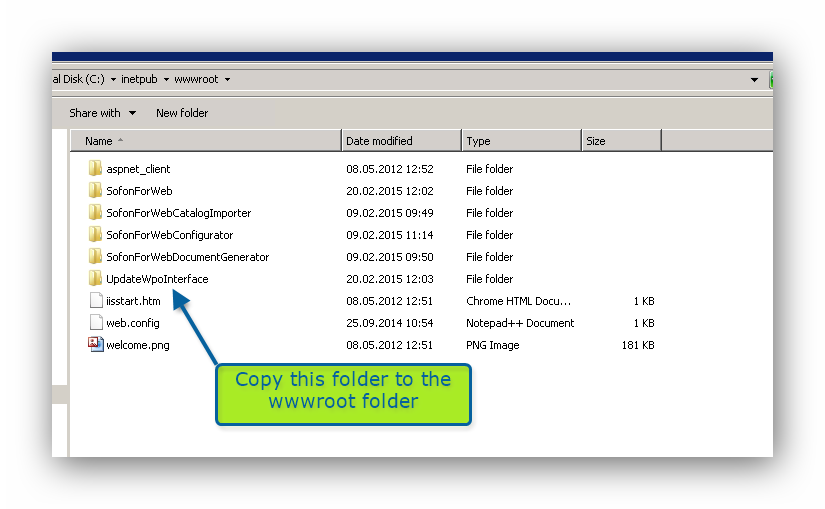
- When opening the IIS Manager you can see the folder. Convert this folder to an application:

- Choose the automatically created “Sofon” application pool:

- Now, add the “IntegrationWPO.asmx” to the IIS Default Documents

- Now, open all of these *.exe File to configure your Sofon installation:
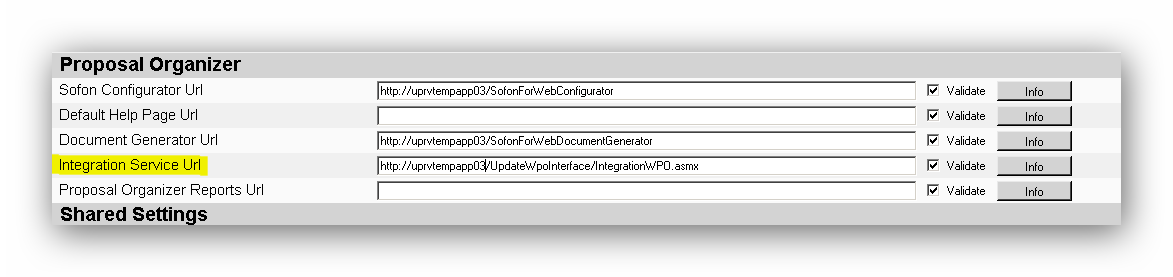
This URL should be set as „Integration Service URL:“ http://servername/UpdateWpoInterface/IntegrationWPO.asmx - After installing the complete Sofon package you should make sure that the product is
licensed. Copy you valid license to the following folder:

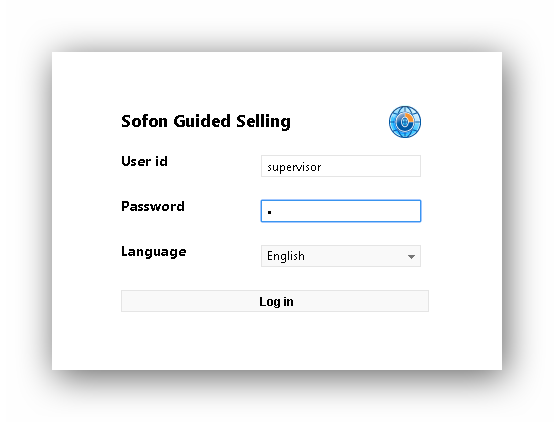
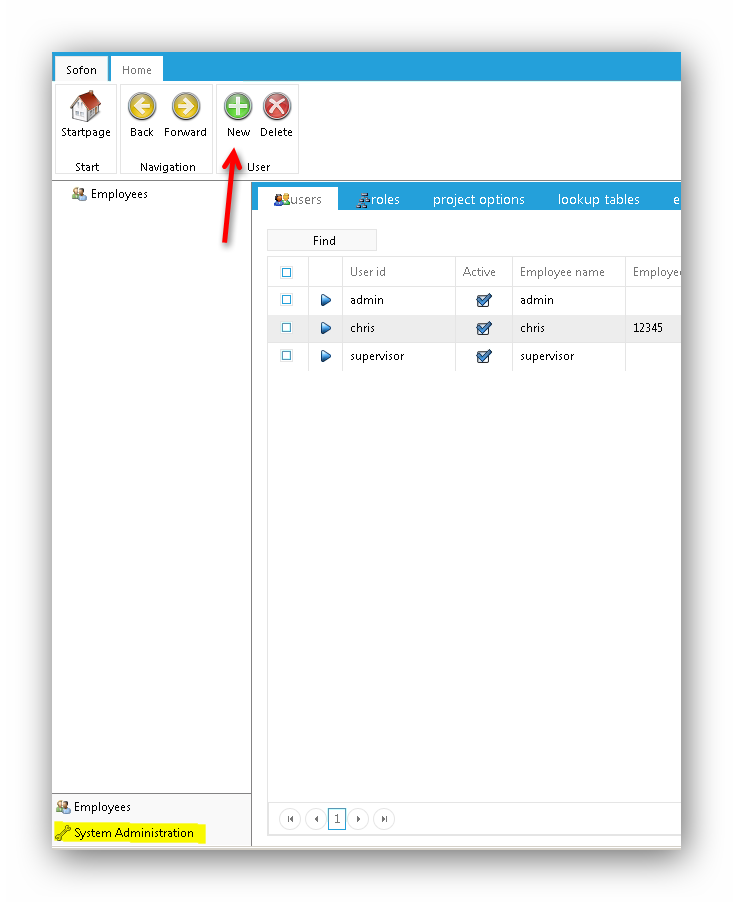
- If all steps are successful, you should now be able to login as „supervisor“ (password:
“s”) Open IIS Manager Go to SofonForWeb Page Click “browse”
- Swith to “System Administration” and create a new employee as described below. In our case
the user name is “chris”.
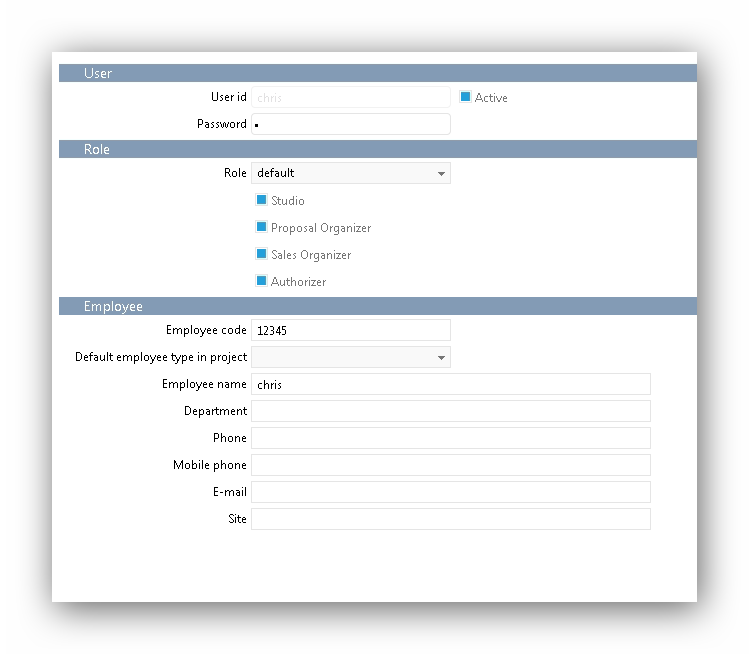
- Create a new role called “default”

- Assign the role to the rep:

- Import your Model.

- Choose you *.dis file and upload it.

Note: Make sure, that the user has access to he folder “C:\temp\ImportData”. Otherwise the import will fail!