CIS Enrollment
Learn how to enroll new customers using CIS Customer Summary Screen site.
CIS provides the functionality for manually enrolling the customers through the CIS Enrollment Wizard. Enrollments are taken by CSR agents who are accessing CSR site on a live call with the prospective customer.
The customer provides the details required for the enrollment process and the agent enters
the same in the Enrollment Wizard in the CIS application. Once the required information are
gathered the system generates an outbound enrollment transaction to the market. For details on
transactions, see Transactions. The market responds with an
acceptance or rejection of the customer’s enrollment.
Note: The interface for enrollment
varies according to Supplier as per their business process.
This functionality is useful for the Supplier who are directing enrollments to their existing call center through either direct marketing or outbound calls.
To enroll a customer using CIS Enrollment Wizard, do the following:
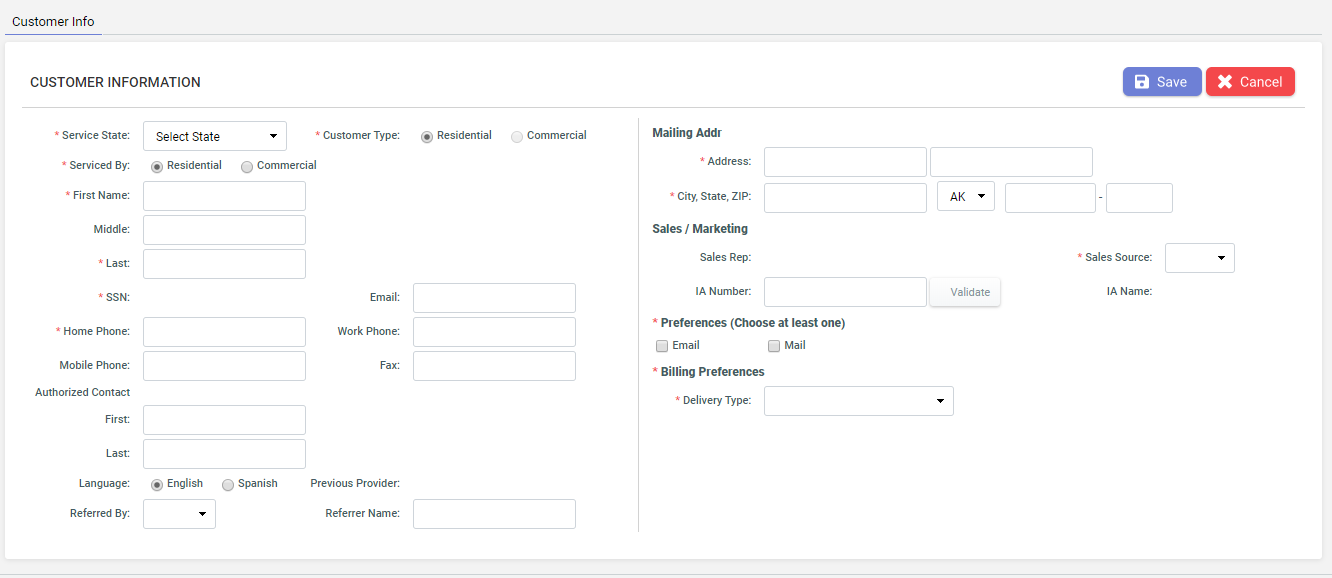
- Go to Request for Service > New request for service. Enter following details on
Customer Information screen. Click Save.

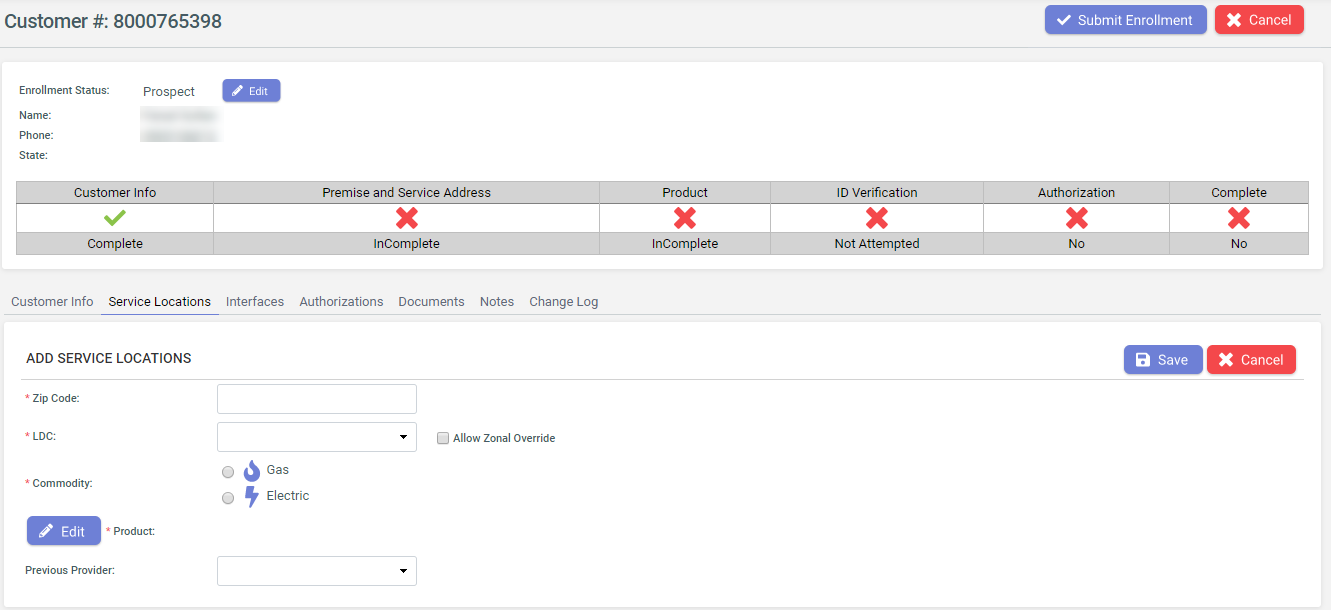
Fields Description Service State Enter the state in which service is required. Customer Type Select the customer type. Serviced By Select Serviced by First Name Enter the first name of the customer. Middle Enter the middle name of the customer, if any. Last Enter the last name of the customer. Full SSN Enter the Social Security Number. Home Phone Enter home phone number. Mobile Phone Enter mobile number Email Enter valid email id. Work Phone Enter work phone number. Fax Enter fax number. First Enter first name of authorized contact. Last Enter last name of authorized contact. Language Select language preference. Referred By Select referred by Referrer Name Enter the referrer name. Address Enter the mailing address. City, State, ZIP Enter the city, state and Zip for the mailing address. IA Number Enter IA number. Sales Source Select Sales Source. Preferences (Choose at least one) Choose email or mail or both. Billing Preferences Select billing preference from drop down. - Go to Service Locations tab. Click Add Service Location. Enter details on
Add Service Location page and click Save.


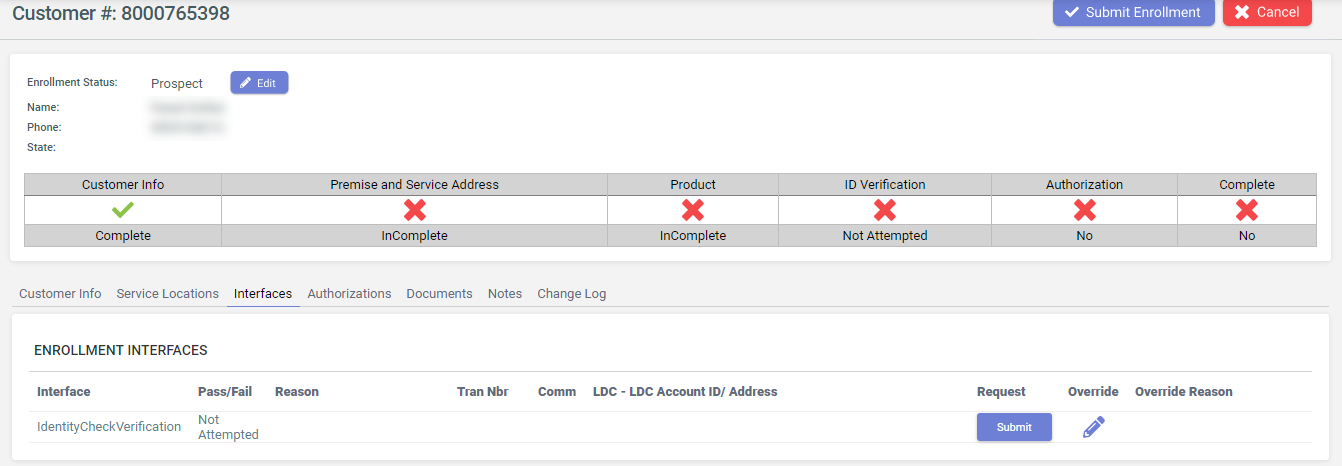
- Go to Interfaces tab and click Submit for verification.

- Go to Documents tab. Upload required documents.

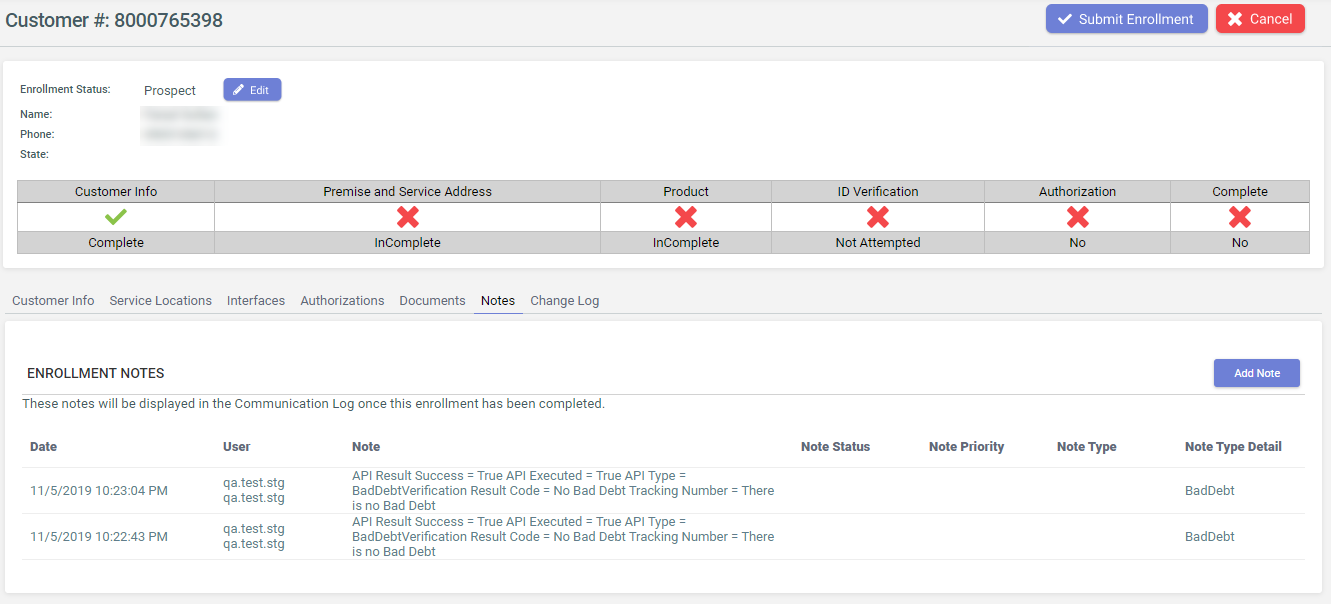
- Go to Notes tab. Enter notes, if required.

- Click Submit Enrollment after all the required details are entered.