Configuring a Map Panel
Learn to configure a Map panel.
The configuration of a map panel consists of
- the integration of the
RecordMapwidget in aSearchSublistorExpandChildrenheader or in a form, - a MiniDetails control definition in field group
<InfoAreaID>.Addressfor the respective info area (fallback:<InfoAreaID>).
To configure a maps panel for the Related Area (e.g. the ExpandChildren header for FI as configured in UPDATE_DEFAULT):
- Add the info area of the records you want to display on the map to the
ExpandChildrenheader, see Related Data area (Header Info Areas).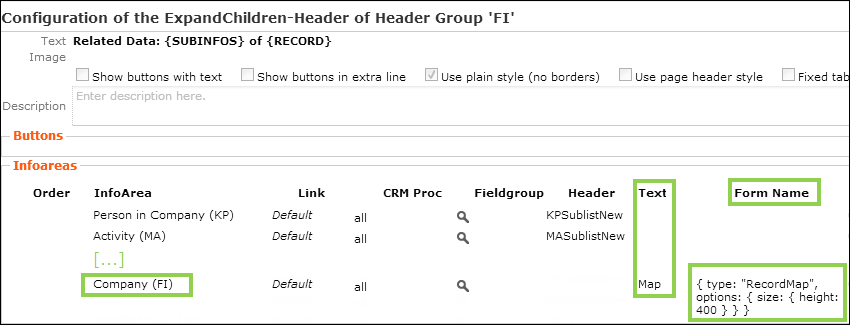
- Enter a name for the tab (or panel) in the Text field.
- Define the map panel in the Form Name field using the
RecordMapwidget:{ type: "RecordMap" } - Create a field group
<InfoAreaID>.Addressfor the info area and define the MiniDetails control (e.g. field groupFI.Addressin UPDATE_DEFAULT). This control is used for the popup in the Bing Map. The header of the popup displays the info area's default table caption.
To use the RecordMap widget in a form:
The RecordMap widget is available in the Form Designer
(under CRM-specific widgets). It accepts one or more record uids as value.
For further details, see Data Binding.
Examples:
$component(url).@uid
This binds the RecordMap widget to a record selected e.g. in a RecordListBox.
$widget(listView1).@selection(rowsUid)
This binds the widget to multiple records selected in a ListView.
Note:
For information on all available options for the
RecordMap widget, see the “How to Use Maps” at https://support.aurea.com.