Adding a Configuration Entry
Learn how to add a configuration entry.
To add a new configuration entry:
- Click the New button.
- A dialog box is displayed, containing a list of all the available categories under
Category.
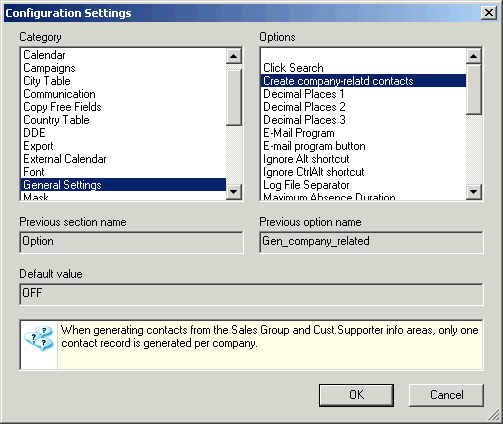
- Select the category from the list.
A list of the options in the category is displayed under Options.
- Select the desired option.
The names of the category and option that were previously included in the mm.ini file (up to version 6) are displayed under Previous section name and Previous option name.
The option's default value is displayed under Default value, if applicable.
- Click OK.

- Enter the value for the option in the corresponding field in the
Configuration info area; i.e. enter text values in the text
field etc.
You can select Add/edit value, Test value and Load value from the context menu for some options.
- Assign the setting to a station, user or group of users, if desired and applicable. Enter the station number, or select the rep or group by clicking on the icon in the corresponding field. If no user, group or station is specified, the setting applies to all users.
Note:
To disable a configuration entry, enable the Do not use entry field.