Table properties
In the Table Properties dialog, you can choose a variety of settings related to the table you select.
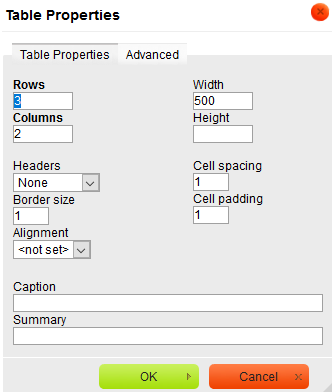
Table properties UI
The table below explains the changes that can be made using the options in the image above:
| Option | Description |
|---|---|
| To change the number of rows. |
This is used to select the number in the Rows box, and then enter the number you want. |
| To change the number of columns. |
This is used to select the number in the Columns box, and then enter the number you want. |
| To change the width or height |
This is used to select the numbers in the Width or Height box, and then enter the number(s) you want |
| To make the table a fixed size |
Click the box next to the Width box and choose pixels. The table remains the same size regardless of how the user resizes the window |
| To make the table size flexible |
Click the box next to the Width box and choose percent. The table size changes if the user resizes the window. For example, a width of 50 percent means the table is always the half width of the browser window |
| To change the size of the border |
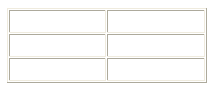
A border outlines your table and the cells in it. Select the number in the Border size box, and then enter the number you want. For example : Border= 1:
Border= 5:
|
| To choose no border. |
Enter 0 in the Border size box |
| To align the table on the page. |
Click the Alignment box, and then choose Left, Center, or Right |
| To change the cell spacing of the table. |
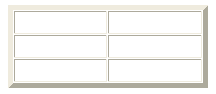
Cell spacing is the number of pixels that appear between one cell border and the next Select the number in the Cell Spacing box, and then enter the number you want. For example: Cell Spacing= 1:
Cell Spacing= 5:
|
| To change the cell padding of the table. |
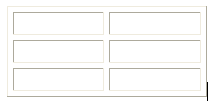
Cell padding is the number of pixels between a cell's contents and its borders Select the number in the Cell Padding box, and then enter the number you want. For example: Cell Padding= 1:
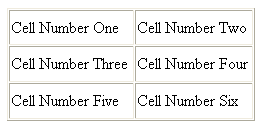
Cell Padding= 20:
|