Using the Image library

The Image library has different features which aids in managing images.
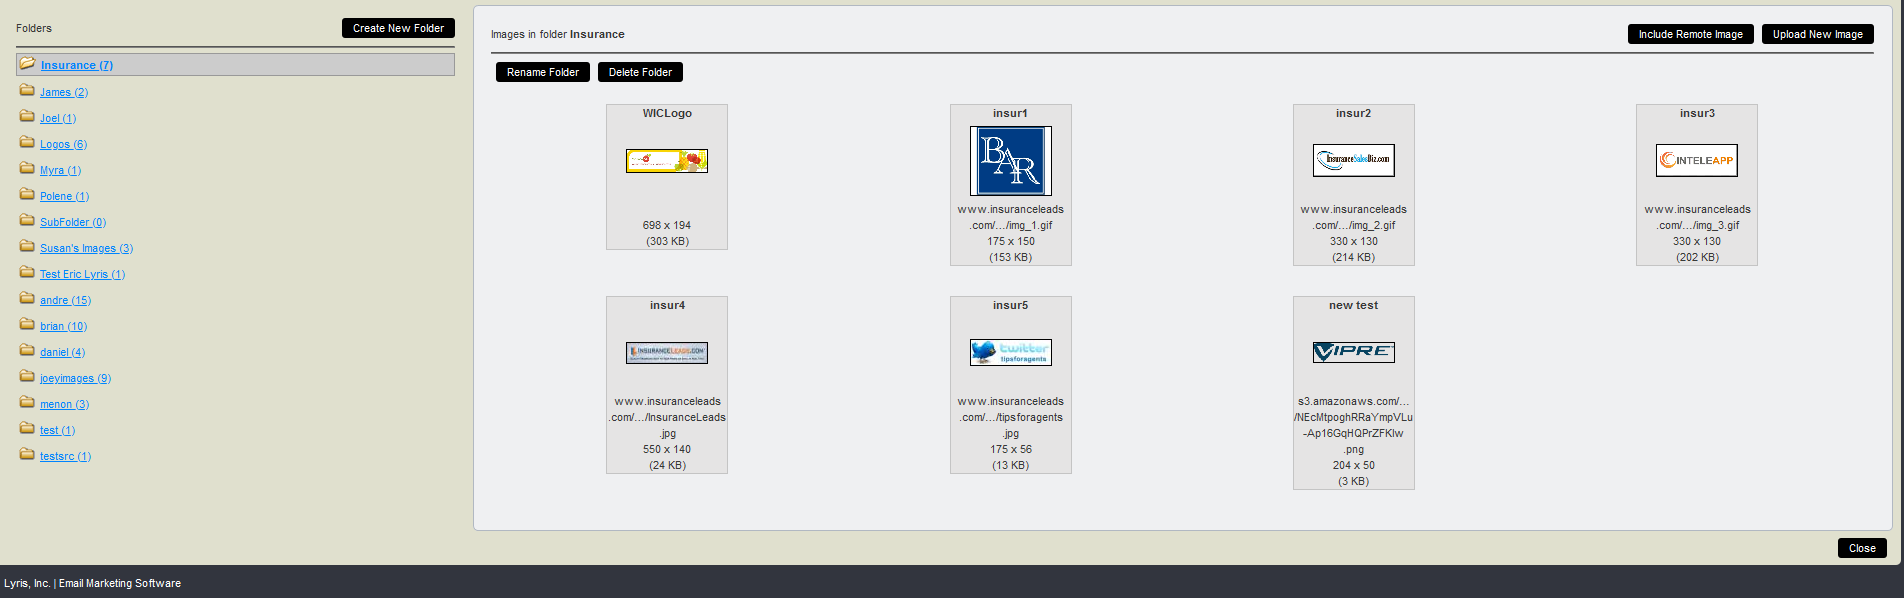
Image library UI

The table below explains the options that the Image library offers in the image above:

Options Description
To create a new folder
  1. Click the Create New Folder button
  2. In the Folder Name box, type a name
  3. Click Save
To work with a different folder

On the left side of the Image library under Folder, click the folder name

To change the current folder name
  1. Click the Rename Folder button
  2. In the Folder Name box, edit the name
To delete the current folder
  1. Click the Delete Folder button
  2. Click the Delete button

To upload a new image path

  1. Click Include Remote Image
  2. If desired, type a name in the Image Name box
  3. In the Image URL box, type the path to the image
  4. Click Include
To edit an image
  1. Click the Edit button located beneath the image
  2. To change the folder the image is saved in, click the Folder box, and then choose a folder
  3. To change the image name, edit the name in the Image Name box
  4. To view a larger version of the thumbnail, click the thumbnail image
  5. When you are finished, click Save
To delete an image
  1. Click the Delete button located beneath the image
  2. On the Content: Delete Image page, click the Delete button
To upload an image to the Image Library
  1. Click the Upload New Image button
  2. Type a name in the Image Name box
  3. Click on the Browse button to select an image
  4. Click on the Upload button to upload the image to the image library. The path to the image is now stored in the database

Note

In order to have the upload image feature available, the site's server admin needs to enable it from the Utilities > Administration > Server > Server Settings > Advanced: Enable Features tab.