Use the Recipient Editor
Use the Recipient Editor to add recipients for the notification and set any delays or specific recipient orders. From the Notification Editor, click the blue To button to display the Recipient Editor.
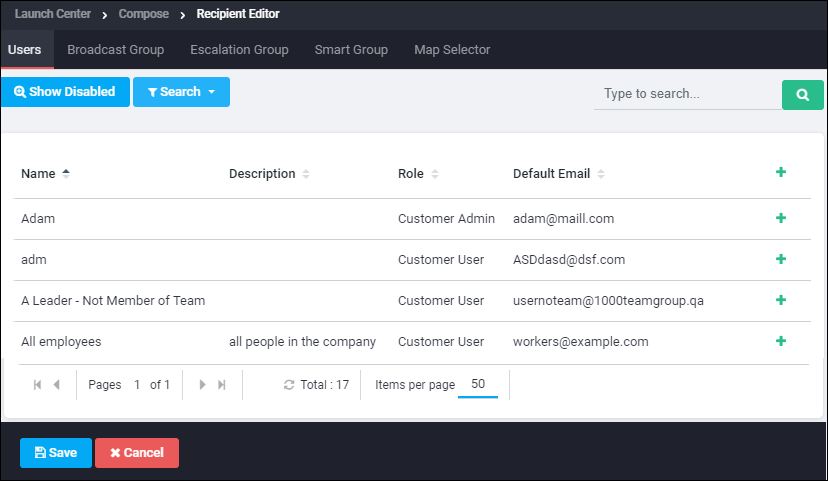
- Users: To add individual users to the recipient list, click the Users tab, then either double-click user names to move them to the Recipients list, or select names and click Add Selected. Use the search fields provided to search by name or filter using the Criteria Editor. See Filtering Lists for instructions on using search and Criteria Editor tools. To view details about a user, select the name, then click View Details. This displays the user’s complete name, default email address, and any other available custom fields.
- Groups: To add a group to the recipient list, click a group tab (such as Broadcast Groups, Escalation Groups, Smart Groups). Double-click a group or select groups and click Add Selected to add a group to the Recipients list.
- Map-Based Region: To select users and Sites within a map region, click the Map Selector tab, and using the polygon icon draw the region(s) that encompass the users and Sites to be notified. Once the region is drawn, click Add Polygon(s) to add the region’s users to the Recipients list. See Send a notification to users within a geographical location for more information on using the map-based selection feature.
- Delay: To add a delay between when two users are contacted, click Add Delay. The Add Delay window displays. Type the length of time of the delay, then click Save.
- Notification Order: To arrange a specific order in which recipients will be notified, use the Up and Down arrows to arrange recipients and delay times.
When the Recipients list is arranged, click Save to return to the Notification Editor.