CRM.designer Setup
Learn to setup CRM.designer.
Starting the Installation
To start the installation of CRM.designer:
- Copy the installation file (CRM.designer _<version number>.exe) to a local drive.
- Start CRM.designer _<version number>.exe. Setup starts.
Installing MS SQL Server 2014 Express
- CRM.designer requires an MS SQL database.
- Setup searches for an existing MS SQL Server or an instance of the MS SQL Desktop
Engine. If you already have MS SQL installed, the following message is displayed:
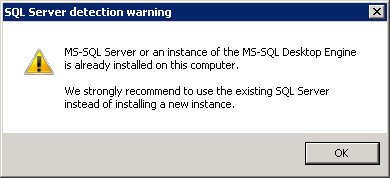
- Click OK.
- Check Install MS SQL Server 2014 Express Edition if you don't
already have MS SQL installed or if you want to install an additional instance.
(Otherwise, leave the option unchecked and click Next, see Connection Settings.)
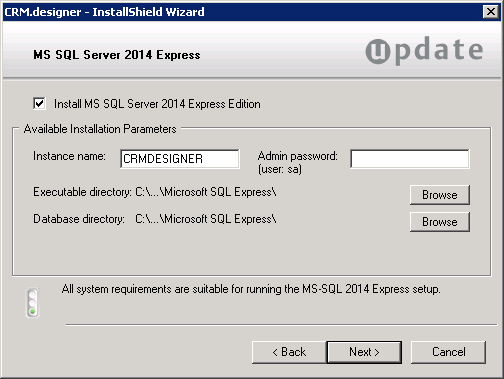
- Enter a name for this instance of MS SQL Server 2014 Express Edition in the Instance name field.
- Enter a password for the administrator ("sa") in the Admin
password field.Note: The sa password must be at least 6 characters long and must contain characters from at least 3 of the following 4 groups:
- Upper case characters (A-Z)
- Lower case characters (a-z)
- Digits (0-9)
- The characters $, #, %, +, -, _
The password may not contain more than two consecutive characters that also occur in the user name consecutively.
- Click Next and confirm the "sa" password.
- Click Next.
MS SQL Server 2014 Express Edition is installed.
Connection Settings
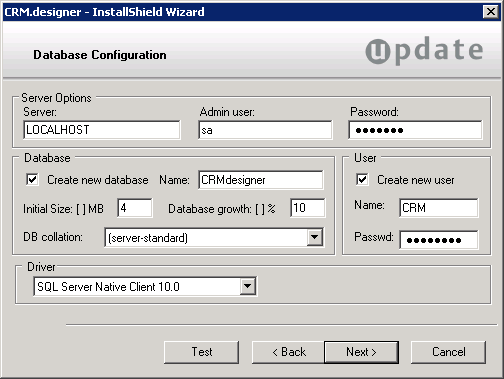
To configure the connection between CRM.designer and the MS SQL database enter the following:
-
Server Options: Enter the instance and server in the
Server field.
Enter the database administrator's user name and password in the Admin user and Password fields.
-
Database: If you wish to create a new database, enable the
Create new database check box. Disable the check box if you wish
to use an existing database. Enter the name of the database in the Name
field.
All valid sort orders for the database are listed in the DB collation field. Select the desired entry.
- User: If you wish to add a new user for the database, enable the Create new user check box. Disable the check box if you wish to use an existing user. Enter the user name and password.
-
Driver: Select the desired SQL driver in the
Driver field:
- SQL Server Native Client 10.0 for MS SQL Server 2008 R2
- SQL Server Native Client 11.0 for MS SQL Server 2012 and 2014
- Click Test to test the database connection.
- Click Next.
The connection string is written to the settings.xml file (
<designerDsn>), see CRM.designer.
IIS Virtual Directory and IIS Application Pool
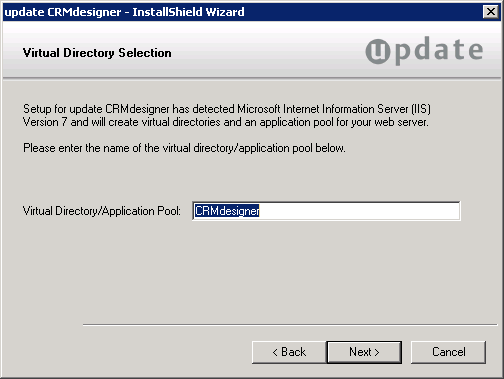
- Enter the name of the Internet Information Services (IIS) Virtual Directory (and
Application Pool) that is created during the setup process.
The virtual directory is the URL of the web application. If you use the default value, you can start CRM.designer using the URL
http://<server name>/CRMdesigner. - Click Next.
Destination Folder
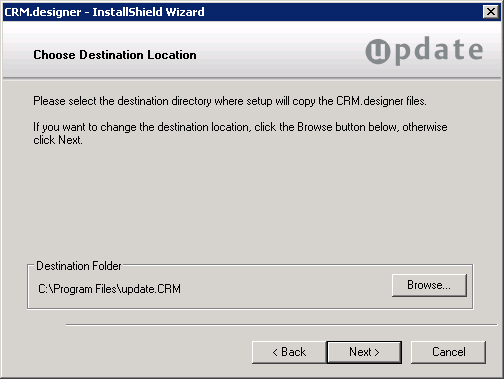
- Choose the target directory.
This directory is the application root directory where setup copies the files. CRM.designer is installed in \update.CRM as root directory, and automatically creates a \CRM.designer directory with the following directory structure:
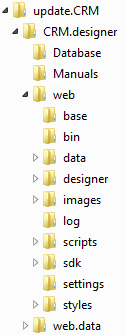
- Click Next.
Installation Summary
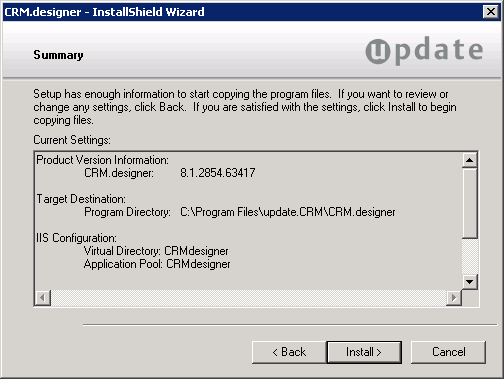
- Verify your settings.
- Click Back to change your settings. Click Install to start the installation process. The CRM.designer files are copied to the destination directory, the IIS virtual directory is created, etc.
Setup Complete
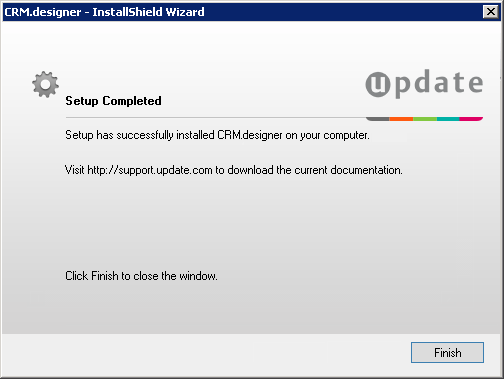
Click Finish to end the setup process.