ConnectLive Plugin for Outlook Appointments
CRM.ConnectLive plugin for Outlook is available in the Meeting tab of Outlook.
It allows you to search and add the CRM contacts to the appointments and meeting you create in Outlook.
The following screenshot shows the Search in Update.CRM button for CRM.connectLive. On clicking, the button turns grey and the CRM.connectLive plugin window is visible on the right. You can toggle the button to make the ConnectLive window to appear or collapse.
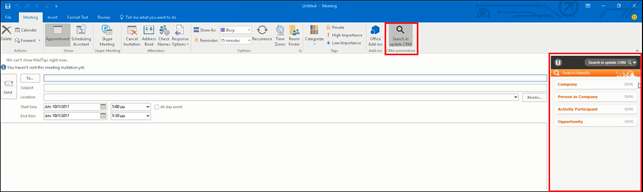
The infoareas that will be available is configured by your administrator according to your business needs. Please contact your CRM administrator if you need other infoareas to be added. In the sample screenshot above, the configured infoareas are Company, Person in Company, Activity Participant, and Opportunity.
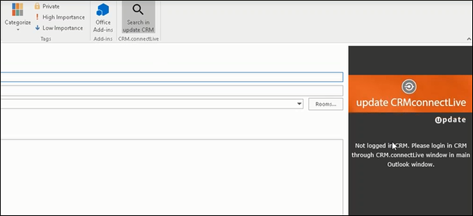
Logging in to the ConnectLive Plugin for meetings and appointments is done from the main Outlook window. For more information, see Logging In and Logging Out. The following screenshot shows the ConnectLive plugin window for appointment requesting you to login from the main Outlook window.
Searching for contacts is similar to that described in Searching for Data. The CRM ConnectLive plugin available in the main Outlook window and in the Meeting and Appointment tab share the same search configuration. The following screenshot shows a search result record in the ConnectLive window for appointments and meetings.
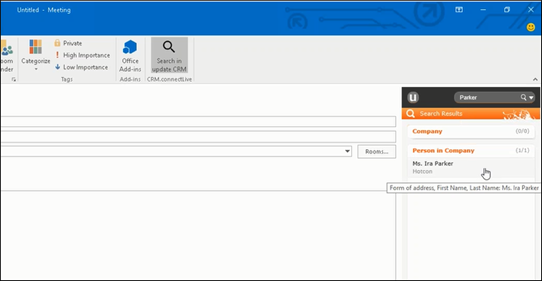
Opening the contact’s record displays the contact’s details as described in viewing a Contact Person Details. The following screenshot shows the contact details displayed in the connectLive window for meetings.
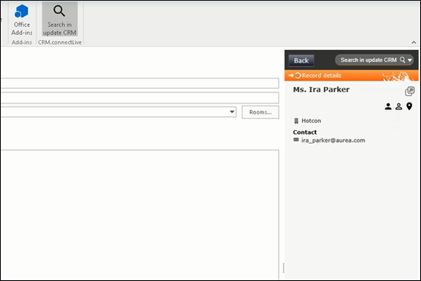
In this window the contact details also has three extra buttons that conform to the three ways in which a contact can participate in an Outlook appointment or meeting, as listed below:
 - Mandatory Participant
 - Optional Participant
 - Resource Participant
Click the corresponding button to add the contact to the meeting in the desired way.
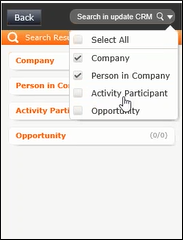
You activate or deactivate the search in specific infoareas by checking or unchecking the checkbox for an infoarea in the drop-down list as shown in the screenshot below: