Starting the Installation
Learn how to install the CRM.cockpit program.
To start the installation:
- Copy the installation file
CRM.cockpit_<vertical>_<version
               number>_full.exe
to a local drive. - Start
CRM.cockpit_<vertical>_<version number>_full.exe.. Setup starts. Click the System Requirements button to view the system requirements. - Click Next.
- Select the database type you use and click Next.
- MS SQL Server, Connection Settings for SQL
- Oracle Database Server, Connection Settings for Oracle
 Note: If no Aurea CRM.Win installation is detected on the current machine you are prompted to enter the database connection info for an existing Aurea CRM.Win database:
 - Choose the destination folder and click Next. (If you change the path,
information on the available and required disk space is displayed.)
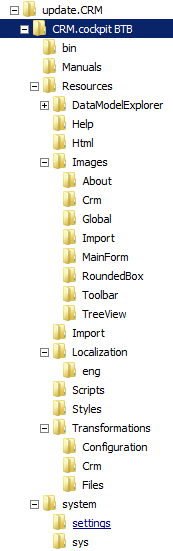
This directory is the application root directory where setup copies the files. is installed in \update.CRM as root directory, and automatically creates a
CRM.cockpit<vertical>directory with the following directory structure: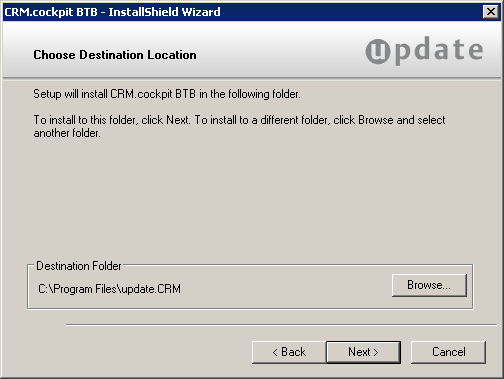
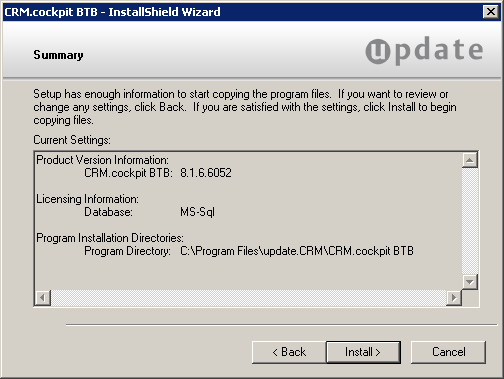
- Verify your settings on the installation summary that is displayed. Click
Back to change your settings. Click
Install to start the installation process.Setup copies the
program files to the directories you have specified. Your database connection settings
are applied. Shortcuts are added to the Start menu.
- Click Finish to end the installation.
Setup checks whether it already has installed on this machine. If yes, the program maintenance is started, see Program Maintenance.