Use the Notification Editor
From the left navigation menu, Launch Center section, click Compose (Advanced) to display the Notification Editor.
This window has two major subsections (Message and Responses) and two tabs (Compose and Advanced Options). The red outline of the Subject field indicates that it is required and the notification cannot be sent until one is provided.
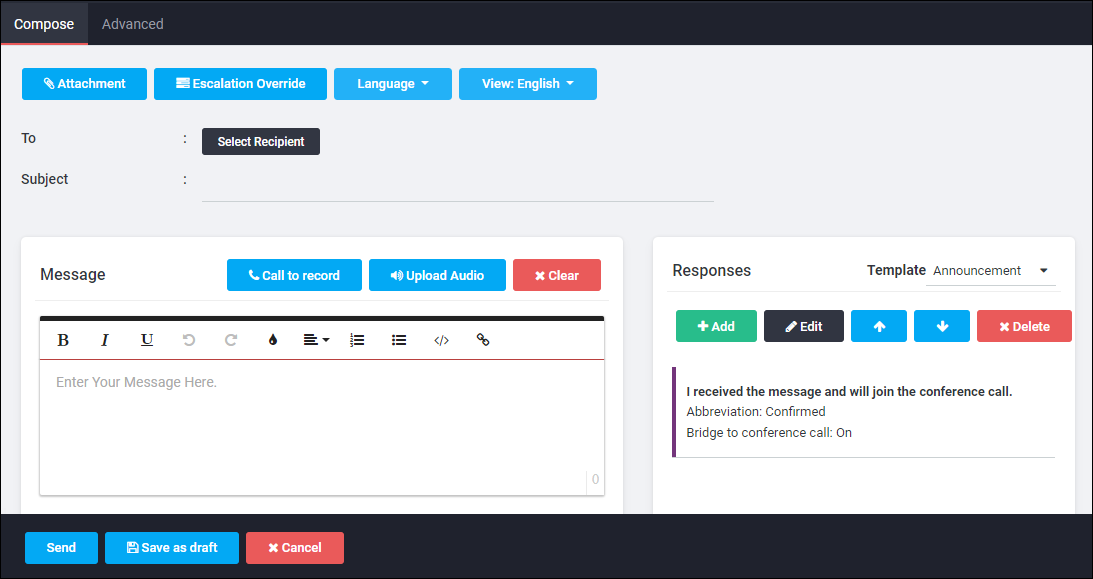
- Use the Compose tab to set basic options for the notification.
| Option | Description |
|---|---|
| Template |
Select a notification template type. Templates automatically fill in basic responses. If language packs were purchased, templates are available in multiple languages. Templates are available for the following types of notifications:
|
| Attachment | Attach files to the notification. By default, attachments are stored on the server, and recipients receive a link to the attachment in the notification. A copy of attachment can be included with the notification. See Use the Attachments Editor for more details. |
| Escalation Override | Override the standard escalation rule in effect at the time the notification is sent and define an escalation specifically for this notification. See Use the Escalation Editor for more details. |
| Language | If language packs were purchased, select a language in which to send the notification here. See Use the Language Settings Editor for more details. |
| View | If language packs were purchased, select the language in which to view the Notification Editor window. |
- Use the Advanced Options tab to set advanced options for the notification.
| Option | Description |
|---|---|
| Scheduling | Schedule the notification to be sent after a delay, or to set a recurrence rule for a recurring notification. See Add advanced options to a Notification for scheduling instructions. |
| Email Status | Indicate whether to send an email status report about the notification and to whom to send it. See Add advanced options to a Notification for more details. |
| Priority flags | Set a priority for the notification. The red exclamation mark |
| Require PIN | If this notification requires authentication to read or hear it, click Require PIN. Toggle this button on (darkened) or off (lightened) to require or not require a PIN. |
| Hotline |
Use the Hotline Callback Editor to select the Hotline callback instructions the recipient receives. See Add advanced options to a Notification for more details. Options are:
|
| Device Retry | Use the Device Retry Editor to set the maximum number of times a call will be retried for this notification. If this value is set to zero, the call is made once, but not retried. |
- Use the Message section to enter the text of the notification as it appears in written notifications (email, fax, SMS, pager) and as it is spoken by the TTS engine for phone notifications. A call-to-record audio file, or an uploaded audio file, can be used to complete this field. See Use The Message Pane.
- Use the Responses section to create the possible responses to the notification. See Use the Response Editor for additional details.