G-Suite Service Account Configuration
Learn about the G-Suite service account configuration in this topic.
Assuming you have valid Domain already created for customer and have admin account credentials, you may follow below steps to configure Project and Service Account for the same.
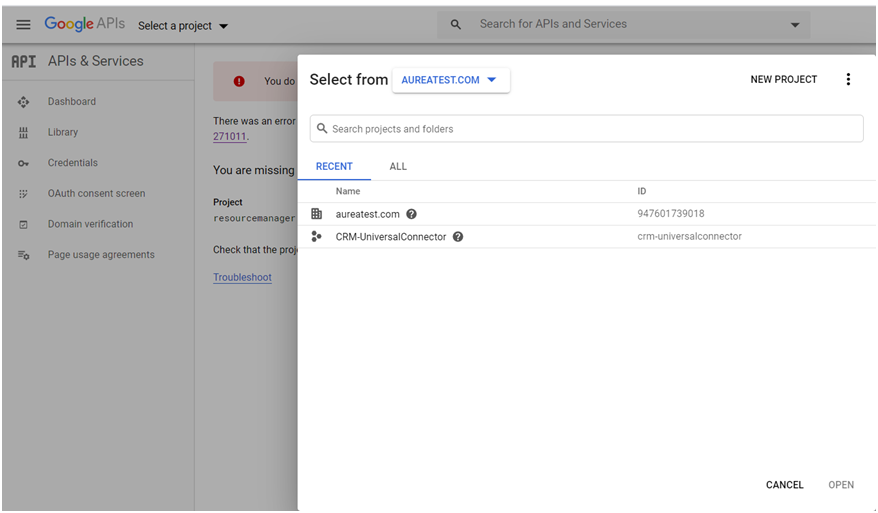
- Navigate to https://console.developers.google.com/https://console.developers.google.com/ and login to Admin account.
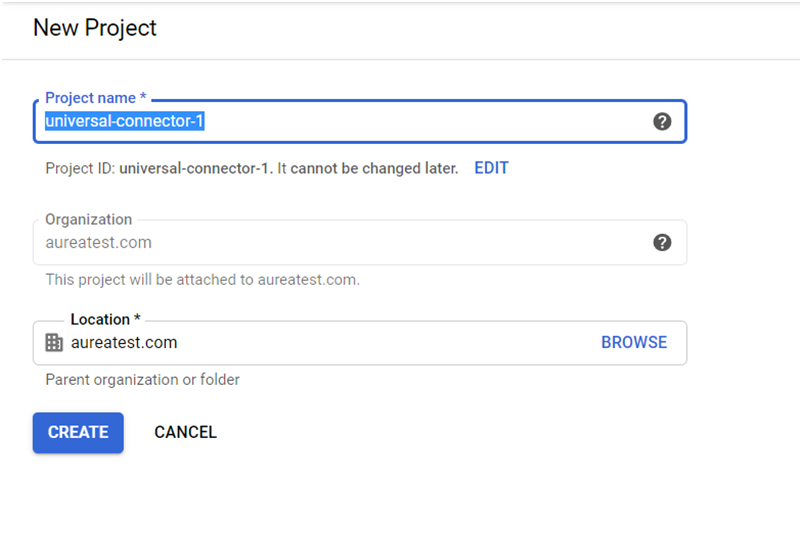
Select your Domain from the drop down and create New Project.
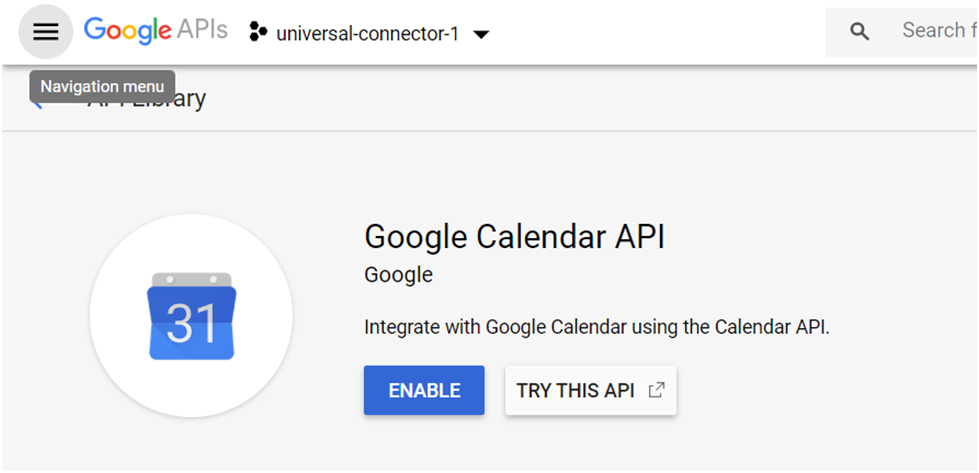
- Go to DashBoard as shown below and add Calendar and Gmail API and enable the
same as shown below.

- Enable Google Calendar API.
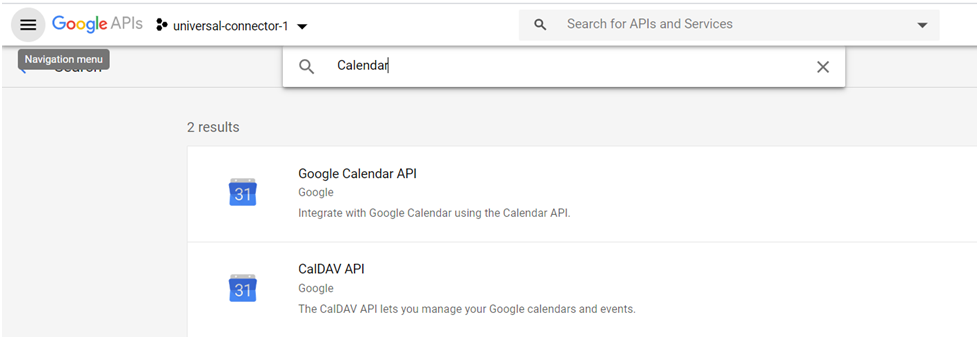
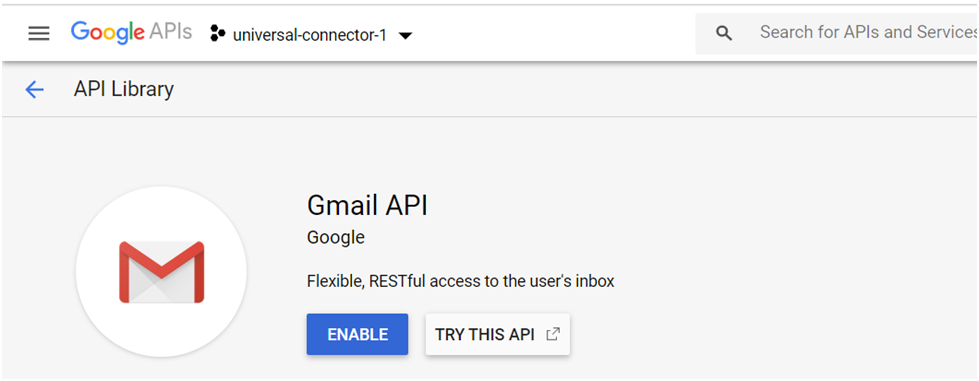
- Similarly enable Google Gmail API.
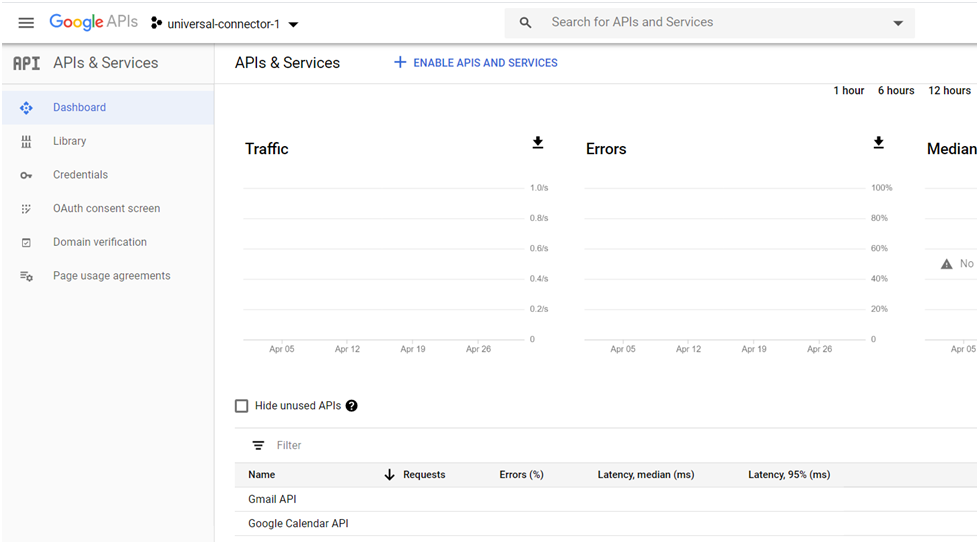
- After you have added both the API, the Dashboard shows them added.
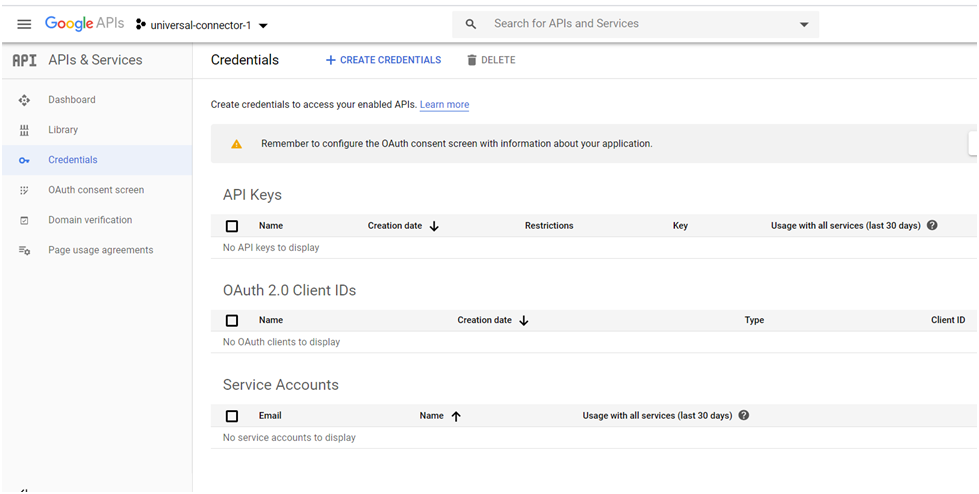
- Now, go to Credentials
>
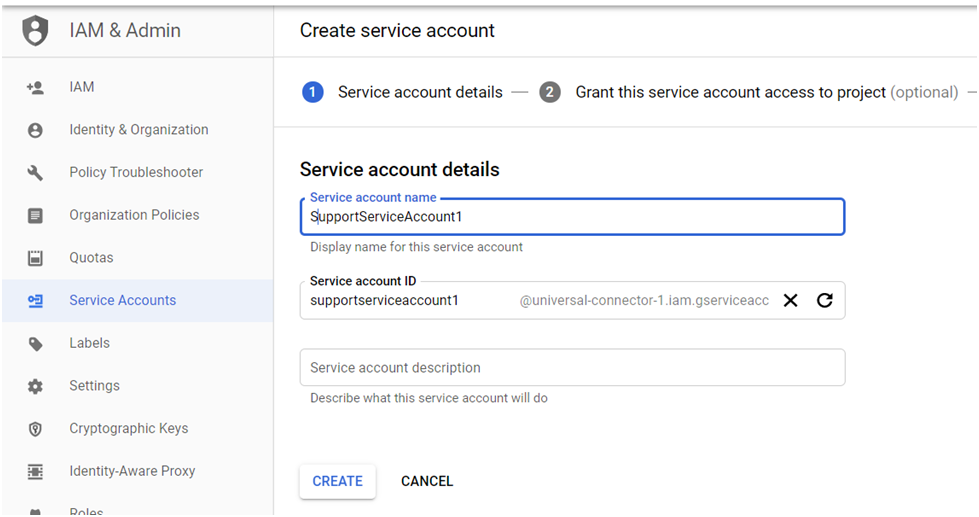
Create Credentials to create service account credentials.
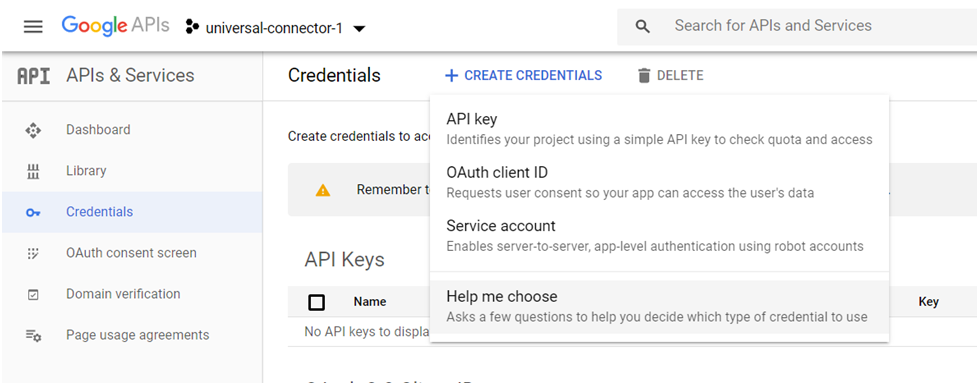
You may either create & download the key now or can proceed and download it later, in last step.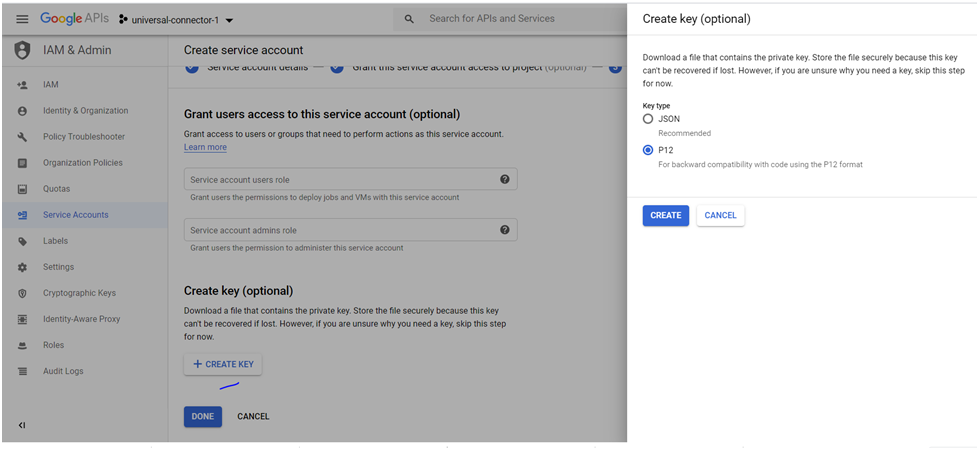
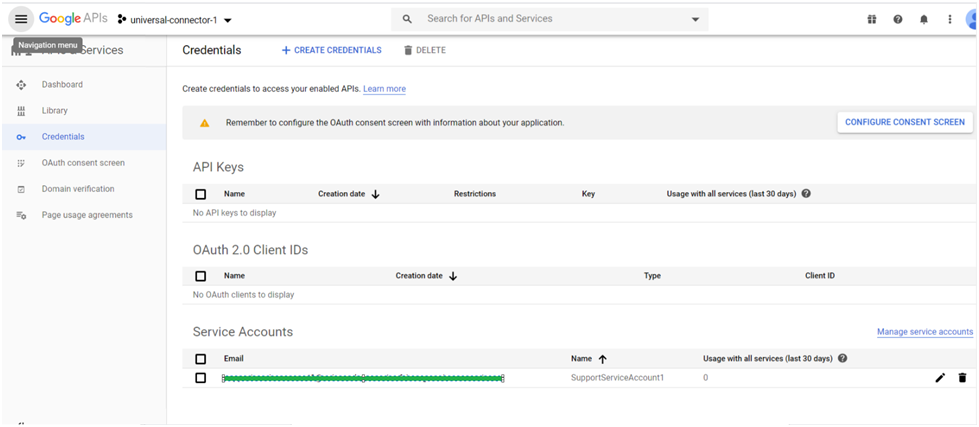
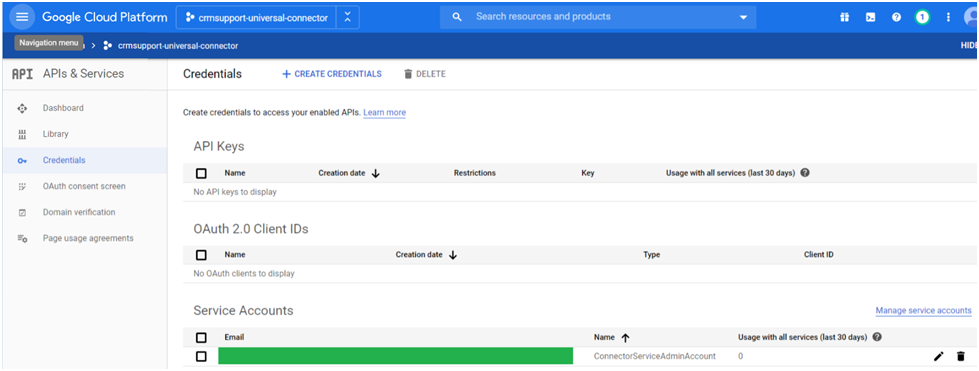
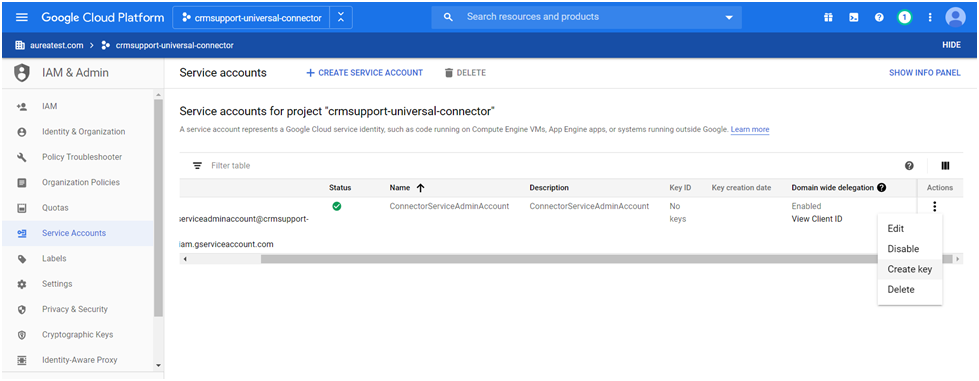
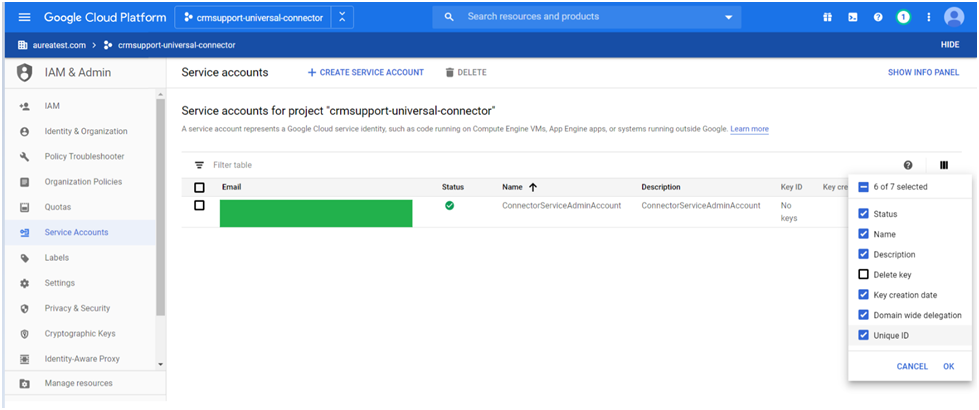
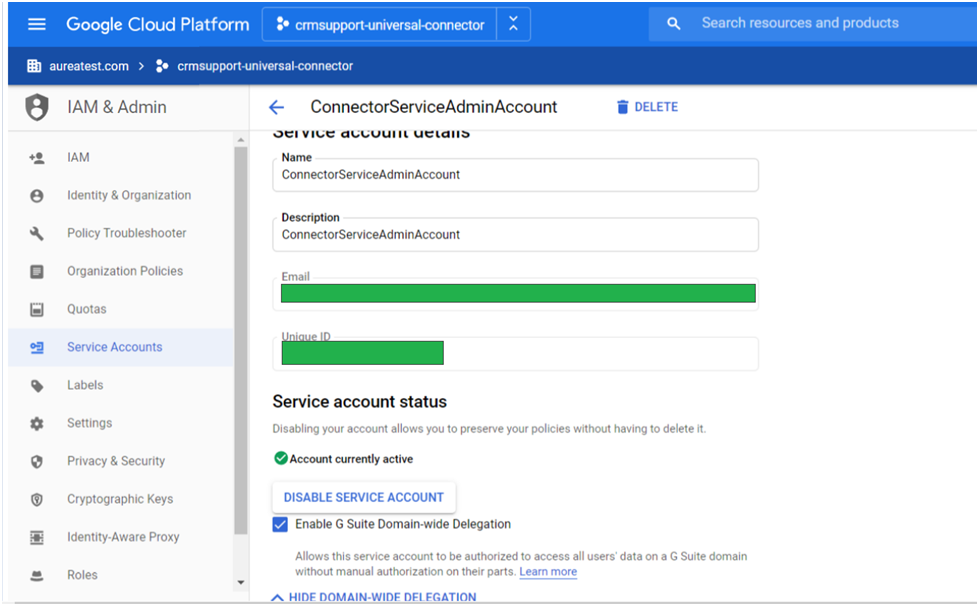
- Click on Manage Service Account in the above screenshot and add columns and
then you can Edit.
- Enable G-Suit Domain-wide Delegation as shown.
- Next is to enable Manage Client API Access, Click View Client ID.
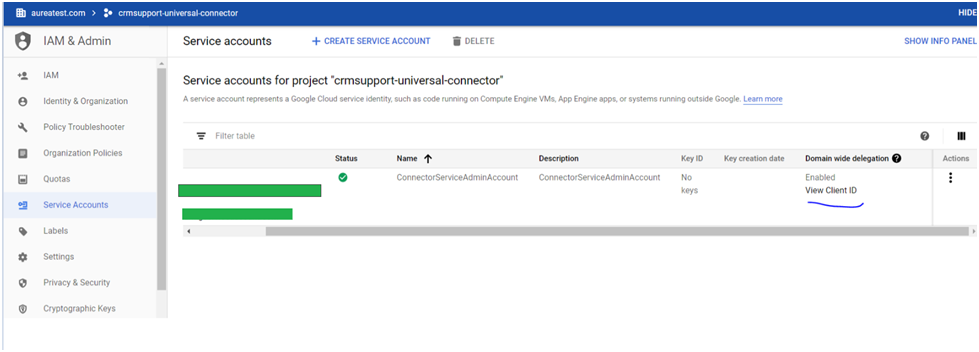
- Note down the client ID in notepad for future reference.
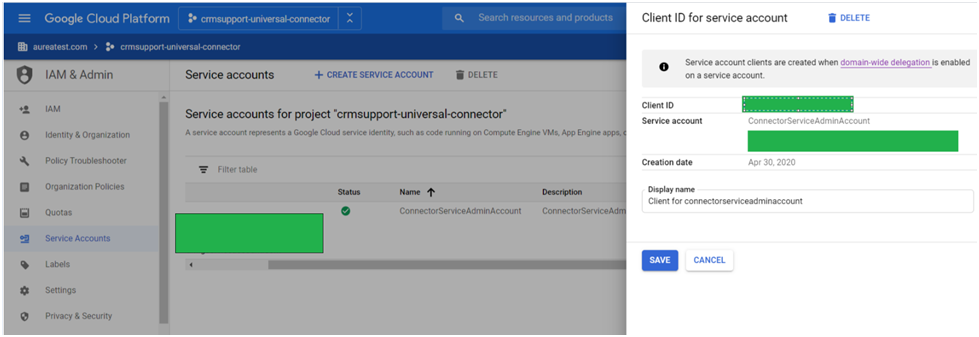
- Click on the Domain-wide delegation link above and you should land on below page to
navigate to Admin Console.
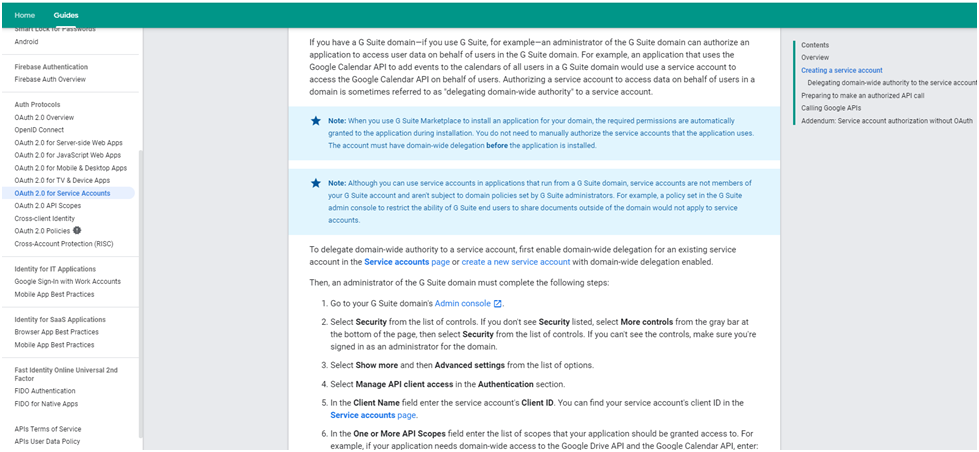
- You may also Login with your Google Apps administrator account to https://console.developers.google.com/
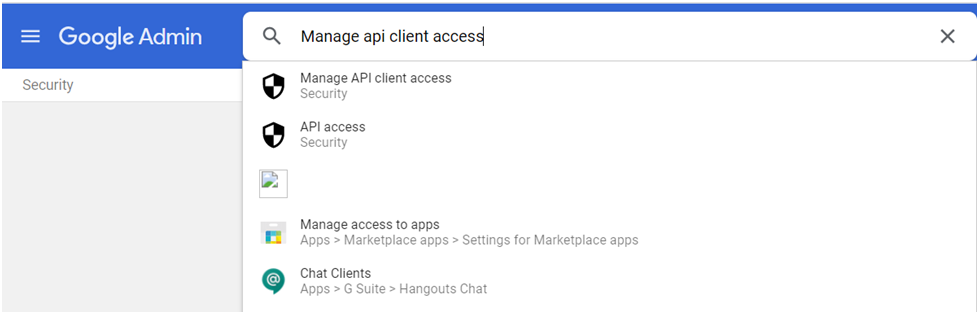
Admin
console and go to Security > Advanced > Manage API client access screen.
Paste the Client ID and the text https://mail.google.com/%2Chttps:/www.googleapis.com/auth/calendar https://mail.google.com/,https://www.googleapis.com/auth/calendar in "One or More API Scopes" textbox then click Authorize button.


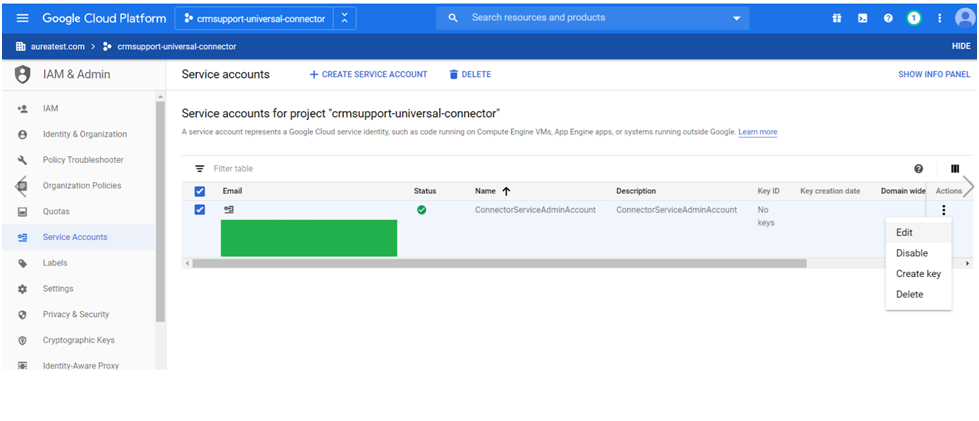
- Once the above steps are done, you can now generate the KEY through Create Key menu
and download the file, rename it to connector.p12 and place it under Connector Root
Directory.