Filtering Appointments
Use filters to determine which appointments are displayed in the calendar.
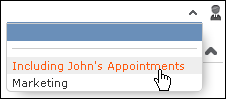
To filter the calendar entries, select a general or rep filter from the drop-down lists in the sidebar to restrict the display to only those appointments that meet the filter criteria or where the selected reps are entered:
The predefined filter "no emails, no missed" allows you to hide e-mails and missed appointments. Furthermore, only absences entered for the current year and only open tasks are displayed.
Note:
Activities of the type "E-mail" or not displayed in the calendar by default. If you wish to display these activities, contact your administrator to remove this fixed filter.
Defining General Filters
To define a filter:
- Click on
 (Define Filters and Filter Sets)
in the sidebar. The Define Filters and Filter Sets window is
displayed.
(Define Filters and Filter Sets)
in the sidebar. The Define Filters and Filter Sets window is
displayed. - Enable the check box next to the entries you wish to display in the calendar.
- Select Edit Filter from the context menu next to an entry to define a condition that needs to be met by entries of that type for them to be displayed in the calendar, see Conditions.
- To save your selection to be reused later, enter a name in the Rep
Set field and click on Save. The filter set is
saved. Note: The first value in the drop-down list has no name; however you can select this entry and change its settings. Changes made to this entry are saved automatically. To delete a filter set, select the desired filter from the drop-down list, click on (Define
Filters and Filter Sets) and then click on
Delete.
- Click on OK.
Defining Rep Filters
To define a rep filter:
- Click on
 (Reps and Rep Groups) in the
sidebar. The Reps and Rep Groups window is displayed.
(Reps and Rep Groups) in the
sidebar. The Reps and Rep Groups window is displayed. 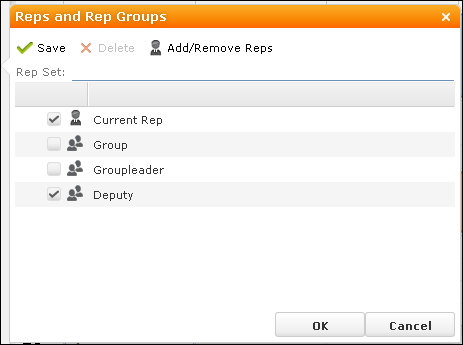
- Enable the check boxes next to the reps or groups whose appointments should be displayed.
- To add additional reps to the list:
- Click on Add/Remove Reps. The Select Rep window is displayed, see Selecting Reps.
- Select the desired rep and click on OK.
- To save your selection to be reused later, enter a name in the Rep
Set field and click on Save. The rep set is
saved. Note: The first value in the drop-down list has no name; however you can select this entry and change its settings. Changes made to this entry are saved automatically. To delete a rep filter set, select the desired filter from the drop-down list, click on
 (Reps and Rep
Groups) and then click on
Delete.
(Reps and Rep
Groups) and then click on
Delete. - Click on OK.